
06 May Best flash settings for using flash for macro photography with OM SYSTEM / Olympus
Introduction
Using a flash enables you to considerably improve the sharpness of your macro photos as it counters shaking and movements, especially at macro-distance.
In addition you will be able to literally freeze any motion in the frame and hence photograph subjects while they are moving without any motion blur.
The lower the flash power output, the shorter the flash burn time and the better the freezing effect.
One of the biggest advantages of using a flash for macro photography, is that your settings can mostly stay the same.
It often actually does not even matter if your subject is smaller or bigger, or if you reduce or increase magnification, or move closer or further away from the subject.
The exposure on the subject can easily be adjusted by dialing the power of the flash up or down a stop.
The perfect settings of both flash and camera also depend on the lens and magnification used, but there are some settings that are a great starting point to photograph the tiniest of creatures moving.
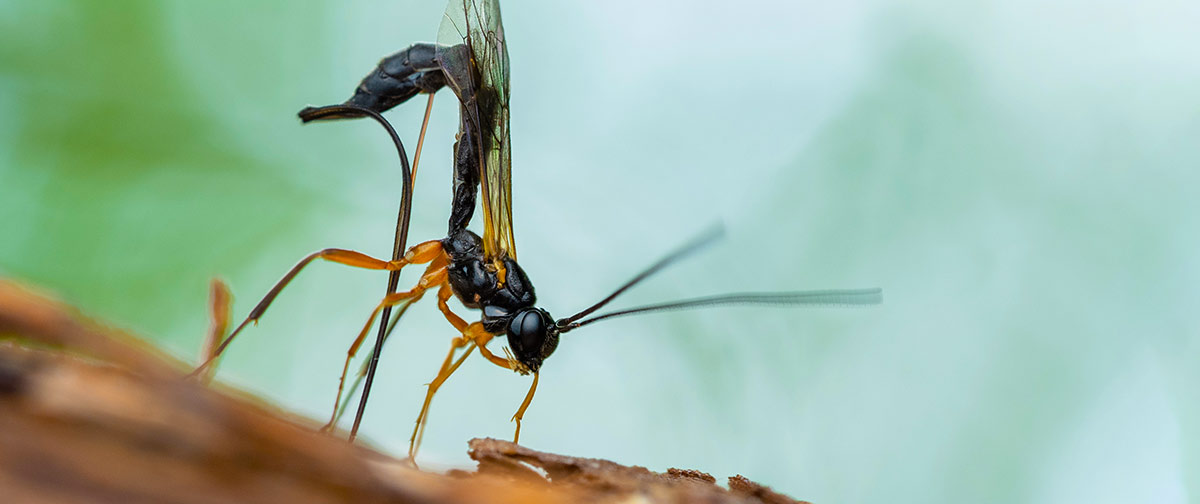
Disclaimer: The settings discussed here aim at a very specific field of macro photography: shooting moving insects and spiders in the field.
The lighting is soley done with a (diffused) flash on camera (and sometimes mixed lighting).
The article references my OM SYSTEM macro setup, but the settings and tips also apply for other camera brands and formats of course.
Flash settings
To make it short, there is no big secret here.
For macro photography I recommend setting the flash in manual mode as we want full control over the lighting of my scene.
The lower the flash power, while still exposing the subject enough, the better.
Lower power means shorter flash, resulting in a stronger freeze effect for motion.

The actual power depends on the camera settings (primarily the aperture), too, and also on how much light can pass through the flash diffuser.
A good starting point usually is 1/16 or 1/32 power.
If it is too much or less, simply dial the power a bit up or down until the exposure is good.
The zoom of the flash head should be set to the widest setting possible, so the light scatters best and gives us softer light at this extremely close distance.
For better diffusion you can use the built-in wide panel of the flash.
Camera settings
For my personal approach to macro photography I shoot in manual mode most of the time.
I really like to have full control over every aspect of the camera settings – knowing your camera and its settings is vital to this!
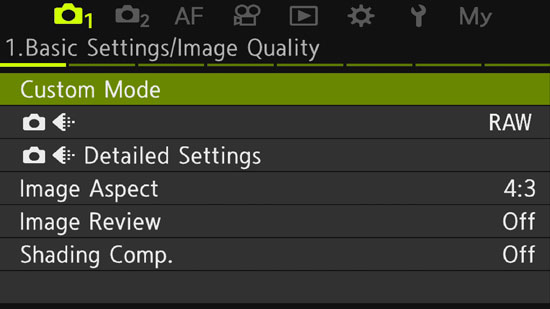
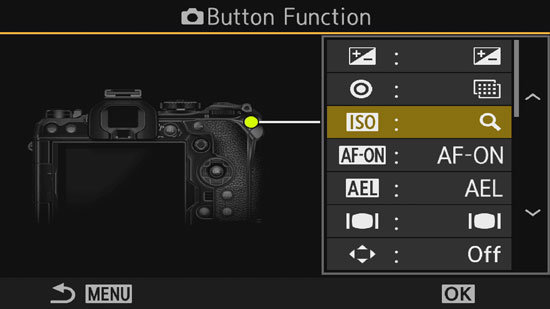
I recommend setting up custom profiles, if possible with your camera, and adapt the button assignments to your personal needs.
ISO
Since we are illuminating our scene at a very short distance, mostly by the flash, we can work with a low ISO setting.
This also reduces potential noise grain.
To achieve a lower flash power output (and a shorter burn time) we can use ISO 200 instead of 100 and give the flash a bit of room to work.
This also helps the flash for a faster recycle time.
Sometimes though, we want to go for colorful backgrounds instead of black ones, and have to up the ISO.
It is also possible to use mixed lighting with the help of the (lower) shutter speed and higher ISO settings.
This way we can illuminate the background by the shutter speed and ISO and then lighten up the dark foreground/subject solely with the flash.
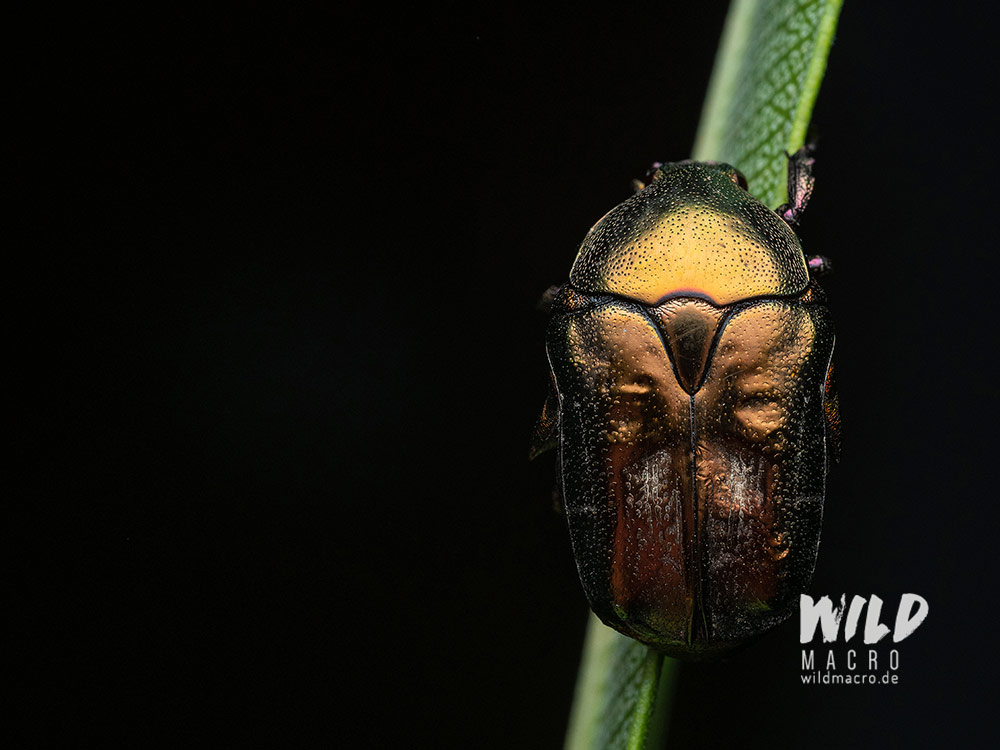
A sample photo with black background, the flash only illuminating the subject – vs. – a mixed lighting macro photo, where the flash illuminates the subject primarily and the ambient light makes the background visible as well:

Aperture
As long as we have enough flash-power-resources to compensate for closed apertures, we can use the aperture setting freely and creatively, to get the desired look (and depth-of-field) for our shot.
Choose an aperture that gets the most important areas of your subject in focus (for insects most probably the eyes) while being opened enough to not get any diffraction kick in.
The more depth-of-field you want to get via closing the aperture, the more light from your light source you need, or you would have to slow down the shutter speed considerably to achieve a good exposure.
Shutter
When using a flash, for best exposure we use the fastest shutter speed that is possible with our other settings.
Shutter speed is limited by the sync speed of the flash, which is usually around 1/100 to 1/200 and sometimes even 1/250, depending on camera sensors.
Electronic shutters have different sync speeds than traditional DSLRs – keep that in mind.
With computational photography features, like the Focus Bracketing or Focus Stacking of the OM SYSTEM, using the electronic shutter will result in different shutter speeds than what you would normally dial in.
If the (DSLR) camera shutter is faster than the sync speed, this will result in a black horizontal bar (the actual shutter visible) covering your image.
Since the flash kind of replaces our shutter, we do not have to care for a fast shutter speed to capture motion as much as when photographing purely with natural light, like in sports or flying birds photography.
If you are trying to photograph a scene with mixed lighting, this is a different story and you would want to slow the shutter speed to let enough ambient light get in, expose for the scene, and then use the flash to just light up your subject in a controlled manner.
Example of mixed lighting in macro photography:

Conclusion
As you can see, there is no hidden secret to using a flash for macro photography.
The settings always depend on what you photograph, under which conditions you do so, and also your personal and creative approach to the scene.
It is helpful to find a starting point though, to increase your chances to get great shots right away, after powering up your camera and flash on location.
Understanding how you can mix artifical light and natural light, opens up a whole new range of lighting scenarios in the field.
Sign up for the newsletter mailing list & free ebook
Did you enjoy these tips and want to learn more or improve your macro photography skills?
Stay up to date with new blog posts, reviews and tutorial- and ebook-releases.
Sign up below to get notified when the free edition of my ebook
‘How to master spider & insect macro photography’ is ready for download.
James V. Jordan
Posted at 12:09h, 14 NovemberThank you
wildmacro-chris
Posted at 19:07h, 14 NovemberHi James, hope you found something useful – cheers