
24 Jul How to take sharper macro photos
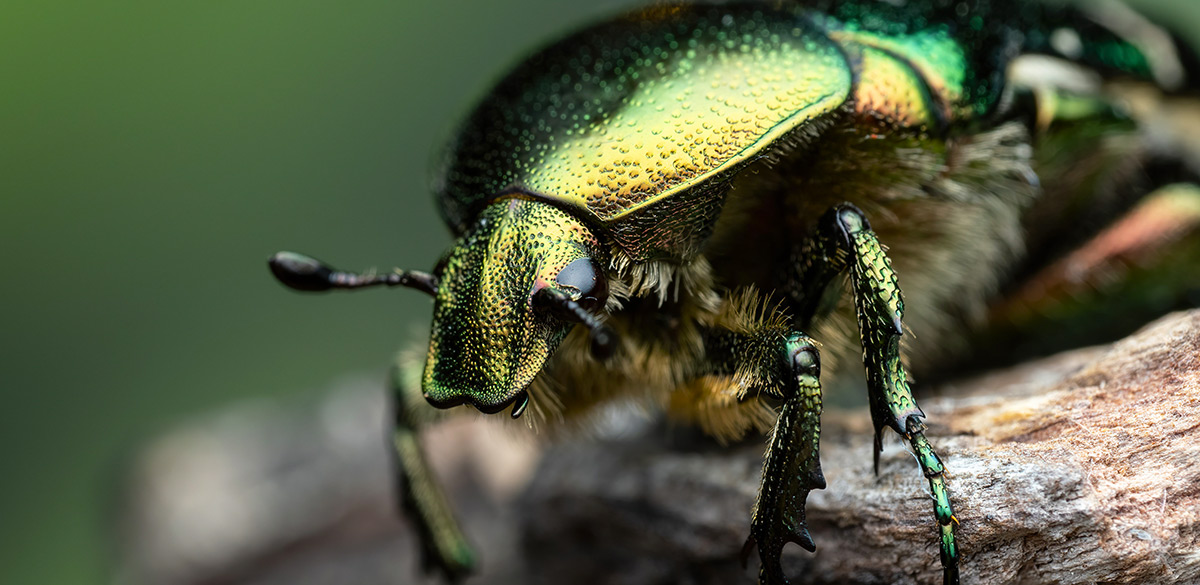
A macro photo is not just only taken at a high magnification (1:1 and above), but also mostly expected to be considerably sharper than a normal photo.
Let´s take a look at the best and most effective techniques and tricks to avoid blurry macro images and get perfect and razor sharp results.
Disclaimer:
Like most articles on this website, the following explanations & observations focus on macro photography of live, moving, tiny animals, mostly arthropods.
They may very well apply to other fields of photography as well, but please keep that in mind, while reading the article.
Your number one enemy preventing you from getting razor sharp macro photos
When your photos turn out to be blurry and soft, there are a number of factors that could have caused that.
You may have simply missed the focus point and the focus is off.
The aperture may have been open too wide.
But the most common cause for blurred macro photos is movement, both from the subject and from your camera.
Movement can happen in many forms: shaky hands, wind, vibration from pressing the shutter button, and, most obviously, a moving subject.
Photographing macro with natural light (the classic way) is probably the most challenging, regarding these factors.
A tripod is often obligatory.
There are some tweaks though, that can be applied to overcome these challenges and make sure to get sharp images every time.
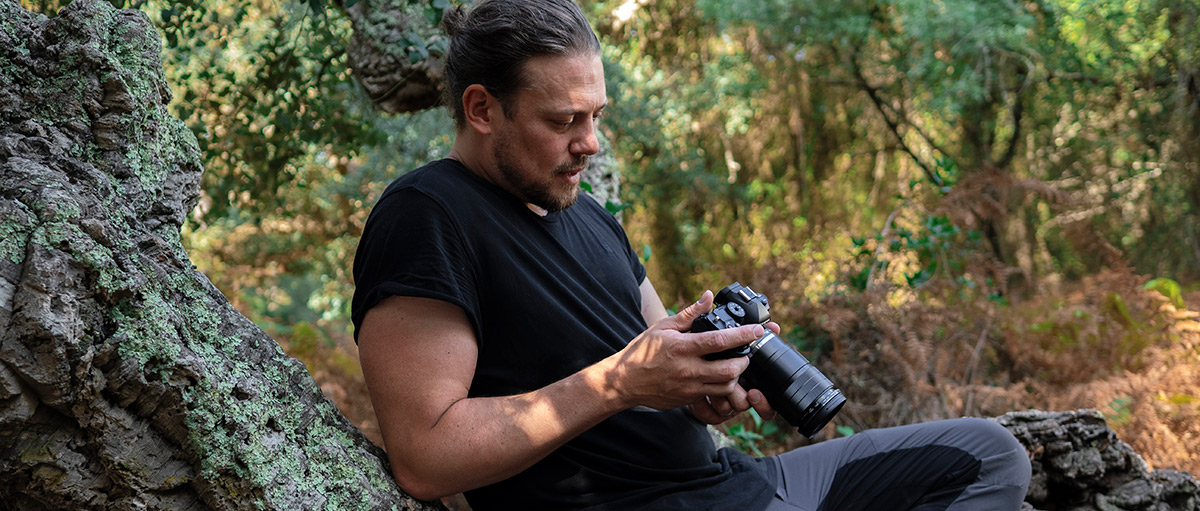
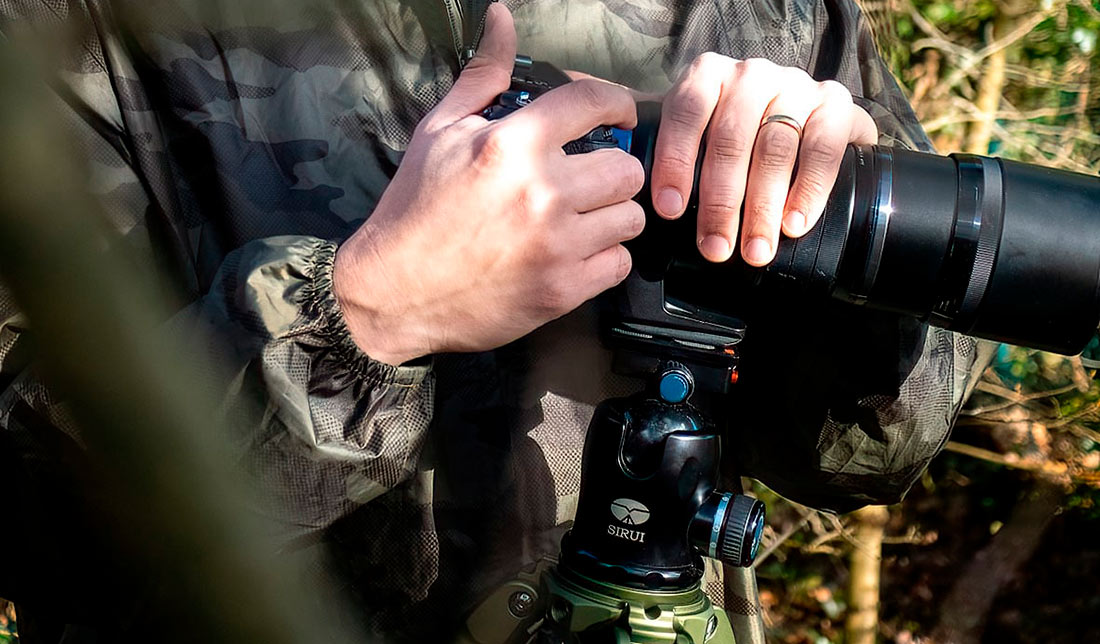
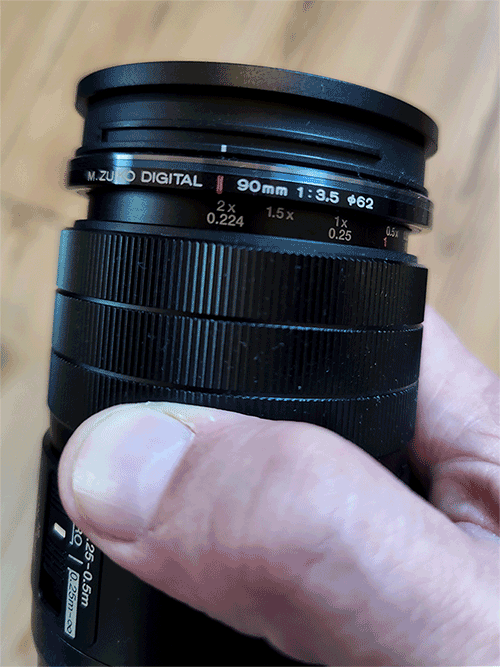
Gear
What is more important? The camera body or the macro lens?
Although the latest models of digital cameras have a variety of features on board to support the user, the lens is still the most important component regarding the potential sharpness of the images.
Technically it is possible to take highly detailed and sharp macro photos with almost every setup and gear combination.
A certain level of quality of lens and body however will result in better images ultimately.
I like to think of the macro lens as the ultimate tool to capture excellent macro photos, the settings and additional gear are merely ‘helpers’ and ‘support’ the initial potential of the lens as my primary tool.
Settings
As hinted at earlier, we are looking for settings that can counter vibration and motion.
With the factors aperture, shutter speed and ISO being part of the equation, let us see which one will influence the image’s sharpness the most.
Shutter speed
The most important setting in the equation is shutter speed.
A higher shutter speed, which means a short duration of the shutter movement/process, will greatly improve chances to capture a sharper macro image.
It can counter moderate vibration, caused by shaky hands or pressing the shutter. It can also counter a slow moving subject, or slight wind.
But even a snail could be too fast to be countered by the shutter speed setting alone, as it is dependent on the amount of light available.
This is why i recommend relying on a flash for macro photography with high magnifications.
No more worrying about not having enough light, no more worrying about shutter speed, too, as the flash will replace the shutter speed setting mostly and freeze the subject’s motion for us.
Aperture
Every lens has a so called sweet spot.
This is the aperture setting at which the lens will render optimal sharpness and where the effect of diffraction will not occur.
While typically closing the aperture will increase depth-of-field and at the same time also sharpness, using a lens with the aperture set noticeably higher than its sweet spot, will result in the opposite.
The diffraction will cause the final image to be less sharp.
Finding your lens’ sweet spot is essential to achieve the best image quality possible.
If this leads to less depth-of-field than desired, it might be necessary to focus stack several single photos.
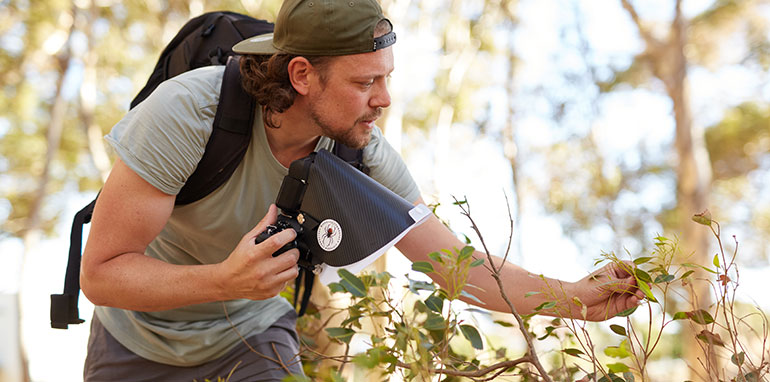
Lighting and using a flash
My personal and ultimate tip for sharper macro photos is: use a flash.
The majority of unsharp macro photos are caused by either the lack of light (and every negative aspect that comes with that, like low shutter speeds) or movement, which ironically can be countered by light (and flash in particular).
To prevent the flash from creating harsh highlights and burnt-out areas, it is necessary to use a diffuser, tailored to your specific setup and needs.
You can read more about Diffusers for macro photography here.
Another benefit of using a flash with diffuser is the flexibility of such a setup: you bring your handheld, fixed lighting scenario to whatever subject and place you are photographing.
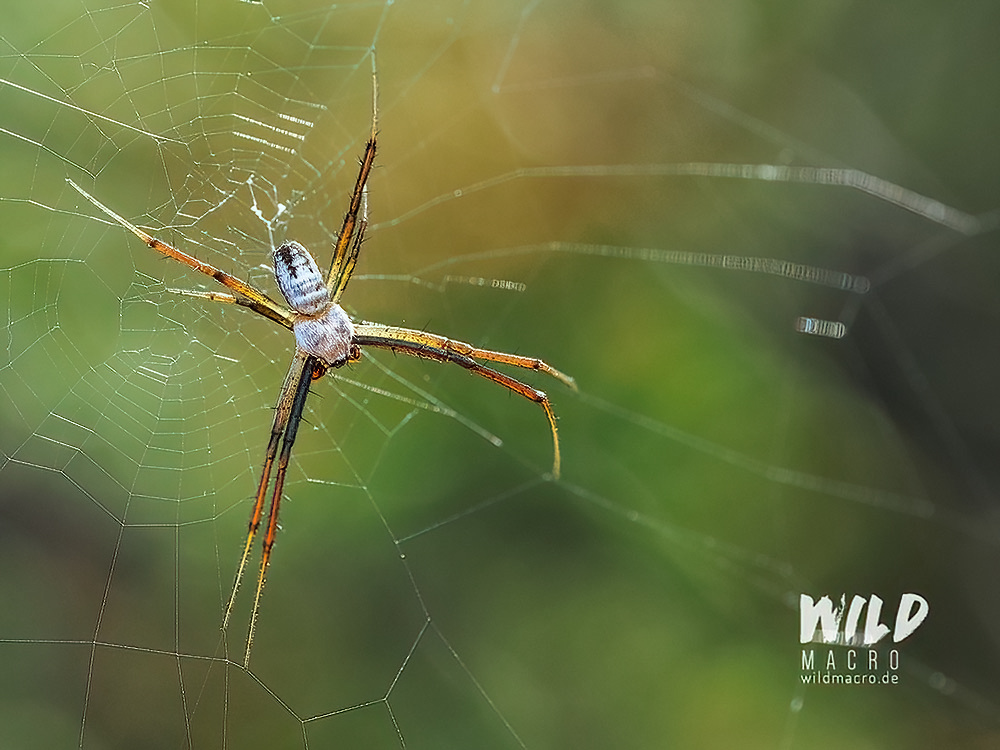
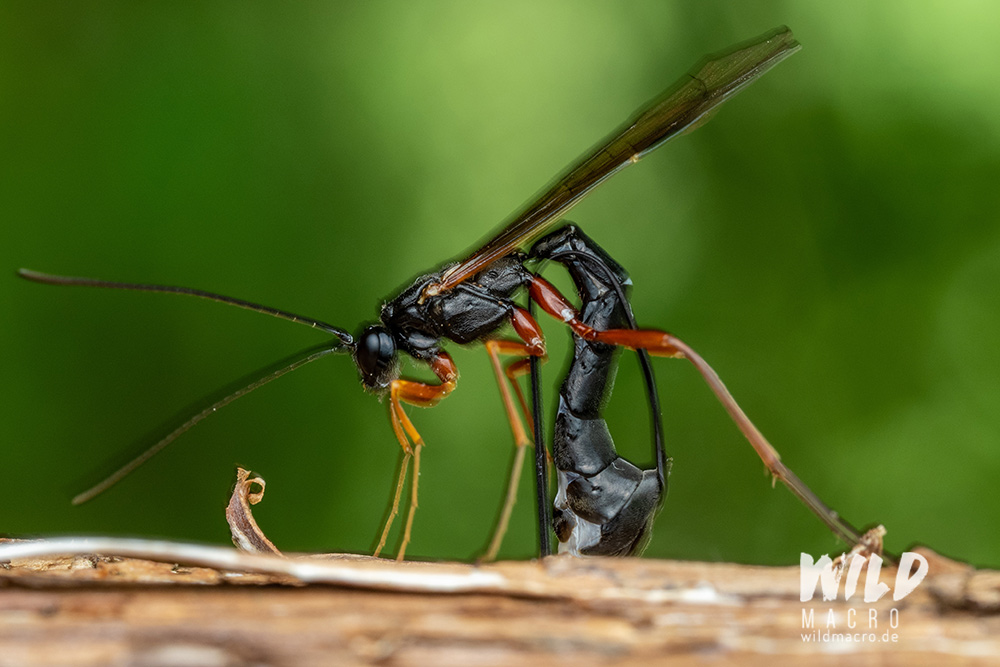
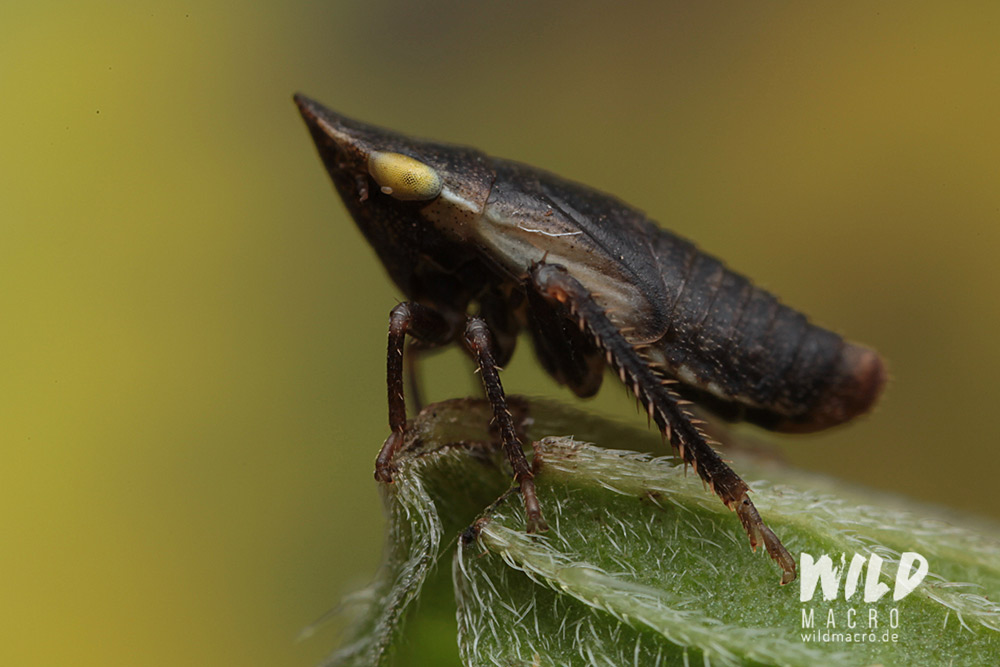
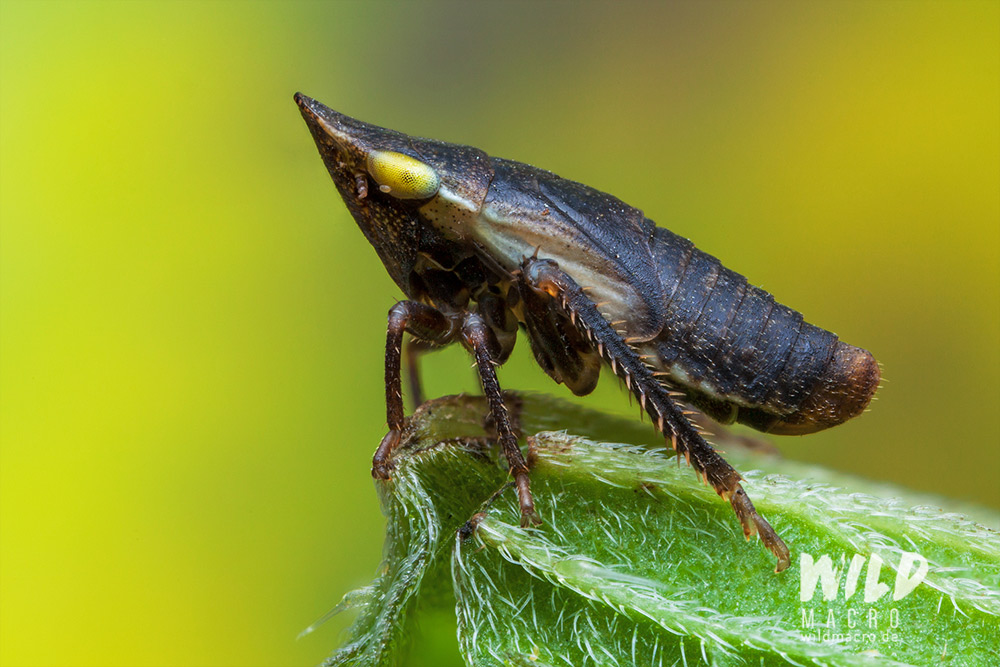
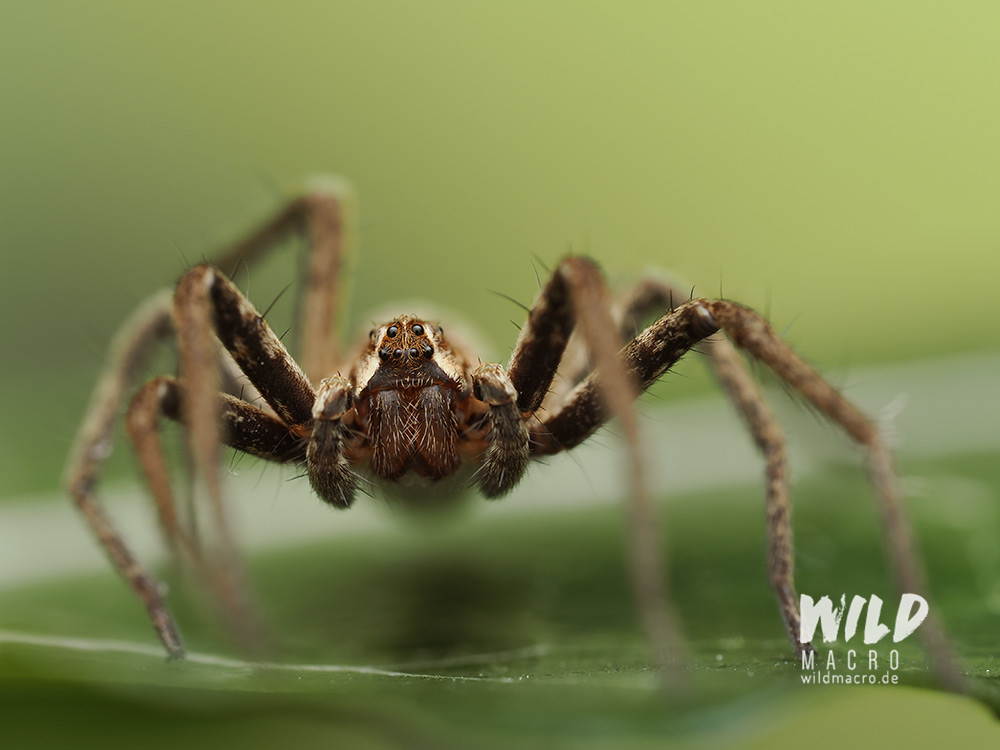
The following example photo was taken while the spider´s web was heavily swinging in the wind, as it was close to the ocean.
Without using a flash to light the spider, it would have been impossible to get a sharp photo with all that movement.
The sun – undisputed queen of light sources and troublemaker
As soon as the sun joins our well-prepared setup the game´s rules are reset to zero.
What does that mean?
The sun is so strong it will easily overpower our flash, making it the most powerful light source in the equation.
If we use flash, it might be a good idea to cast some shadow over our subject, because if the sun hits it, even the flash will have problems to freeze its motion.
An insect sitting on a blade of grass on a windy day, hit by full sunlight, is a true nightmare for example, when it comes to capturing a tack sharp single shot without any halos or ghosting.
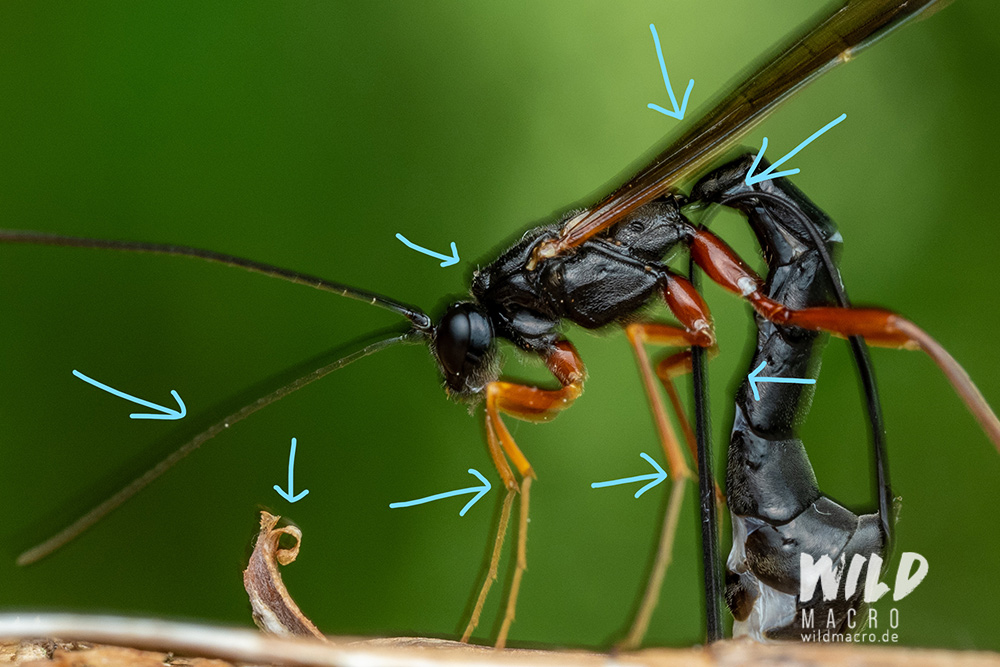
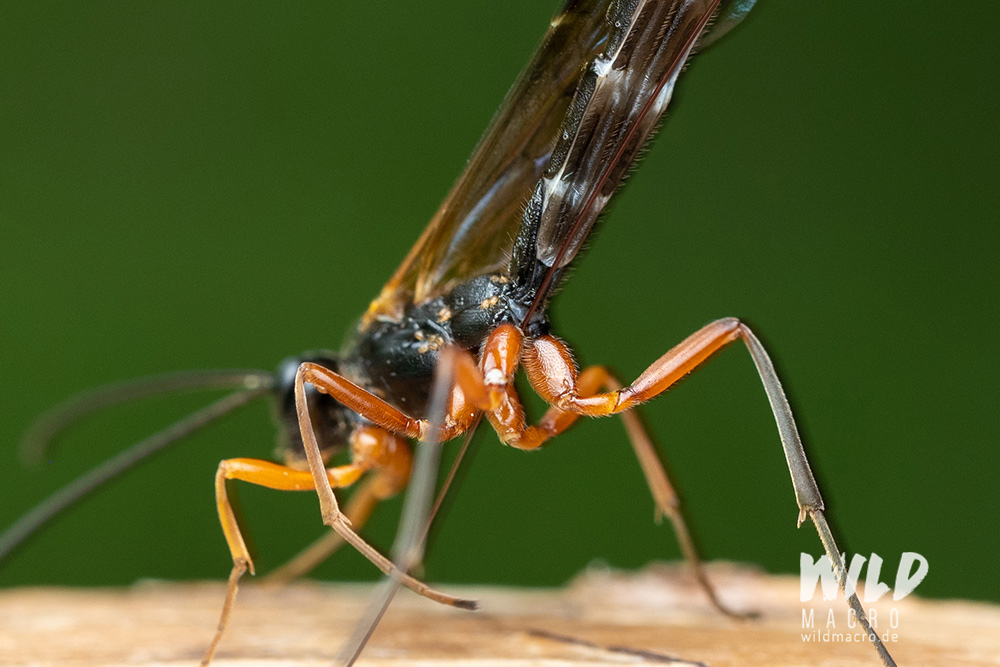
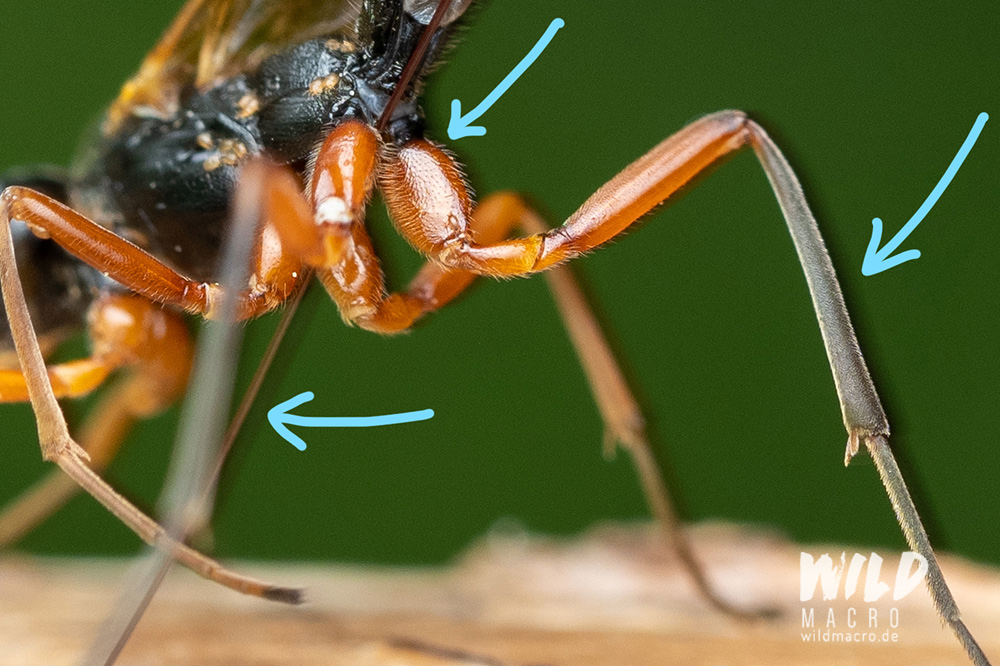
Here are some example shots with mixed lighting, where I used a flash for the parasitoid wasp and a slow shutter speed to register the sunlight/colors in/on the background.
The slow shutter speed in combination with the sunlight, that hit the wasp with the flash, caused halos and ghosting.
Ultmately I had to experiment a lot until I got my settings right.
Using a tripod
A tripod is primarily used in macro photography to reduce vibrations from hand holding the camera or to enable longer shutter speeds.
If a subject moves, the tripod can be hindering and require the addition of a flash.
For motionless subjects though, a tripod can indeed help getting sharp results, as it successfully eliminates vibration and shaking.
In windy situations it is possible to fix plants with a clamp, for example, so movement can be reduced or even eliminated.
Mushrooms are also great subjects for macro photography, as they are very diverse, show interesting forms and textures but do not move at the same time and are relatively sturdy in the aforementioned windy situations.
Manual focus versus auto focus
Focusing on the exact spot that we want to have as our main point-of-focus is essential.
Since we often work with shallow depth-of-field and the layer of focus is extremely thin, it will ruin the photo if we miss just slightly.
The sharpest area/layer is supposed to be on the point-of-interest.
The efficiency of auto focus depends on the camera body´s features and the lens.
There are modern cameras with very good auto focus settings that can also work for macro photography.
Using manual focus though gives us full control and no matter how good auto focus software can be, it will never be able to actually ‘know’ where the photographer wants the focus.
In a situation where many factors constantly alter the setting, like wind, a moving subject, and so on, manual focus is superior to the auto focus (if you have enough experience with AF in the macro range).
It is, however, an effective approach to use a smart AF to quickly get the subject in focus, and then fine tune with manual focus, if needed.
Additional Tips
Use the burst mode on your camera
Using the camera´s burst mode / sequential shooting increases chances to get a sharp photo.
It is simple math – the more photos we take, the higher the chances.
If the subject is moving, using burst shots will increase chances that we get at least one usable photo with the subject standing still or being captured between movements.
Improve hitting the focus with focus peaking
Enable the focus peaking function on your camera (if it has such an option) to visualize the focal plane.
This helps hitting the right focus and gives you a better overview about the subject and which parts are in focus.
With moving subjects this is still a challenge, but can indeed help.
Perceived Sharpness is dependent on Color Temperature and Depth-of-field
The following photos show the same photo – the biggest difference, aside from the brightness, is the color temperature and color cast.
While the one with warmer colors may appear less sharp then the other one, with corrected (mostly cooler) colors, both actually have the same amount of individual sharpness.
This is, what I call perceived sharpness.
Our brain simply tricks us here but we can use this to our advantage.
Adjusting color temperature of our macro photos will also benefit the subjectively perceived amount of sharpness.
The examples are a bit difficult to compare, since one is a final edited stack, while the other is a single shot of the same stack – but you will get the idea):

Check out these 3 highly recommended articles as well, to get your macro photography to the next level
Sign up for the newsletter mailing list & free ebook

Did you enjoy these tips and want to learn more or improve your macro photography skills?
Stay up to date with new blog posts, reviews and tutorial- and ebook-releases.
Sign up below to get notified when the free edition of my ebook
‘How to master spider & insect macro photography’ is ready for download.
Richard Watts
Posted at 09:05h, 21 Marchinteresting article with some really useful insights
wildmacro-chris
Posted at 11:49h, 21 MarchThank you very much for your positive feedback, Richard! Much appreciated.
Chris Wynne
Posted at 10:28h, 24 MarchAn engaging article! Many interesting hints I should try and master….! Thanks
wildmacro-chris
Posted at 10:41h, 24 MarchHey Chris, glad you enjoyed the read and if there was any info that helped spark motivation, I am satisfied 🙂