19 Nov Black background in Macro Photography with Flash

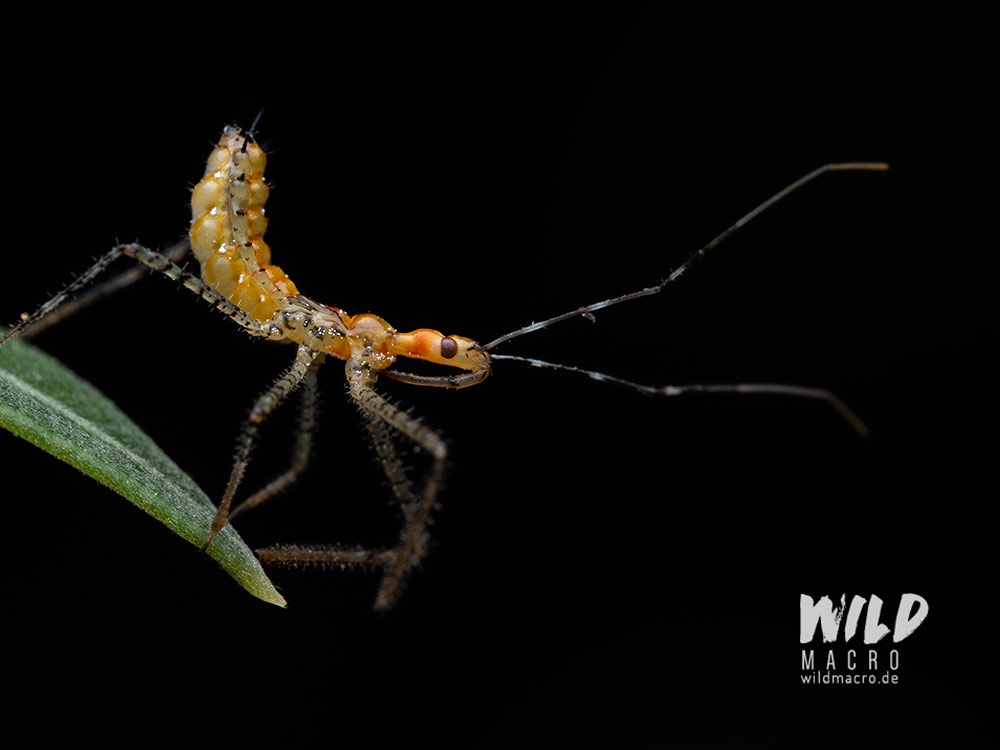
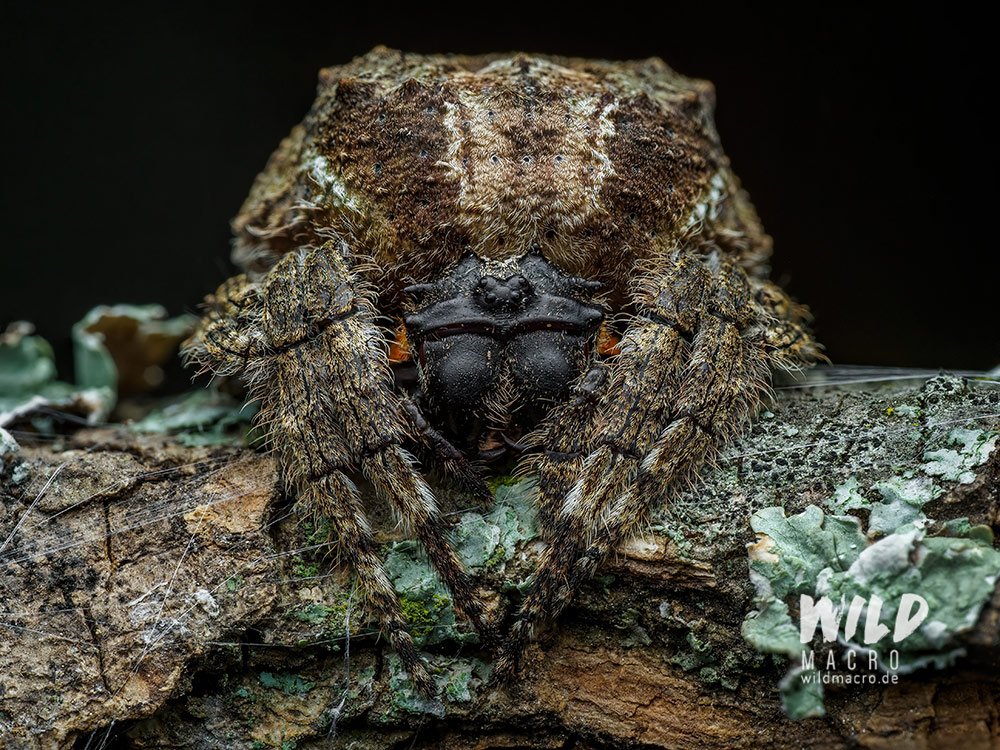
Using a flash in Macro Photography often results in pitch black backgrounds – and we are not talking about night photography here.
This is a very typical phenomenon, which can either be intentionally used for extreme contrast, or be an unwanted consequence of using the flash, which you want to get rid of.
The good news is: there is a solution to all of these aspects, whether you want to switch the black for a colorful background, or want to create the black ones intentionally.
Where do the black backgrounds come from, when using a flash in macro photography?
If you are using a flash for macro photography, you will most likely have experienced pitch black backgrounds – even while photographing in broad daylight.
During the night it is obvious why we get black backgrounds, but why does that also happen during the day?
The answer is simple: it has to do with the flash.
Okay, you have figured that out already, of course…

The burn time of the flash, emitted by the speedlite, is so short, that depending on your camera settings, it is the only light that will register on the camera sensor – within the range of the mentioned light.
Here is the second factor, that is important: the range or reach of the lighting.
So, whatever is hit by the flash, will be registered on the sensor – everything that is out of range, will be dark, or, to be more precise, not illuminated.
These areas out of range will show as if there would have been no flash.
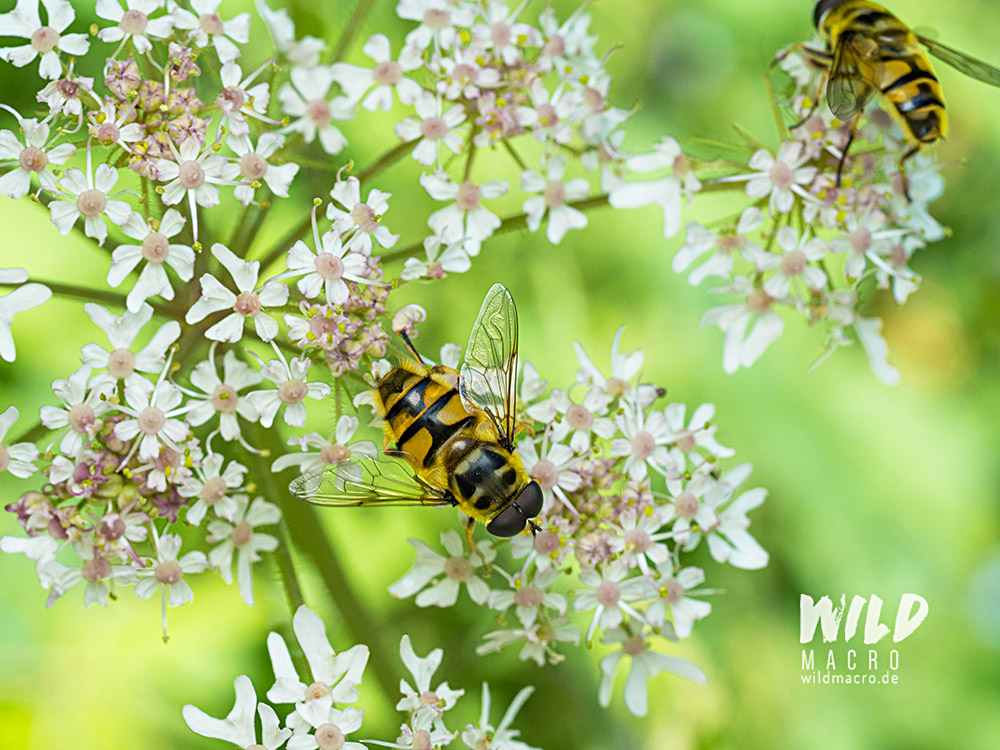
As we are often working with fast shutter speeds and closed apertures, the image will often be very dark and only be lit by the flash – even during daytime – like these bees in the following photos.


We mentioned the range before.
If the background is further away from our subject, at which our flash is aimed primarily, it will be darker – or completely dark even.
With no light/flash reaching the background, it will be pitch black – sometimes with it being only a meter away.
Choosing between black and colorful backgrounds for macro photography
How should we decide between going for a black and a colorful background?
The answer is simple: it is merely a matter of personal taste and creative choices.
Both approaches have their benefits.
Are you aiming for intense contrast, or are you trying to get an evenly illuminated image?
Is your photographic style more leaning towards the stylized side, or are you going for a natural illustration of a natural scene?
What does the scene allow you to do in terms of creativity and number of choices?

How to get rid of the black backgrounds in macro photography
If you opt to get rid of the black background there are several ways to do this.
Which method is the best one to choose, depends mostly on the scene though.
Depending on the chosen method, the time invested differs as well.
1. Getting the background closer to the camera
As a black background is mostly caused by the flash not hitting the background, the easiest solution is bringing a/the background closer to the camera – or vice versa.
This can be particularly effective at higher magnifications, where we can use a background card, move a twig or subject closer to the natural background, or bend some leaves behind our scene, for example.
Obviously we cannot bring the actual in-situ background of the scene closer, so we emulate it and create an alternative layer, which acts as our background.
Like mentioned above, holding a leaf, or bending a twig behind the subject can already be enough to create a natural background layer, that is also true to the habitat.
Playing with the distance between subject and background will also alter the brightness on the latter.
This gives you a tool to control how much your subject should stand out from the scene.
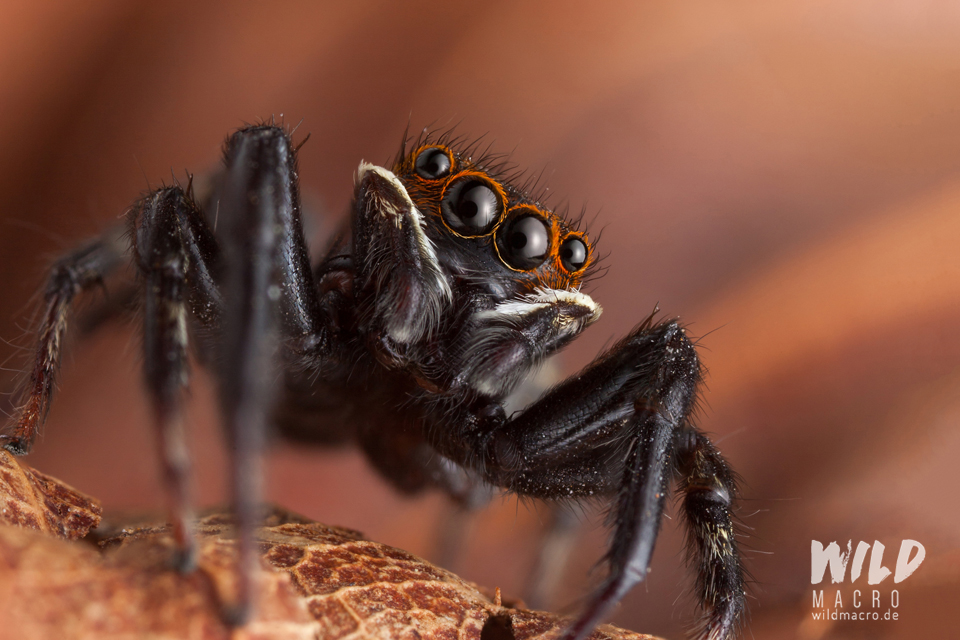
If you are lucky, an object, like a dried leaf, can act as your subject´s ground and the images background at the same time.
The mentioned leaf could curl up behind your subject and be visible as the sole background behind it.
In the following photo i used this to both have an interesting background and also use the leaf´s texure for compositional purposes.
2. Creating a mixed lighting scenario
To get the best of both worlds, a mixed lighting scenario might work well.
In a scene, where the background is too far away to be bent or moved towards our camera, we can work with natural exposure on the actual background.
We use the flash only to light up the subject close to the camera and let a long exposure time work on the background´s exposure.
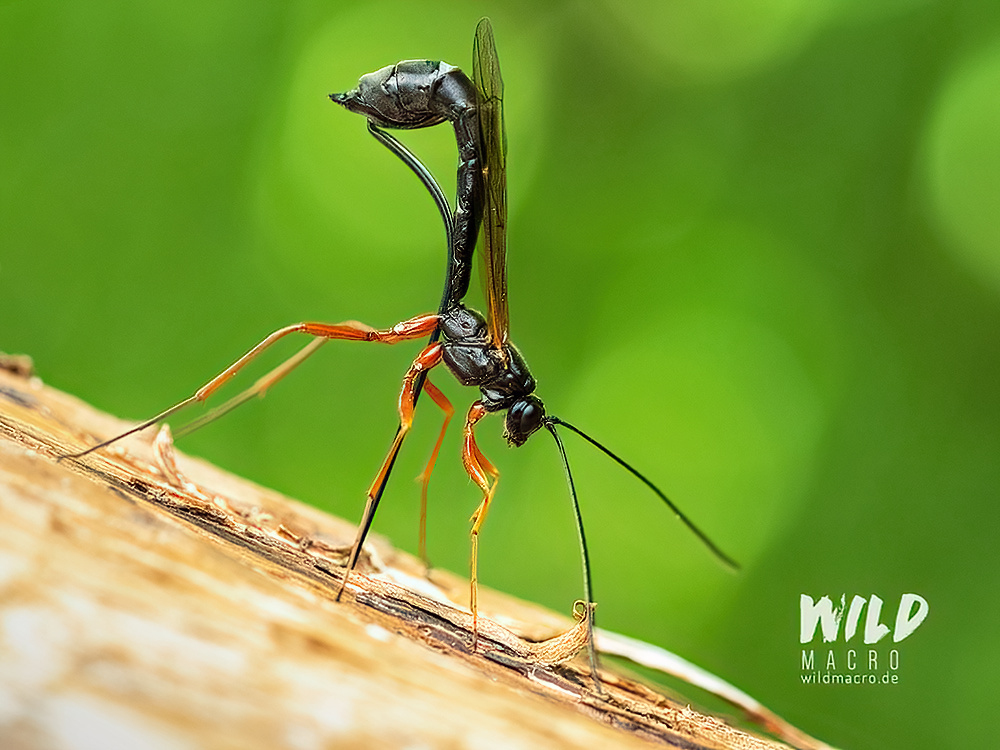
The following photo was taken in such a setting.
The parasitoid wasp was drilling on a dead tree in a little forest.
However the surrounding trees were several meters away, and could not be reached by the flash.
I exposed for the scene and background, using a high ISO and slower shutter speed, until the green colors registered on the sensor, and then set my diffused flash to only illuminate the wasp.
Tip: make sure the sun light does not hit your subject with such an ISO/Slow Shutterspeed combination, as it can cause ghosting as soon as there is any movement involved.
It is also the method that gets your final image closest to what you see through the viewfinder or with your own eyes.
3. Illuminate the background
Depending on the location, it is also possible to brighten up your scene and background with additional flashes or LEDs.
The better your background is illuminated, the more light will register on the camera´s sensor and hence be visible in the photo.
I usually have two Godox MF12 (plus diffusers) in my bag for situations like these.
If the scene looks promosing, especially during field trips at night, I use these radio-triggered mini-flashes to make my background and specific details show and shine.
If the background is close enough, the flash will sometimes be sufficent to properly illuminate it.
Changing the angle of the diffuser, if possible, can also help to increase the range of the light.
By adapting and changing your own angle to match the lighting scenario, you can sometimes also use the sun as a light source for your background as well.
If strong, direct sunlight is hitting your background, even objects far behind your subject can register with intense colors on your sensor.
How to use black backgrounds in macro photography for intense contrast and stylized images
Depending on your personal taste, you could also make the black backgrounds part of your creative style and visual language.
Use the dark backgrounds for intense contrasts, as it will make light subjects, and colorful ones in particular, pop.
This also saves you lots of time in post processing, as you do not have to try brighten up the background – instead you can even make it darker.
Personally, I often try to take both shots: first the one that requires less work, and then, if the subject still cooperates, I try to mak the second version work.
For this to work though, you will now have to make sure that no light hits any background accidentally, as this would change the dark black to a greyish, dull looking color.
Conclusion
Having black backgrounds in macro photography while using a flash is mostly caused by the distance between flash and background.
Getting rid of these is relatively easy, depending on the scene.
However, they can be used for dramatic effects and high contrast, stylized imagery.
Rather than being seen as some kind of faulty result, black backgrounds simply add another creative aspect to the macro photographer´s tool set.
My advice would be: embrace it as a creative choice and consider it as yet another option to set up your subject or scene.
Sign up for the newsletter mailing list & free ebook

Did you enjoy these tips and want to learn more or improve your macro photography skills?
Stay up to date with new blog posts, reviews and tutorial- and ebook-releases.
Sign up below to get notified when the free edition of my ebook
‘How to master spider & insect macro photography’ is ready for download.



No Comments