04 Sep Review: DARWIN M2 Digital Microscope from Beaverlab


When I discovered the Beaverlab DARWIN M2 Digital Microscope, it instantly triggered my inner child.
Having a portable and detachable miscroscope to just go out and discover a new layer of the tiny world got me stoked to get my hands on this.
Additionally I thought it would be a great little tool for my kids, too – at least for my 5 year old daughter (the boy is only 2 years old but also very curious and inquisitive).
Getting to discover new things (and maybe even worlds) together is just so much more fun than doing it alone.
Writing this review for the DARWIN M2 Microscope took me a lot longer than my other reviews, as ther was so much to try out, cover, document and photograph.

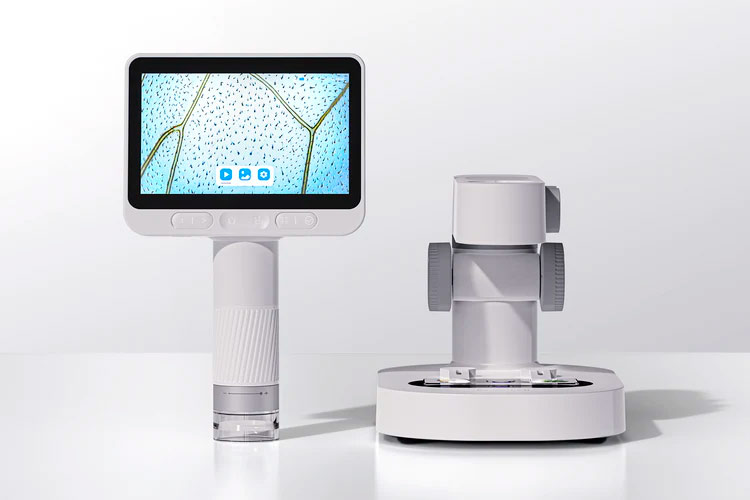
First Look
Before the microscope arrived, I checked the specifications and it seemed this could actually be better than these asian-market scam products with false advertisements.
The 4,3″ IPS-Screen should be big enough to see the subjects´ details in full glory even in the field.
Since the M2 allows direct video recording and taking photos as well, this makes it a very versatile tool.
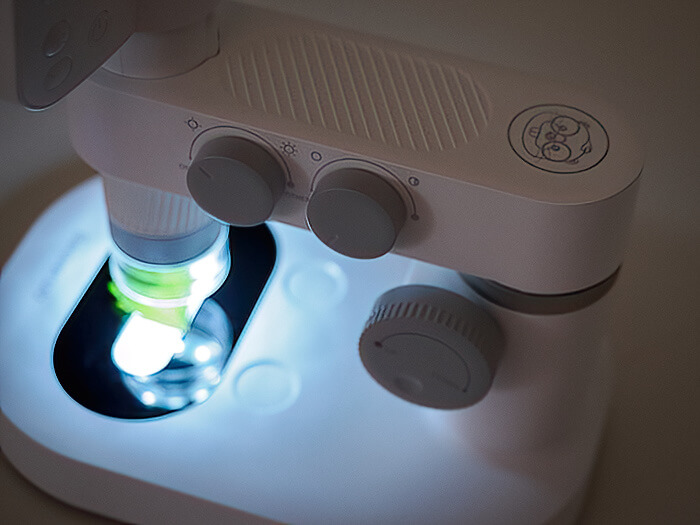
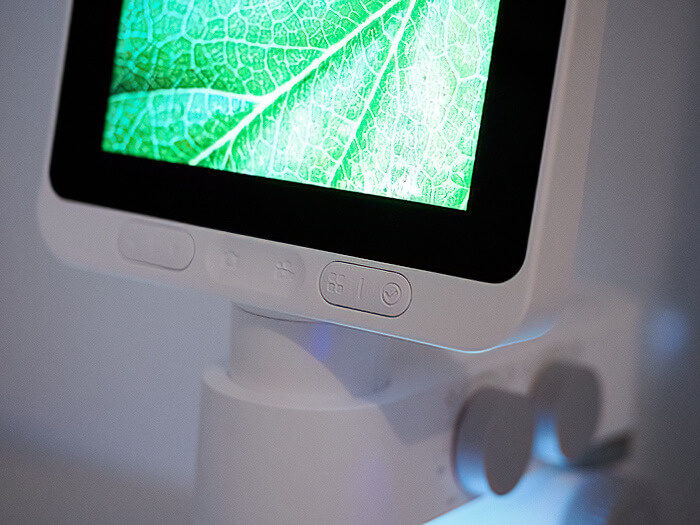
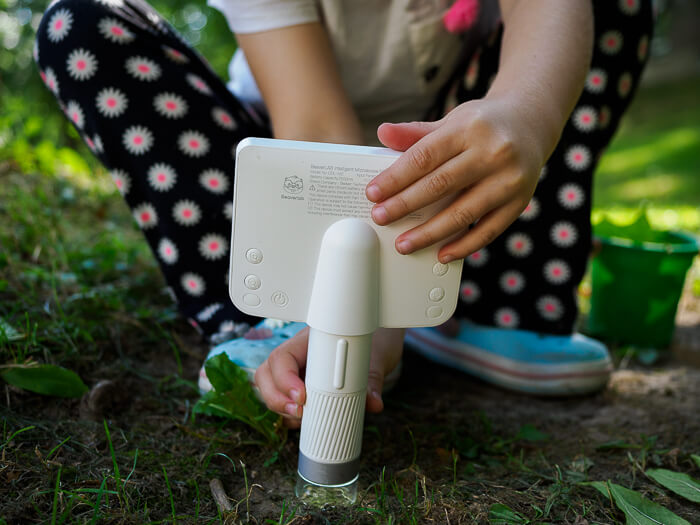
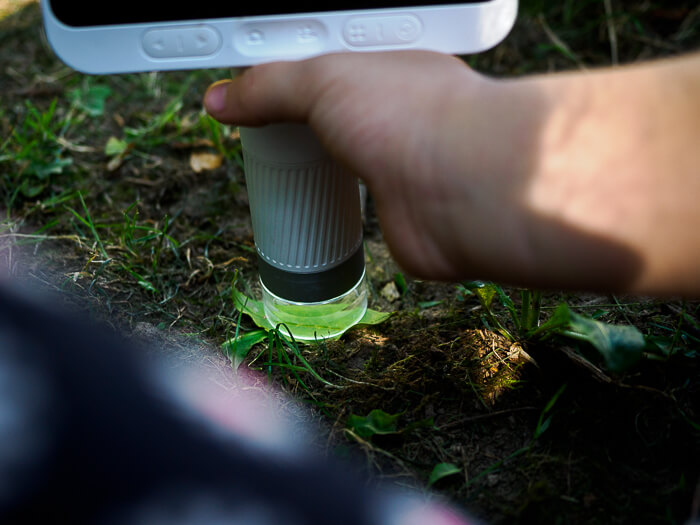
I also like the idea, that it is a modular design: the detachable tube-unit with the screen can be taken outdoors for optimized mobility and flexibility.
For static indoor setups, the tube-unit can inserted in the base-unit and creates a traditional microsope with extra features.
When using a microscope I expect to get really close!
The advertised magnification range of 100X-1600X of the hybrid-zoom sounds great and should show details, which I would otherwise have to use my considerably more expensive macro camera setup for.
I was not sure though at first, if the 2 MP CMOS-Chip would really put out highly detailed photos and videos.
For the M2 screen, it should be no problem.
To summarize my expectations: I was very curious to find out how these specs would work for acually using the DARWIN M2 microscope.
The thing I was looking forward to the most, was seeing how my daughter would like using it (Spoiler: she loves it).


My M2 came with a set of 2×5 prepared samples on glass slides in little plastic containers.
That is a great starter, if you do not have any subjects available.
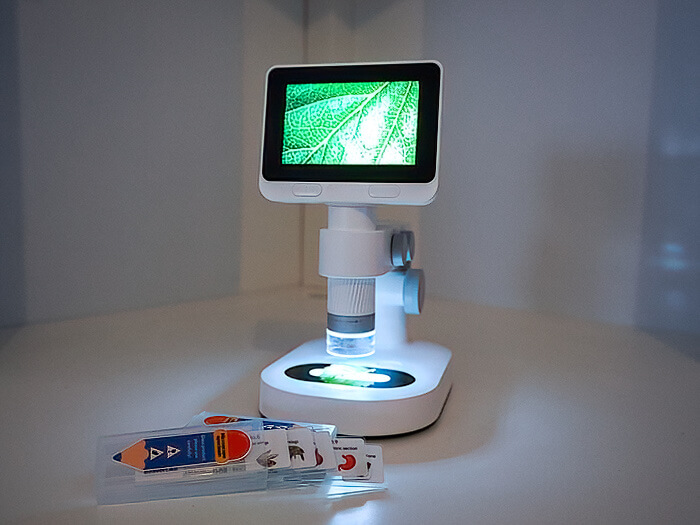
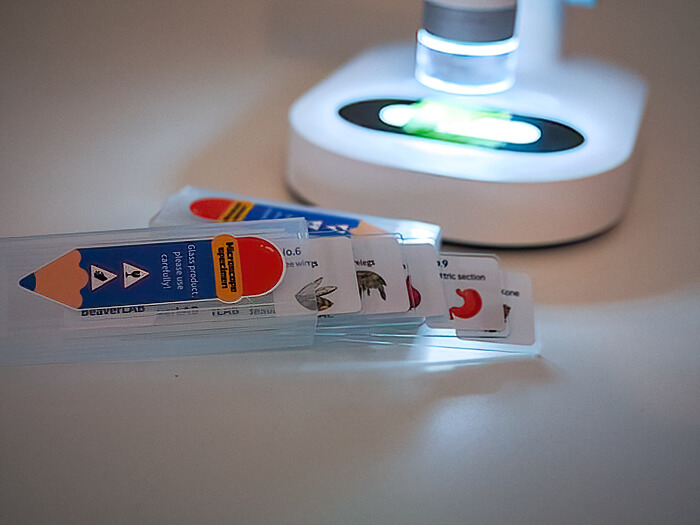
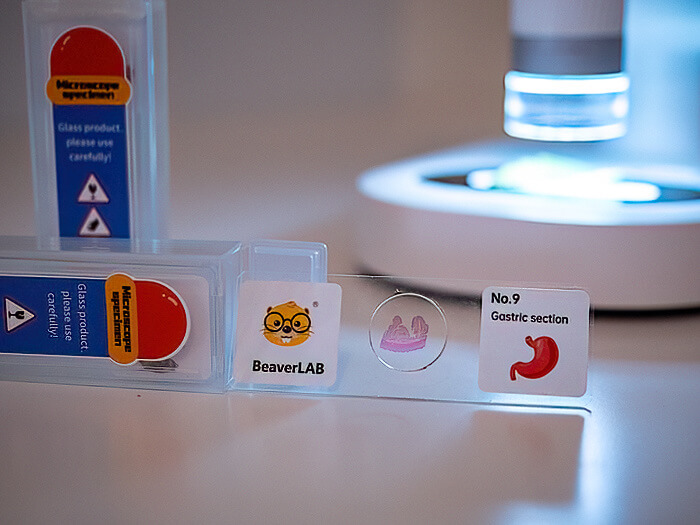
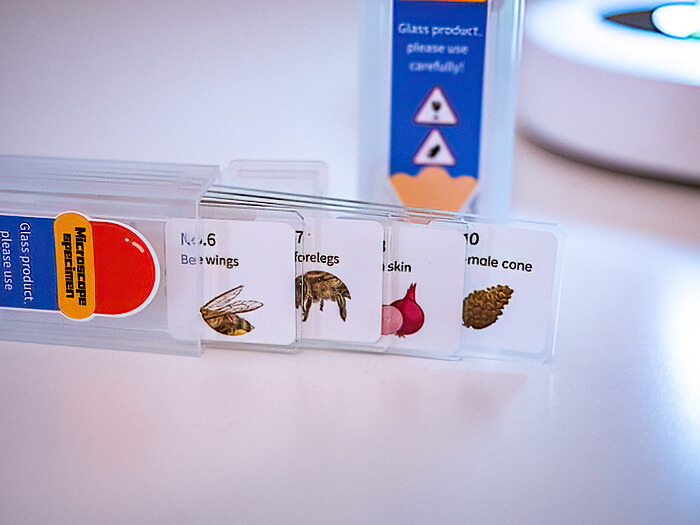
It seems the M2 was initially crowdfunded on kickstarter, so I guess there might have also gotten some backers feedback included in the kits, which is always great.
The included samples i got:
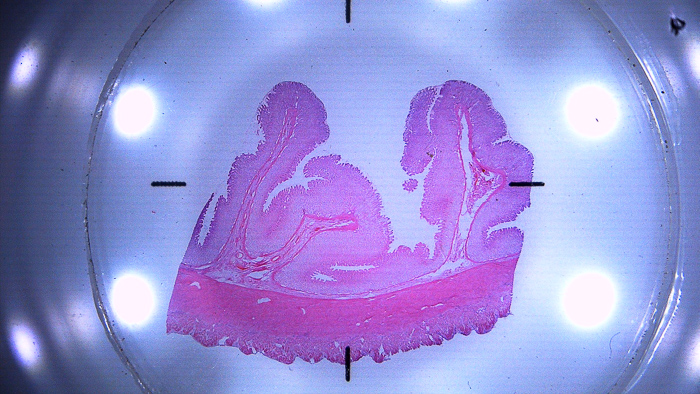
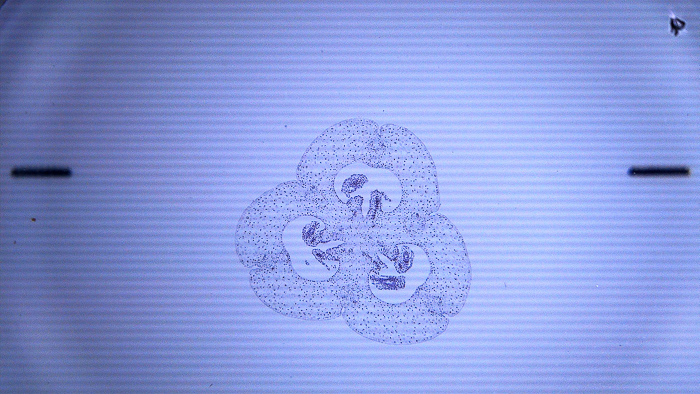
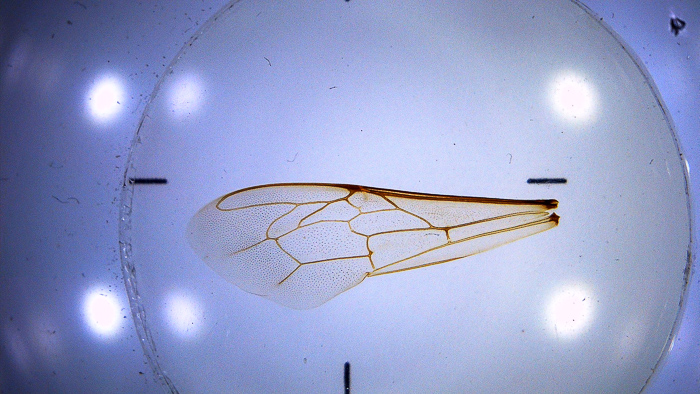
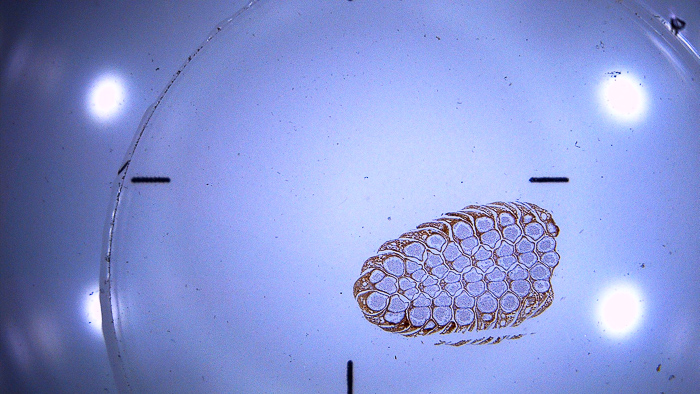
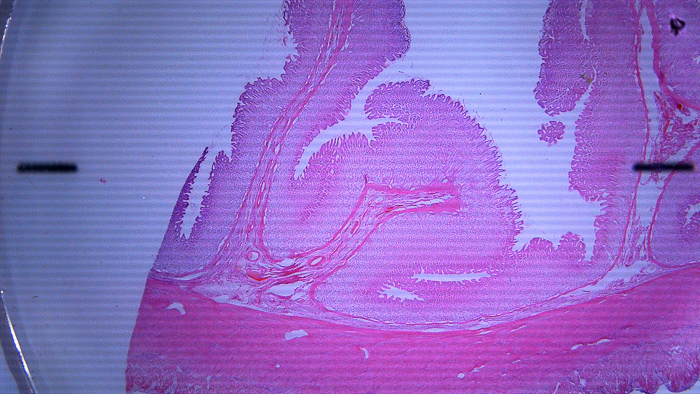
corn seed longitudinally cut, pumpkin stalk cross-cut, pine leaf cross-cut, lily ovary slice, pine leaf crosscut, ant, bee wing, bee foreleg, onion skin, gastric section, pine male cone.
Build quality and handling
From the first moment, the DARWIN M2 felt solid.
Even unboxing showed that this was a budget but quality product.
The packaging fits all components securely with molded foam toppers.
Handling the microscope is very easy and there are no wobbly parts at all.
Everything is fit and the turning-handle to change the magnification or zoom has a good friction.
The microsope has a removable protection lid and its lens sits way back inside the tube, so the optics should be safe even when kids handle it.
Honestly I think it would probably survive moderate falls without (outer) damage but I did and do not want to test that (despite the 1 year warranty)!
Better be safe than sorry – and let us not forget there is a chip inside the screen section as well.
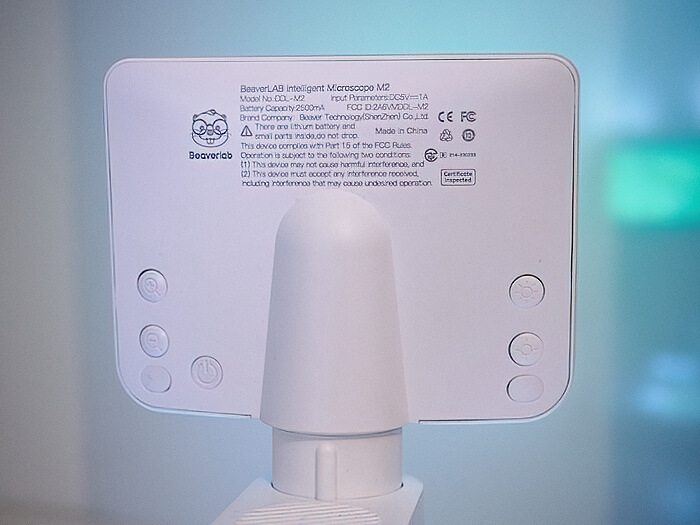
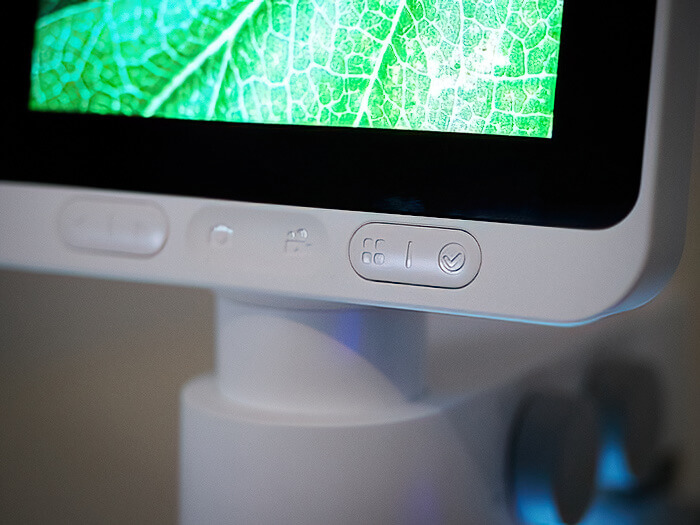
To record a video or take a photo, you have to simply tap a symbol on the screen´s rim.

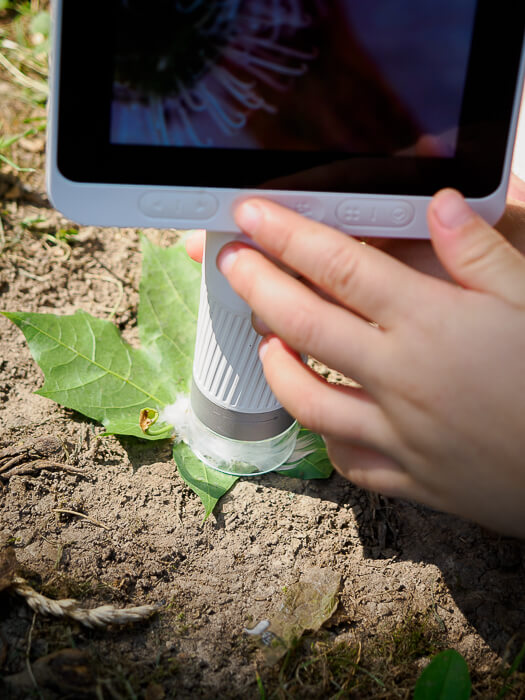
The media files can also be reviewed directly in the tube unit.
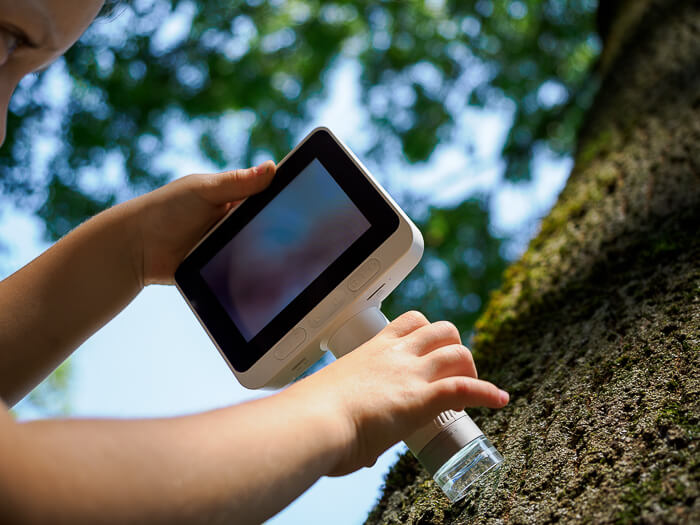
Loading the DARWIN M2 battery is supposed to take approx. 2 hours and it can then run for 5 hours.
I did not measure the time yet, but it comes close, as I was using the M2 regularly before I had to reload for the first time.

Specifications and features of the DARWIN M2
| Sensor | 2-megapixel CSP CMOS |
| Screen | 4.3 inches, 24-bit IPS |
| Resolution (Video) | Full HD 1080p at 30 fps |
| Connectivity | Wi-Fi |
| Magnification | 100X – 1600X |
| Storage | SD 32GB |
| Weight | 650g (Tube 237g) |
| Port (charging) | USB-C |
| Brightness range of lights | 0~30 LUX |
| System | Android 8.0/iOS 12.0 or above |
| Product dimensions | 180*122*220mm |
| Battery | 2500mAh + 1800mAh |
The features of the DARWIN M2 in action
Lighting
Aside from simply being a portable, super flexible and easy-to-use microscope, the M2 actually has a lot of design elements that really make sense and assist working with it.
It is obvious that there has been a lot of thought going into the design.

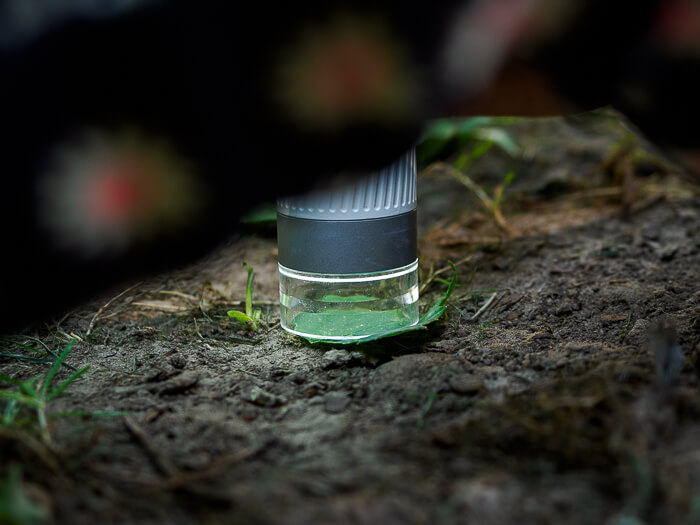
Having two (dimmable) light sources guarantees the best lighting even in challenging scenarios.
There is the LED light from the microscope tube, and there is another light source inside the base as well, illuminating your sample from the bottom.
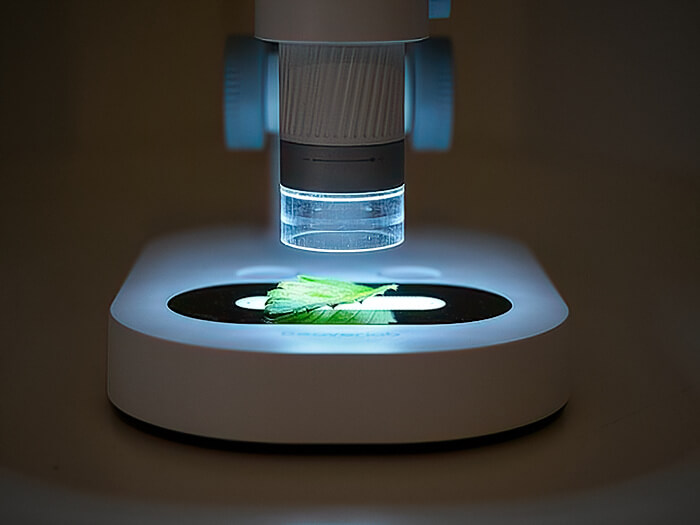
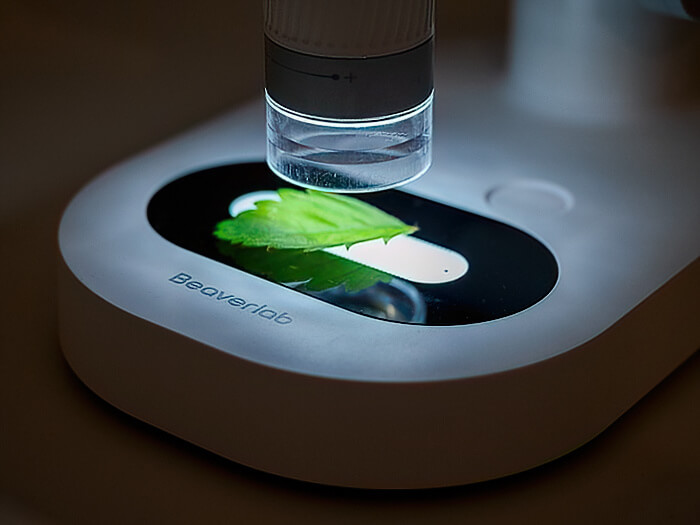
Additionally the bottom light source can also be RGB colored, which is a nice little feature.
While sometimes the software has problems to adjust the exposure just like you want it, a bit of playing around with the two light sources usually works out in the end.
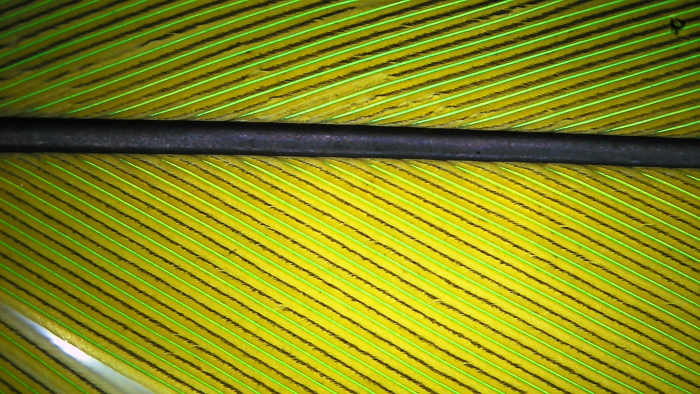
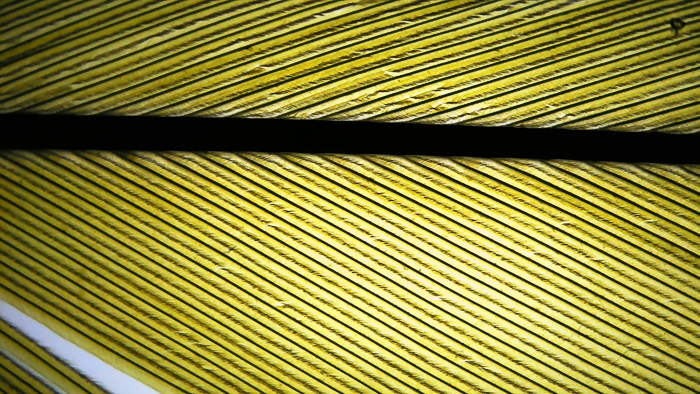
The light from under the sample is great for transparent subjects and really helps to visualize delicate structures.
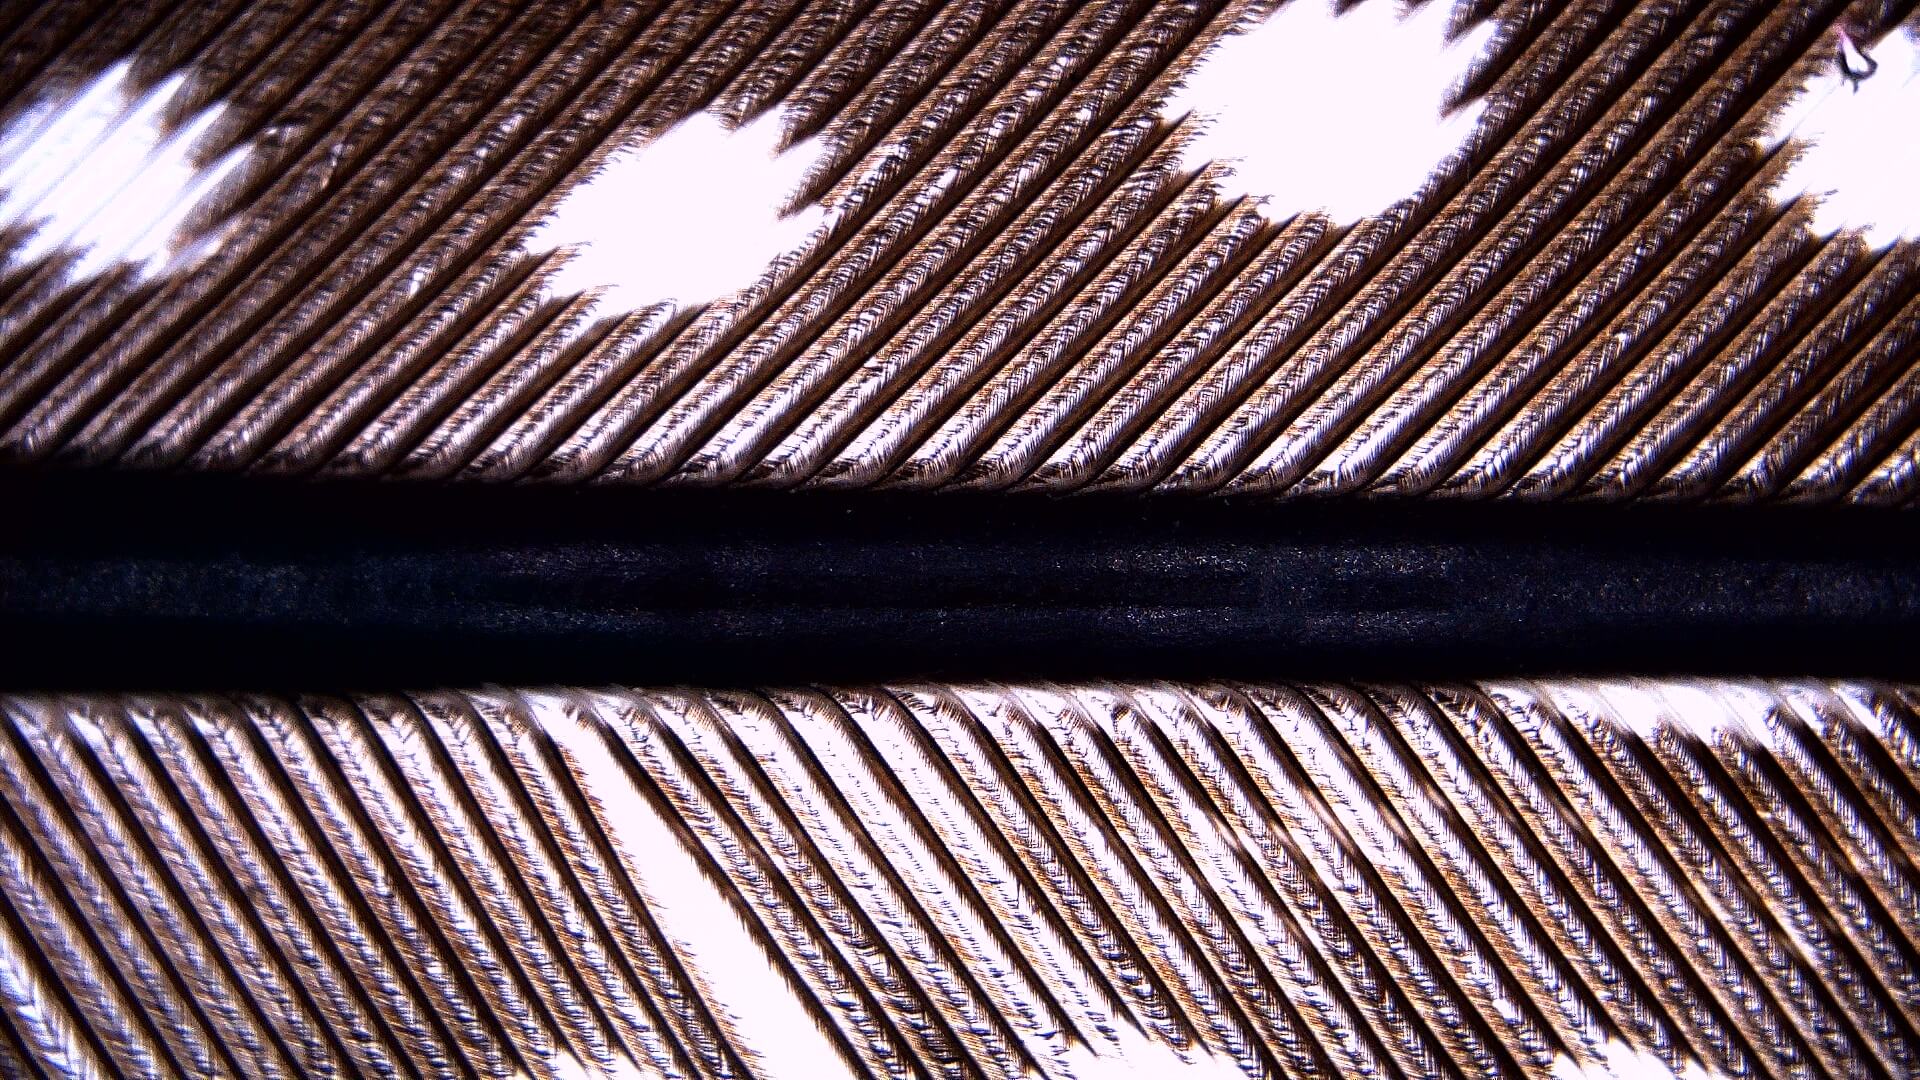
Here, the parrot feather is only illuminated by the top LED.
Here, the parrot feather is backlit by the bottom LED only.
Getting close
To get in really close, you can use a digital zoom by pressing the + button on the back of the tube unit.
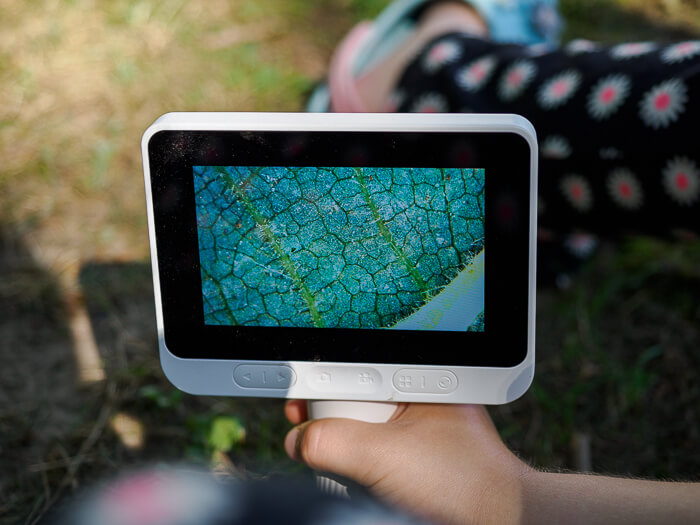
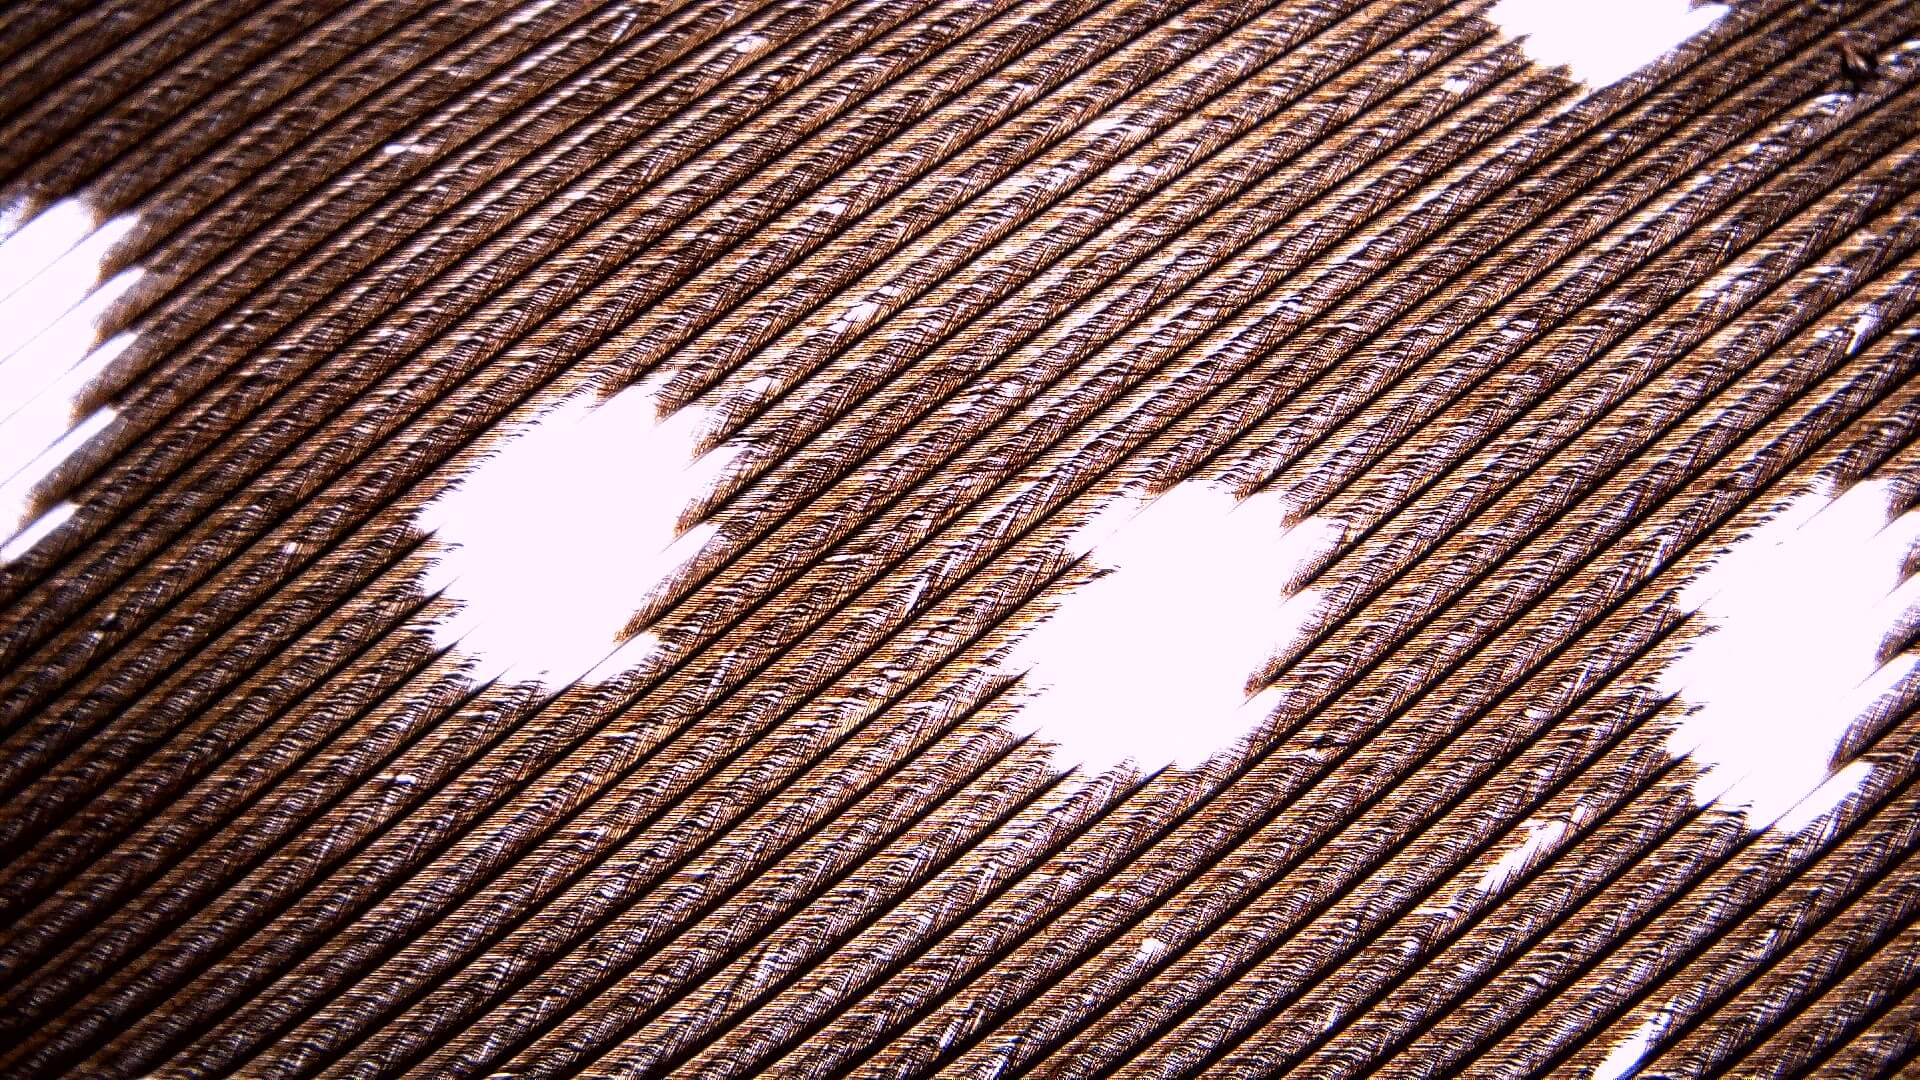
This way you will get that real microscopic effect and make little cells on leaves visible, or see the intricate structure on the organ slice that comes with the samples.
Here are two images each to illustrate the zoom and change in details (click to enlarge to original size).


After using the microscope half a dozen times for a longer time now, I must say that the handling works really well.
From changing the height of the tube unit, to zooming or placing the specimens it is all smooth and also kids can operate the M2.
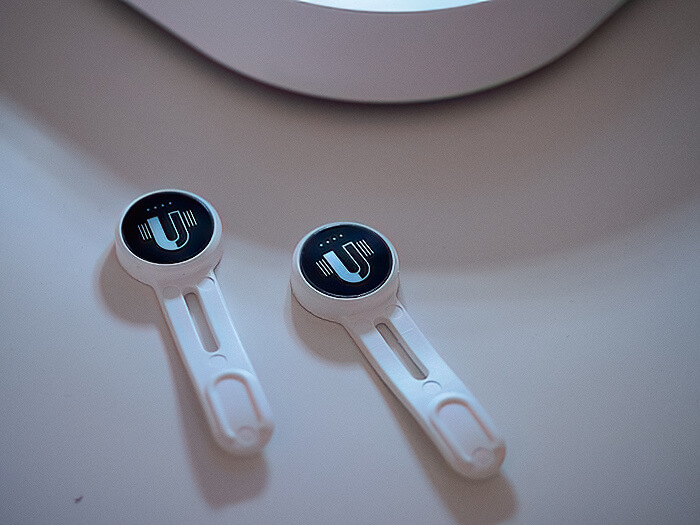
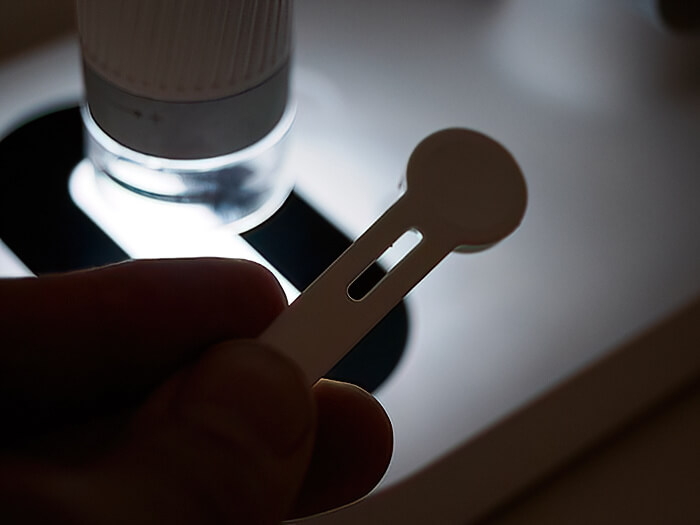
If you are using the glass slide samples, you can secure them with additional magnetic slide holders.
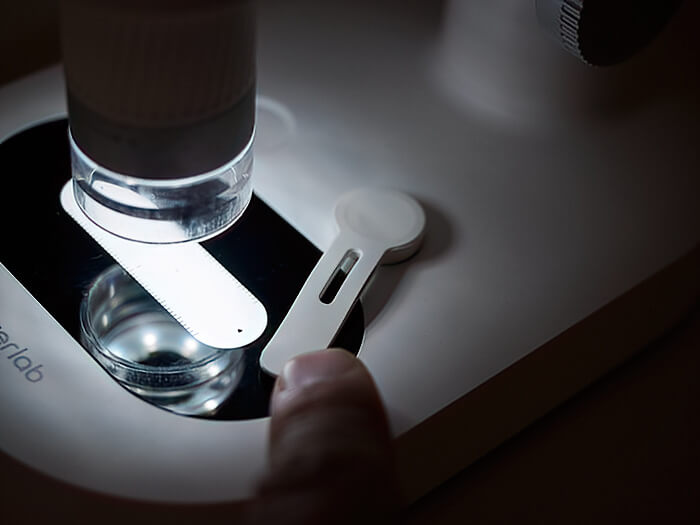
Using the DARWIN M2
Really my only minor complaint would be, that the two buttons for recording and taking photos are touch only.
Generally speaking this is great, as it prevents you from using to much force and accidentally pushing the microscope.
Unfortunately it sometimes happens, that you activate the recording function without noticing and when you want to take a photo then, this will not work.
It took me some time to realize, that I was recording (you can see the time counting in the top corner) and first had to tap the video button again to stop the recording.
On their website Beaverlab lists various fields that the DARWIN M2 could be used in.
There are a couple which I would never have thought of and they actually make sense: circuit board maintenance, coin appraisal, skin testing and more.
For me personally, the greatest potential of this portable microscope definitely lies in education and teaching, preferrably to get the youngest in contact with nature early.
DARWIN M2 Microscope image quality and sample photos
Image Quality
Judging the image quality of the M2 was difficult for me, as I am used to my macro photography deep stacks with their insane level of detail.
To be fair, my macro camera setup is on a completely different level with its way bigger sensor and superior optics.
At the same time it costs more than 20x the DARWIN M2´s price!
However, we simply cannot compare these!
For me, it was even a surprise the M2 actually HAS the ability to record both videos and photos, which is great!
Looking at the actual results, I must say the quality is better than expected.
More than enough for posting highly detailed textures on social media or even your website.
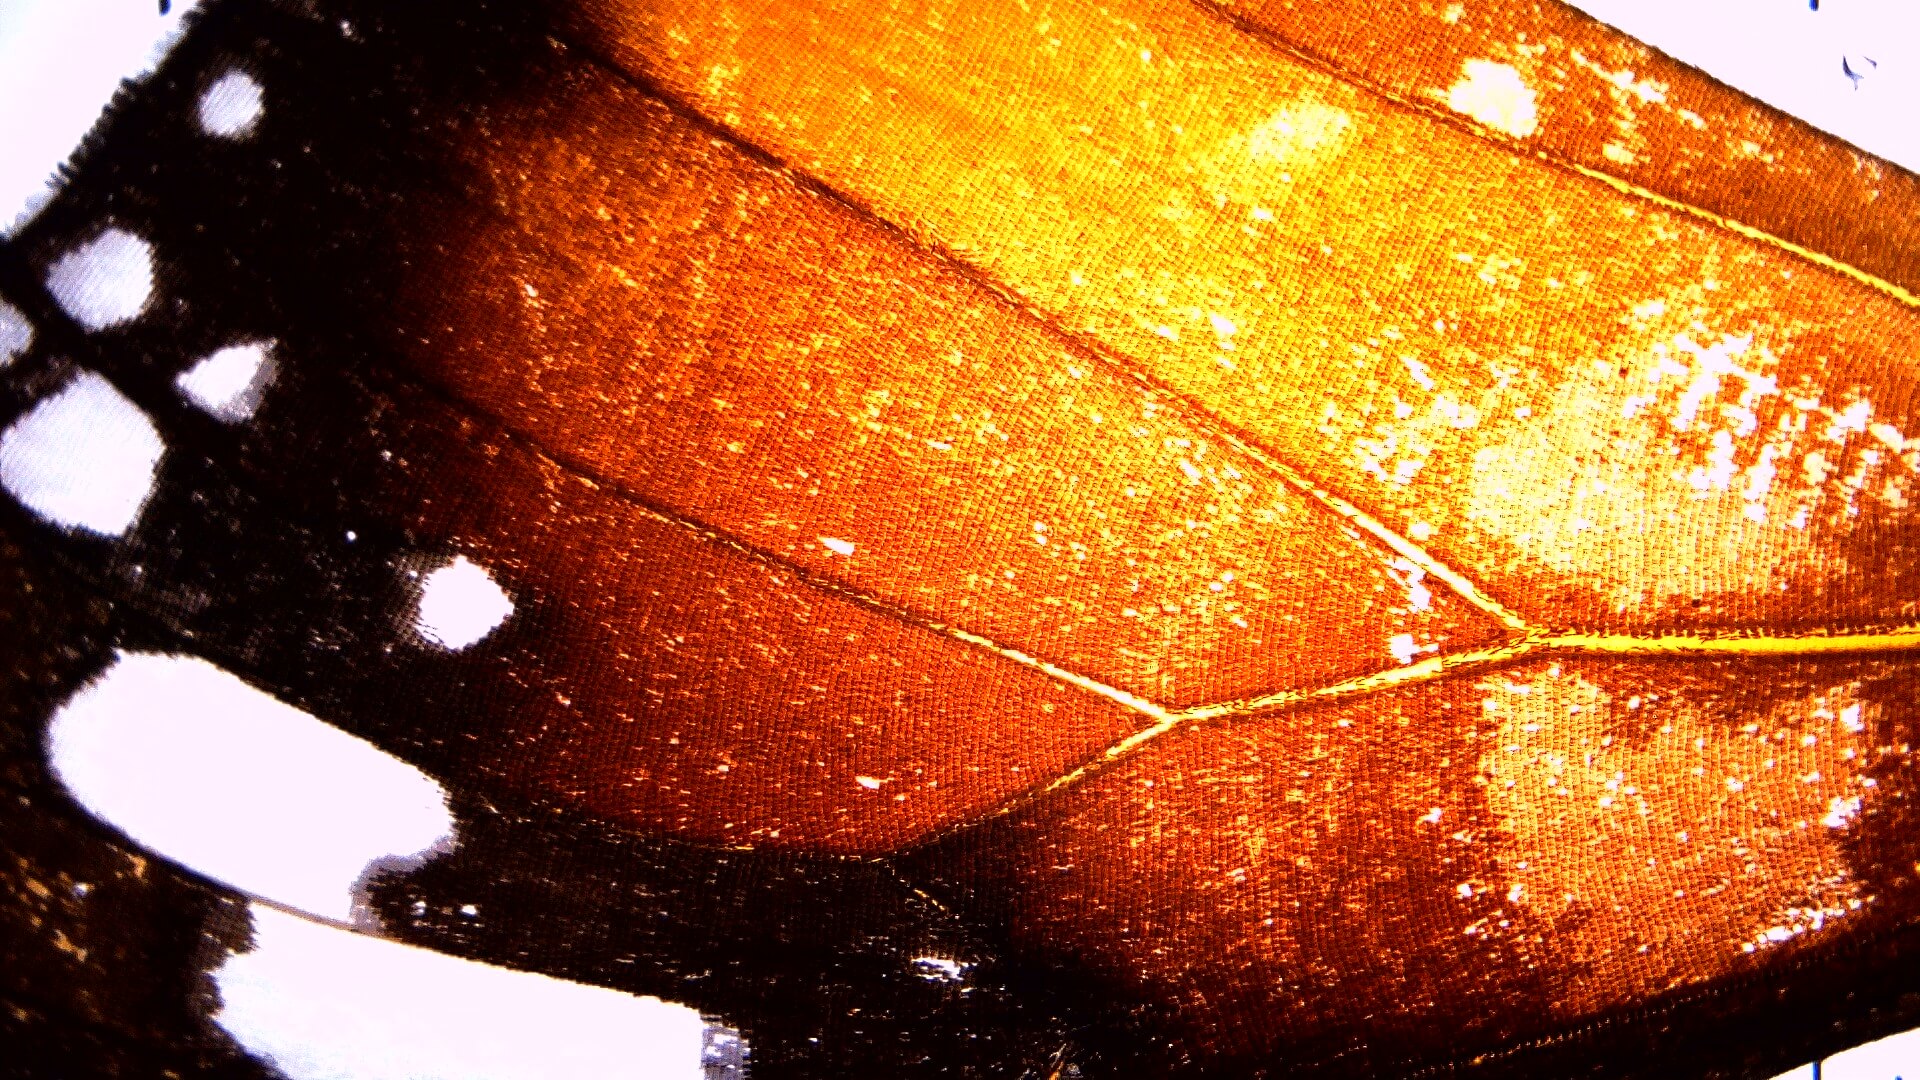
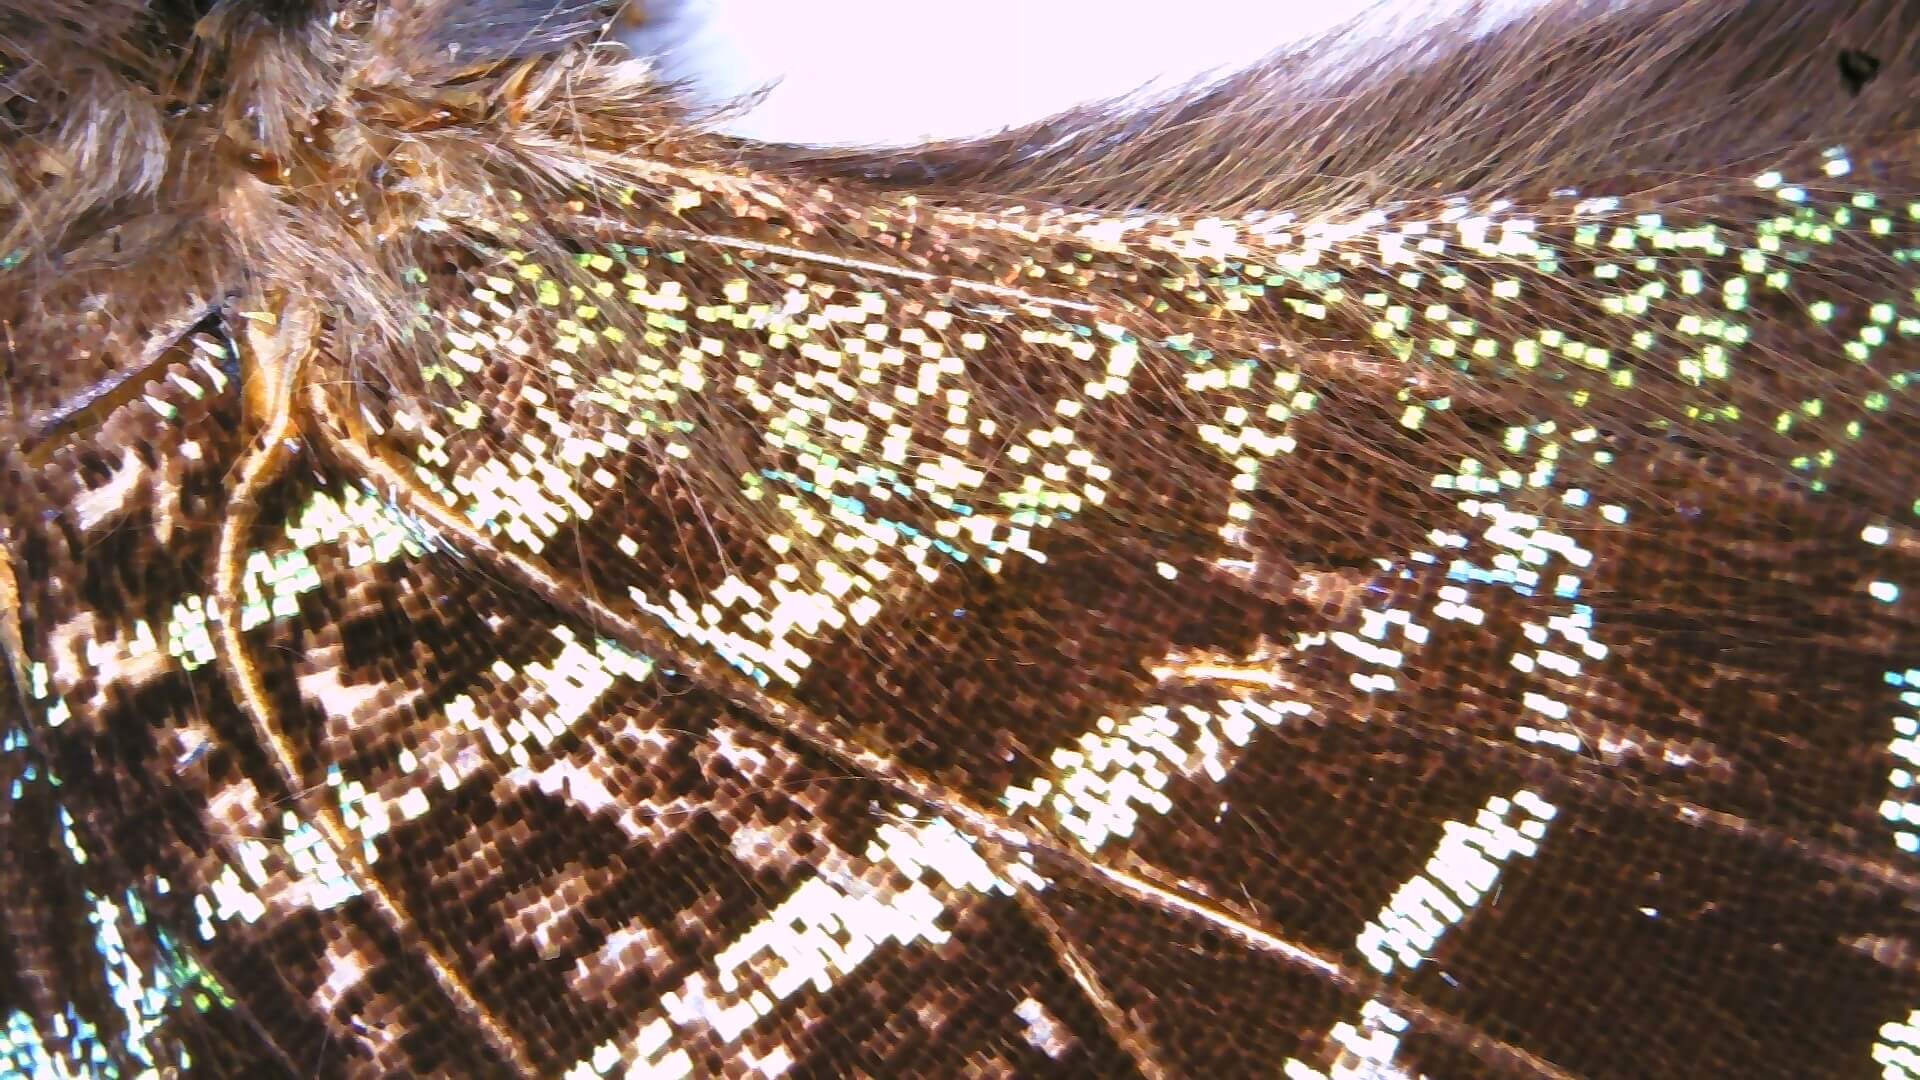
I would not print the output JPGs bigger than A5 or blow them up above their native Full HD 1920×1080 pixels dimensions.
Instead the images will benefit from reducing the dimensions slightly.
Image size is roughly around 1MB depending on details and colors photographed (varied between 300MB to 1,3MB for my tests)
We are simply too spoiled by today´s resolutions from TVs and computer screens.
Depending on your lighting some banding might show on the images and they are visibly grainy.
Again, remember the primary use case for the M2 is the live aspect and not necessarily the recording function.
It is great to have that on board though, making it a Swiss Army Knife of sorts!
It works best to photograph flat objects in a static setup
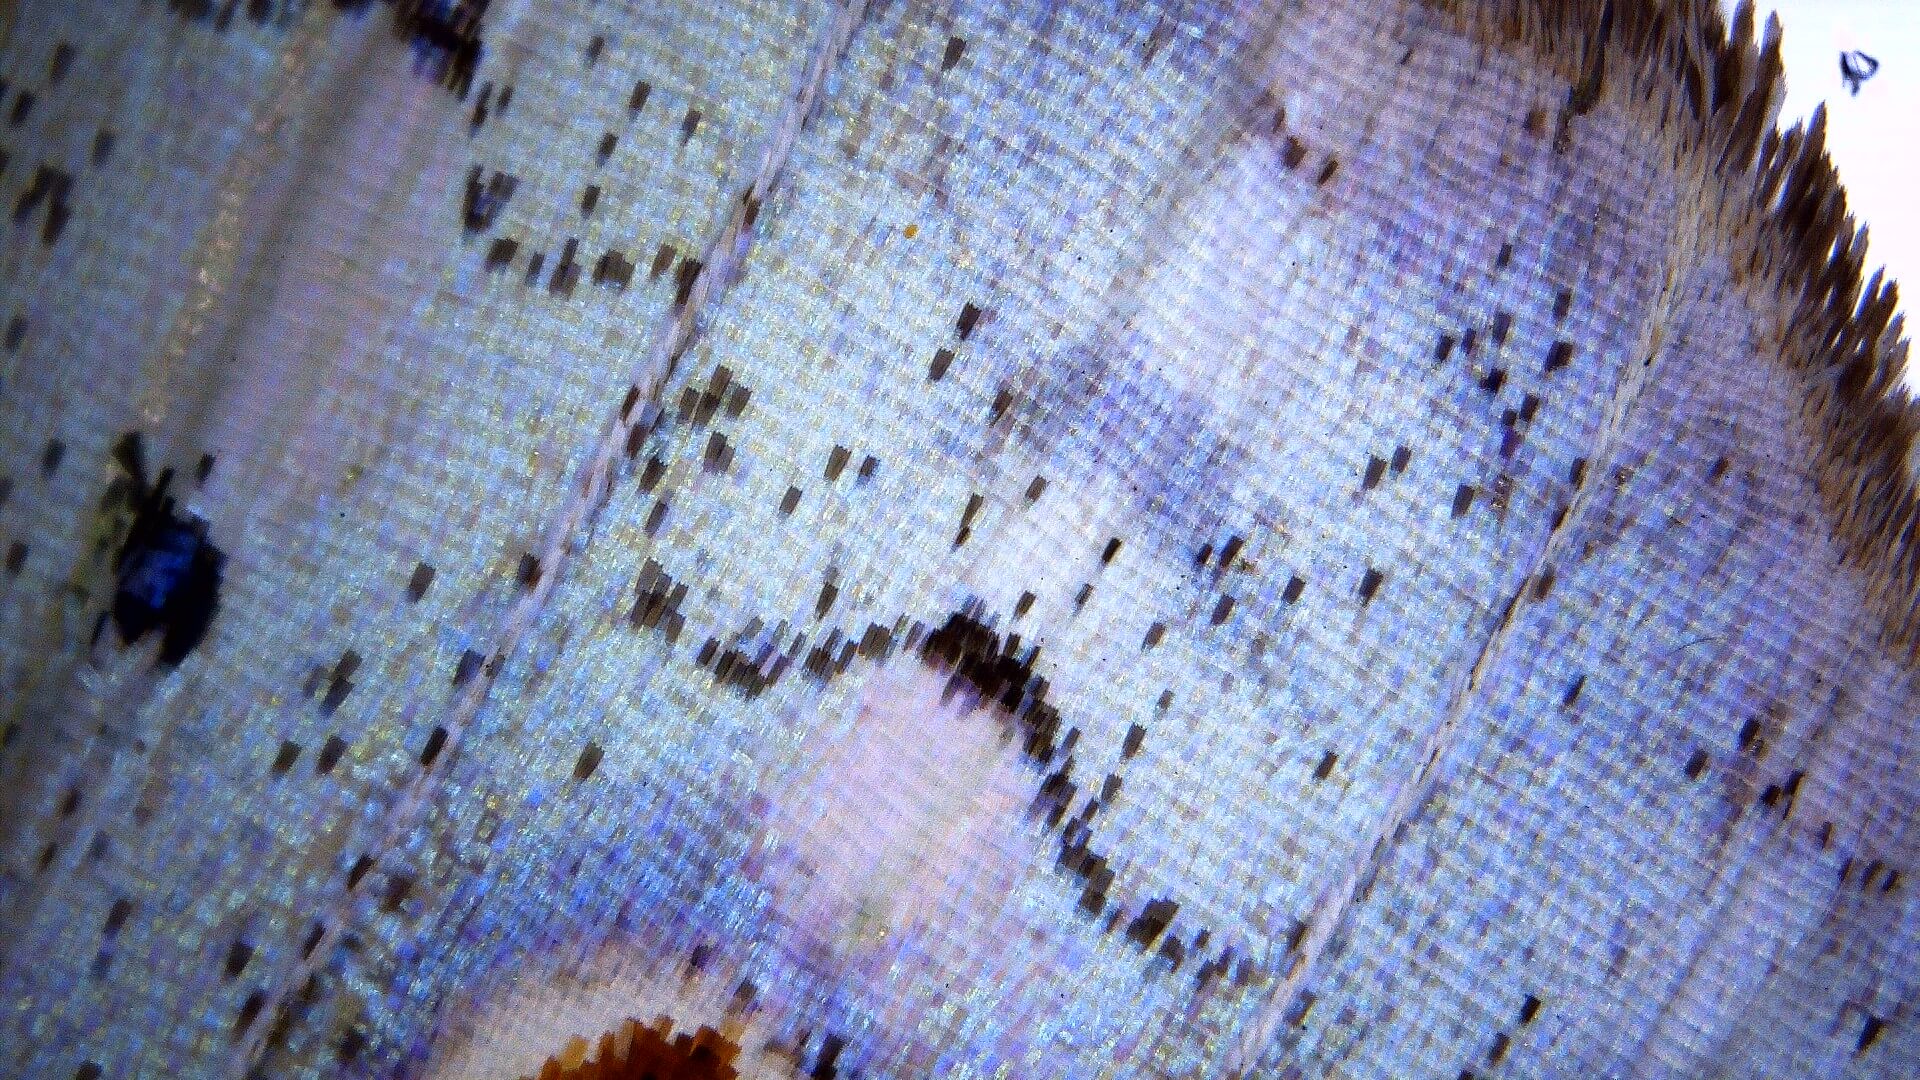
The following photos are both straight-off-the-SD-card and some also shrunk to illustrate how this makes them look a bit smoother.
These are unedited photos in original Full-HD size (click to enlarge).
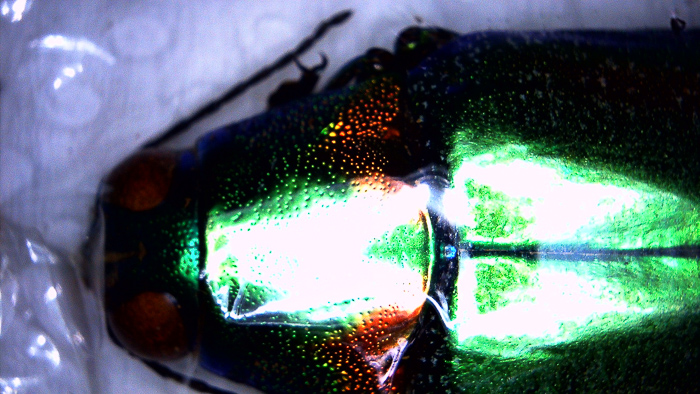
Notice how slight angles can create unsharp areas – to have the complete image in focus, the object has to be flat and 100% parallel to the microscope lens.

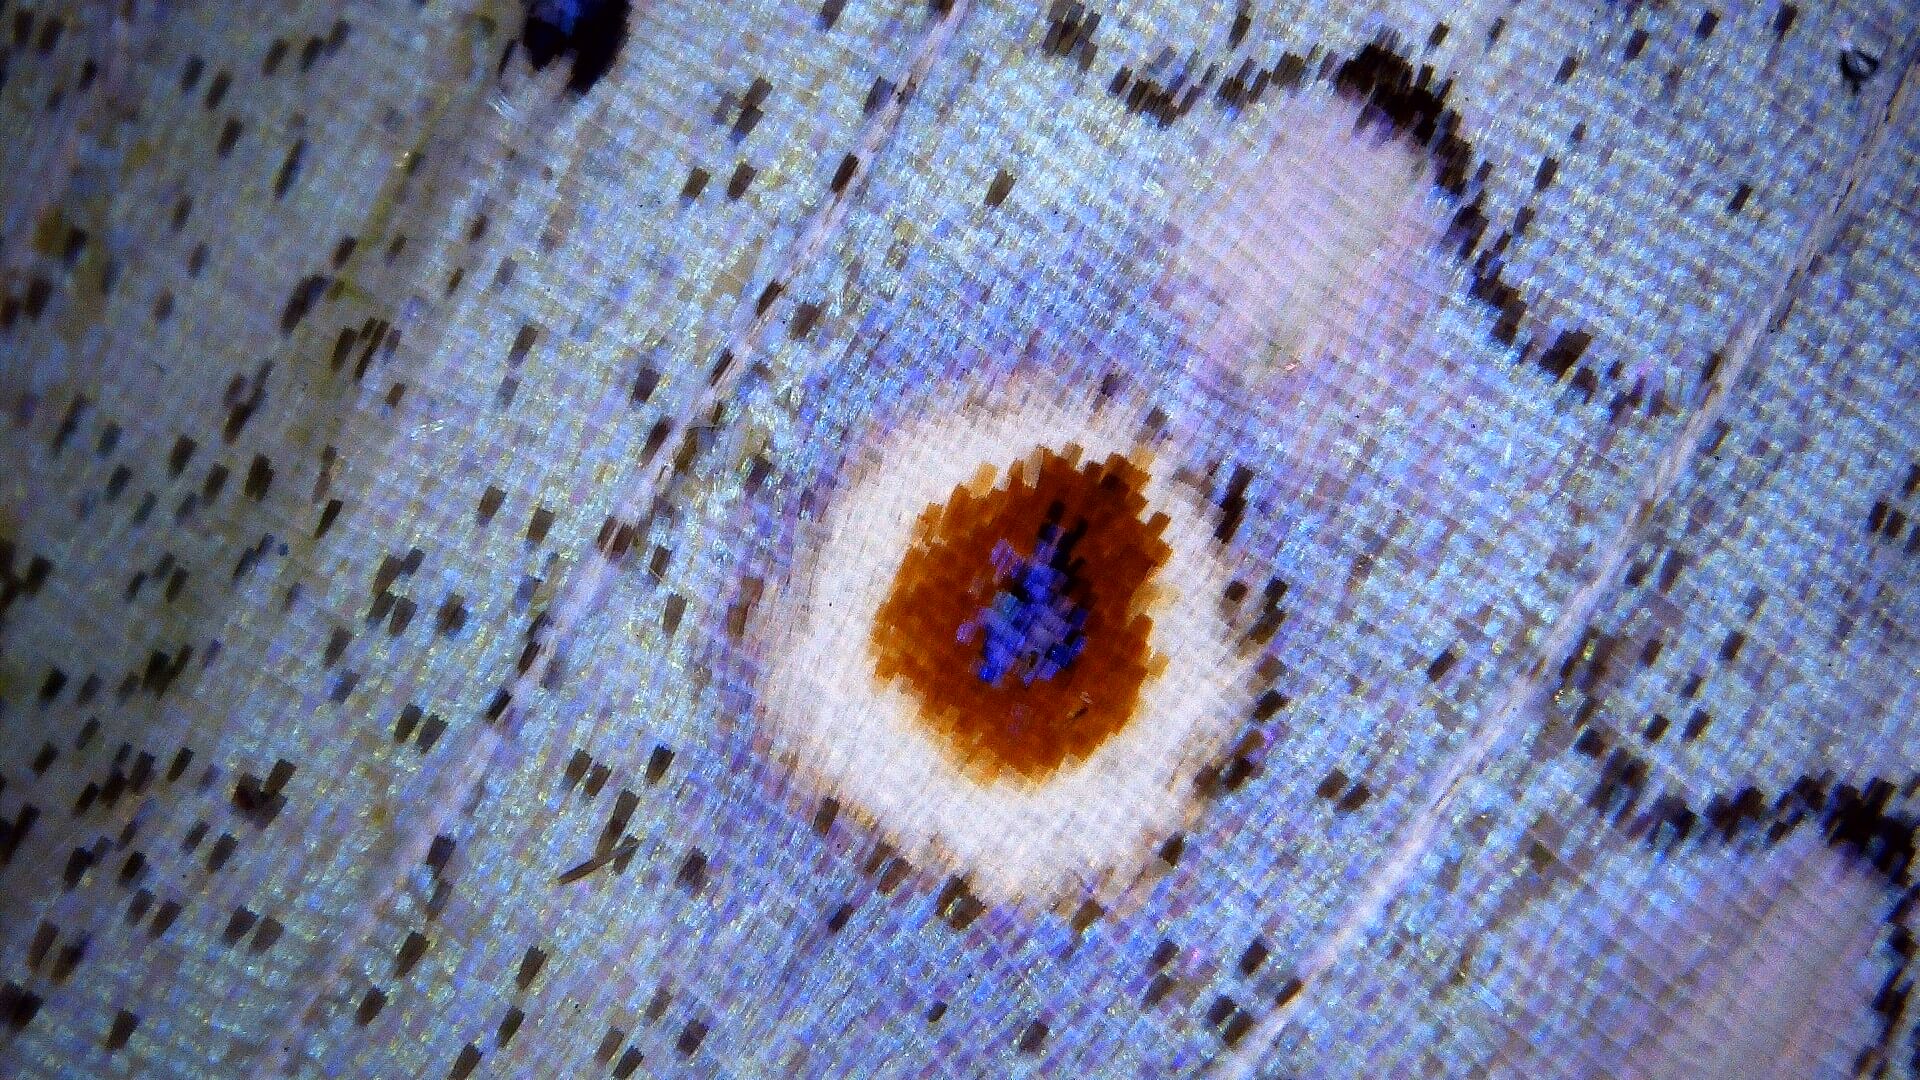




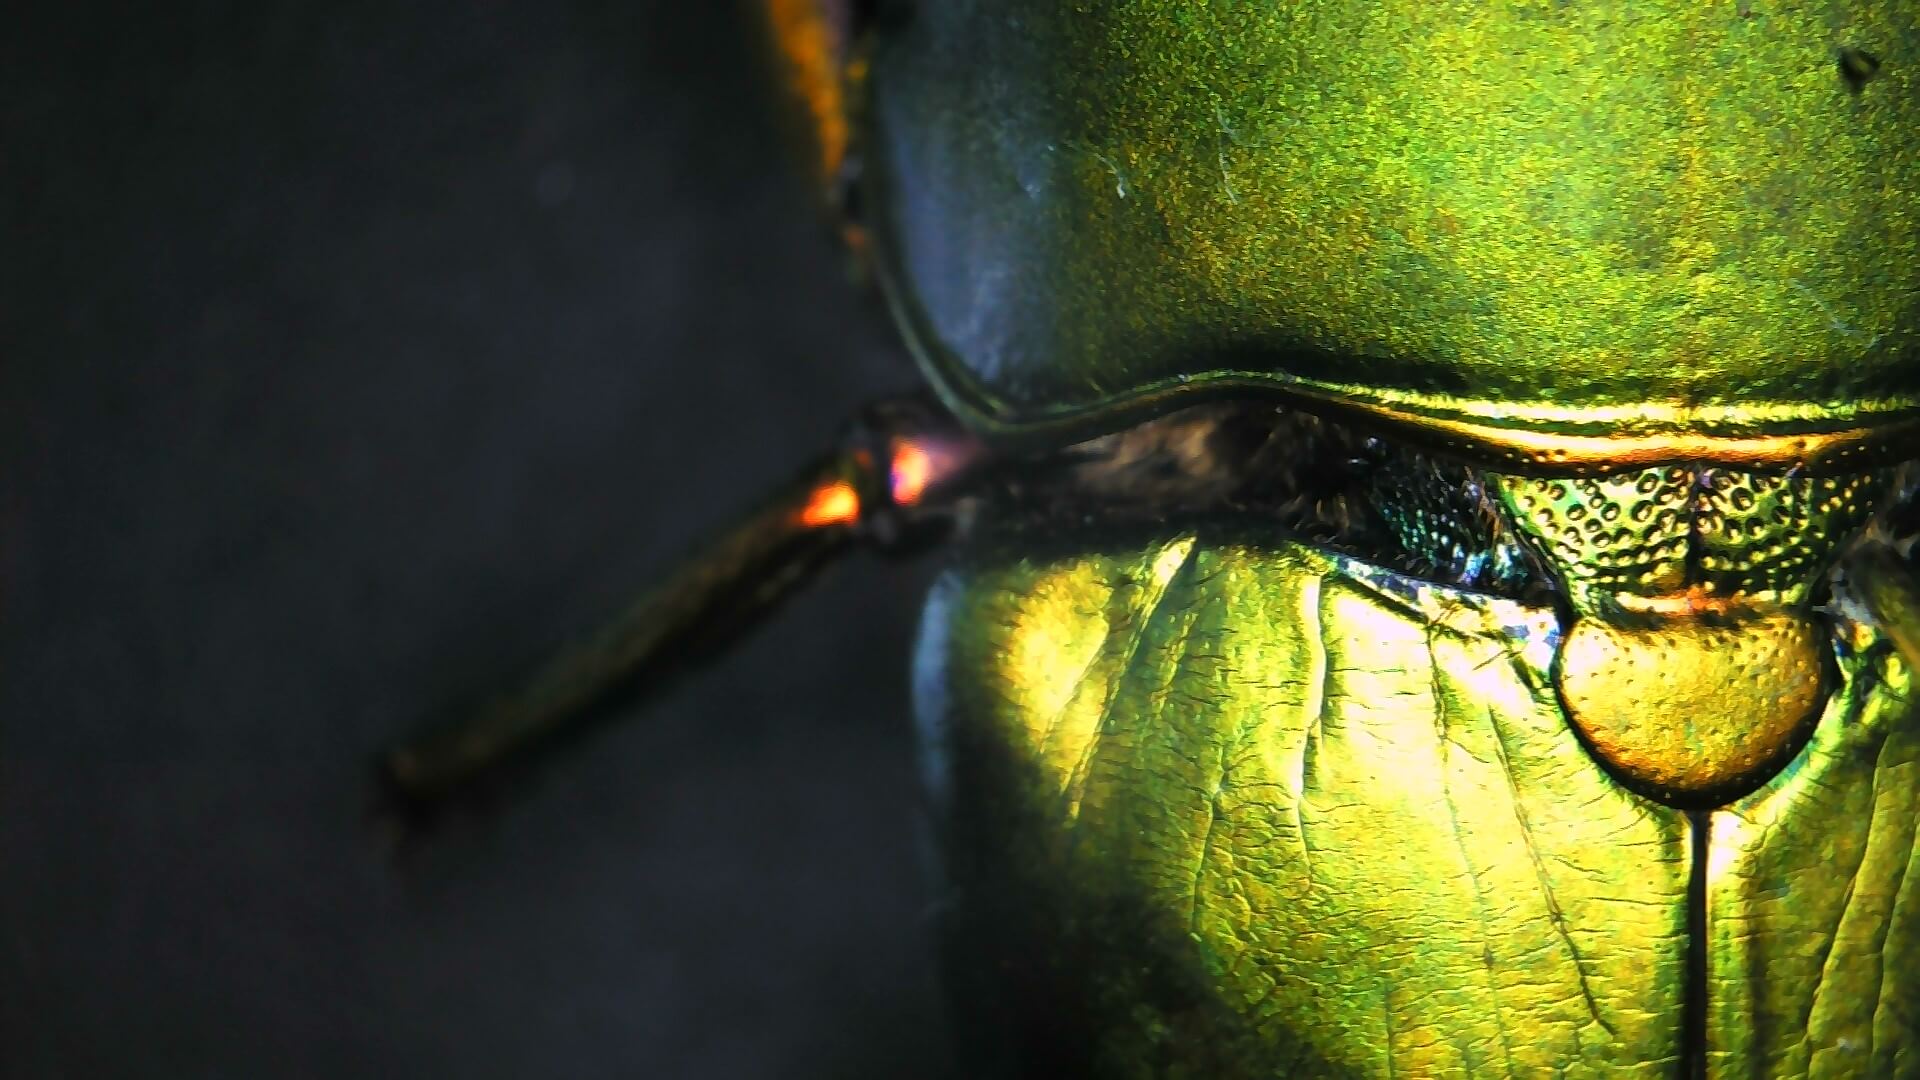
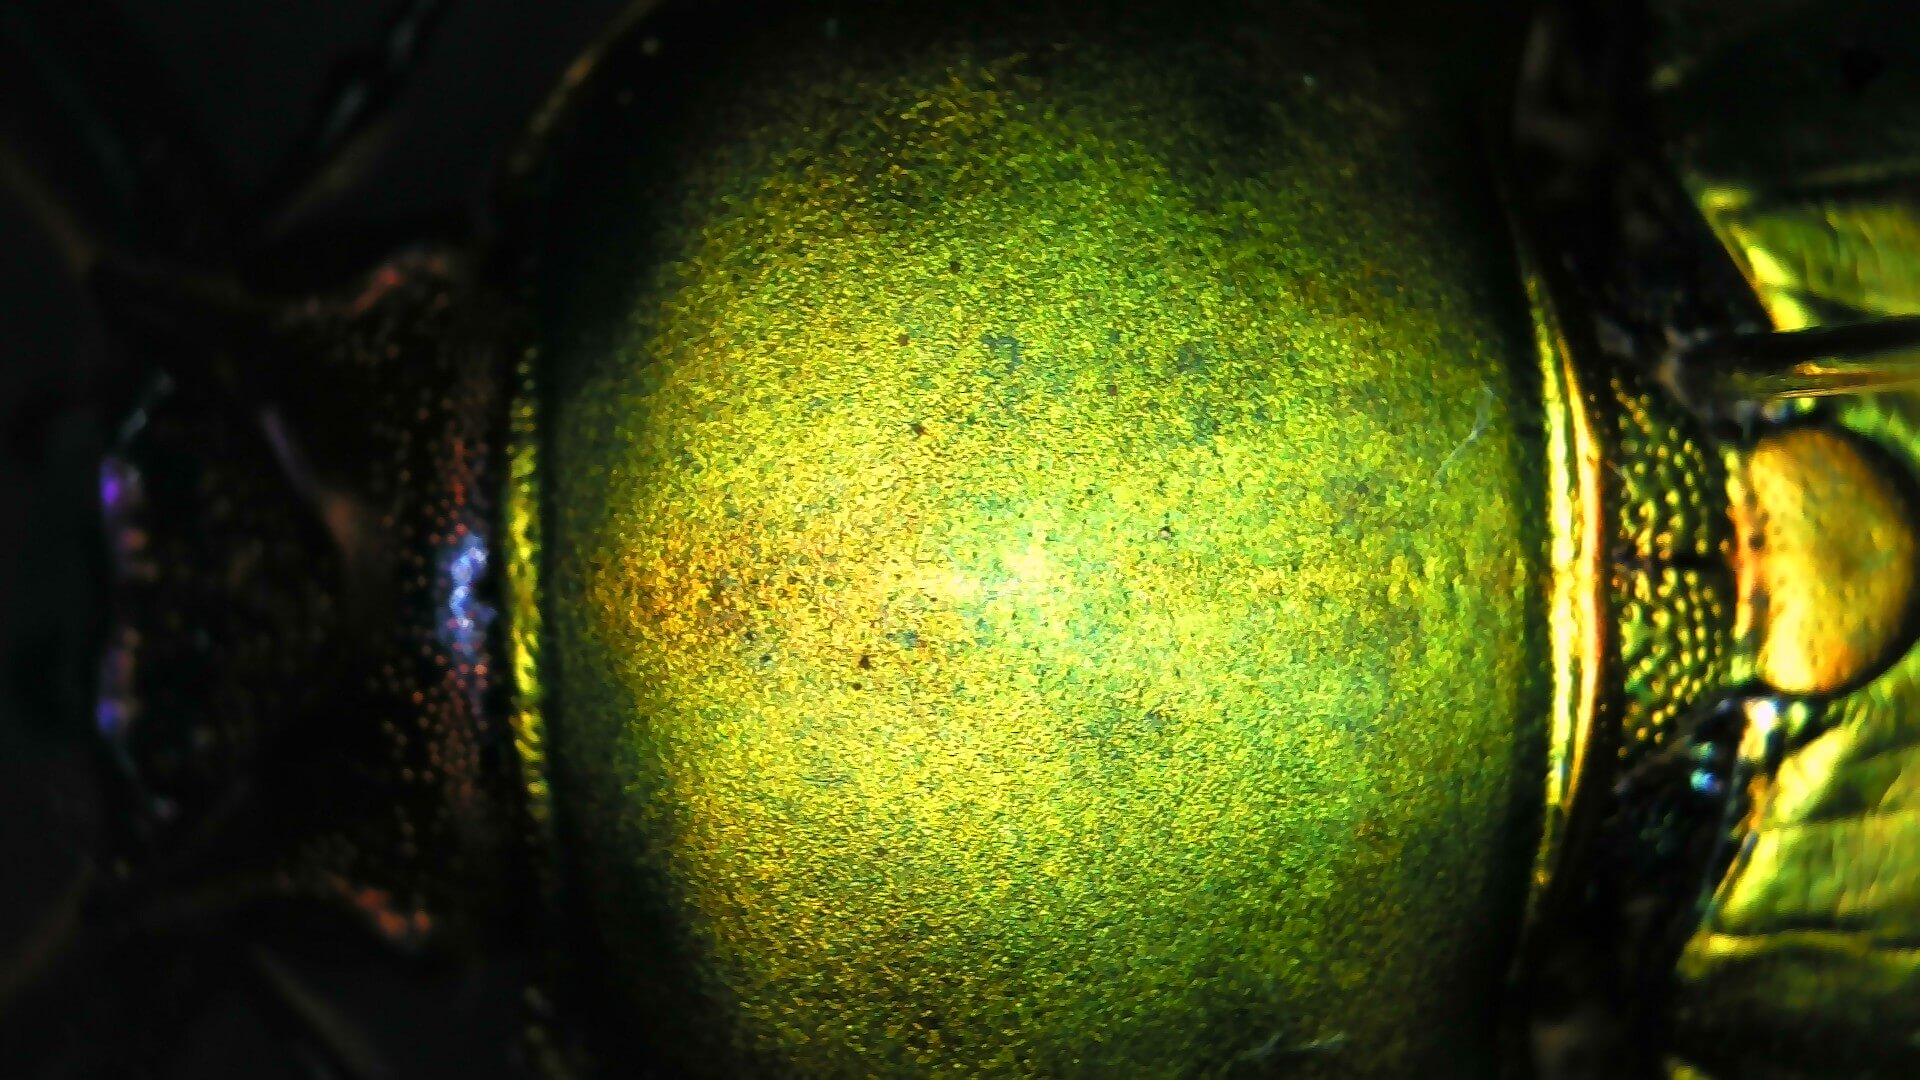
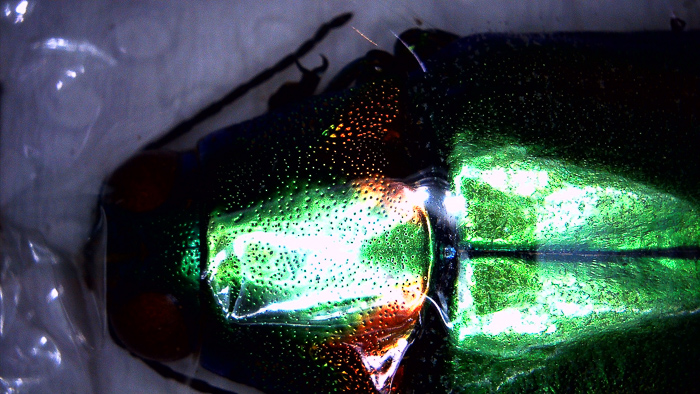
Here I tried to get creative with some beetle details (click for original sized photo)
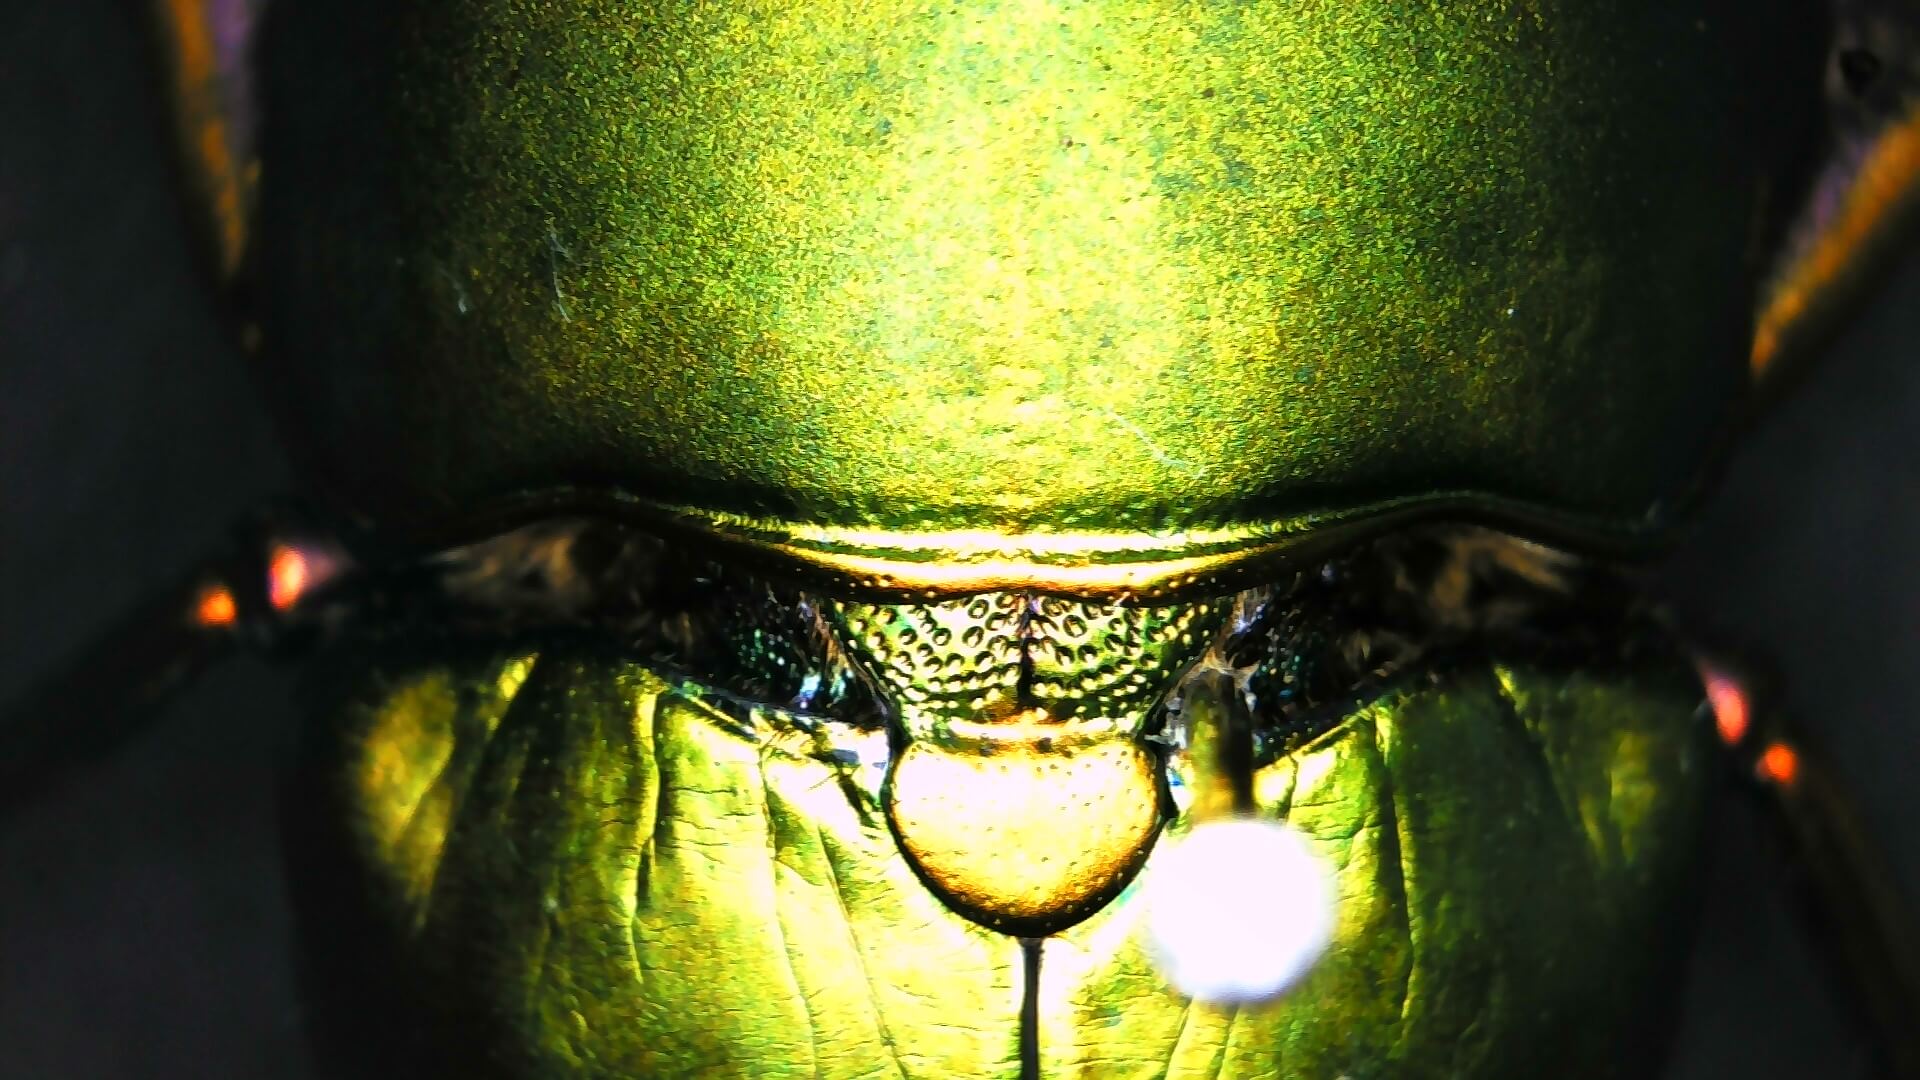
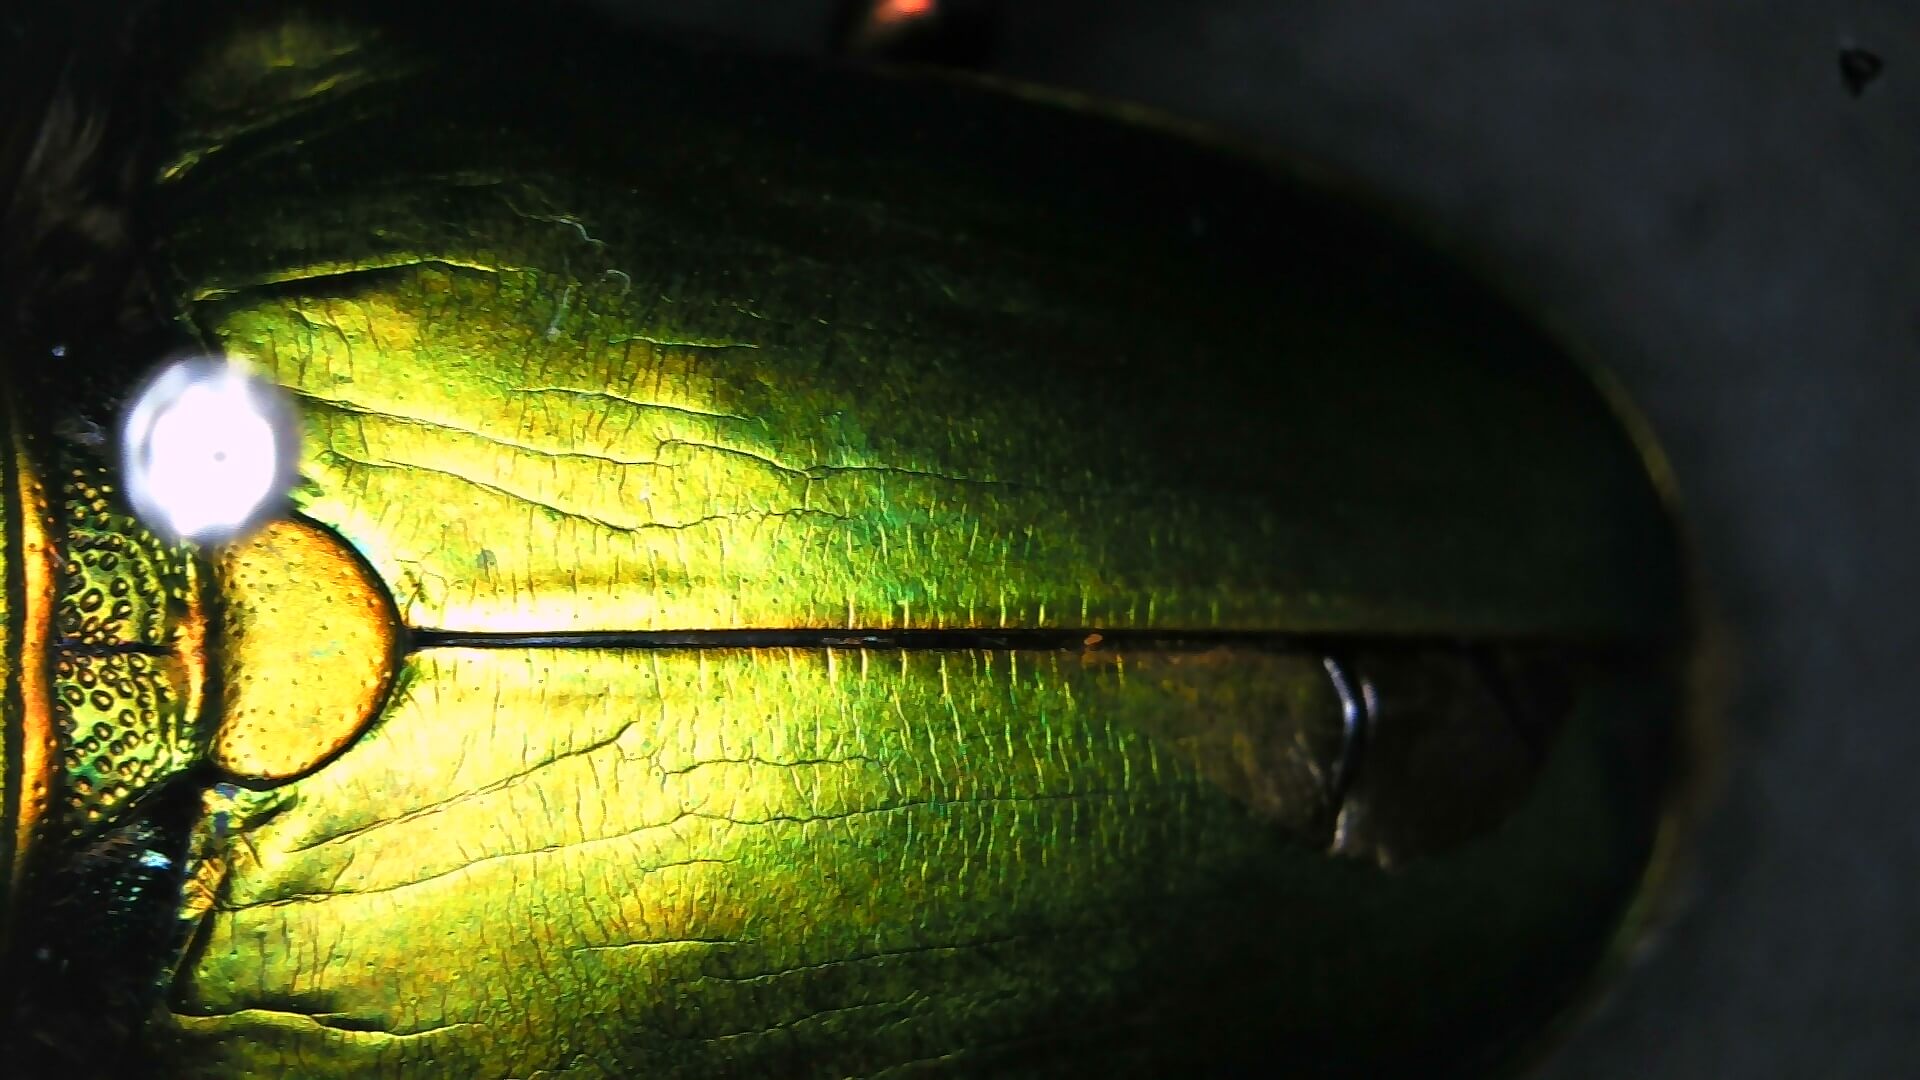
Using the mobile unit in the field, for best results, it requires some patience and also luck to find subjects that can be photographed from a perfect angle, preferrably flat from above.
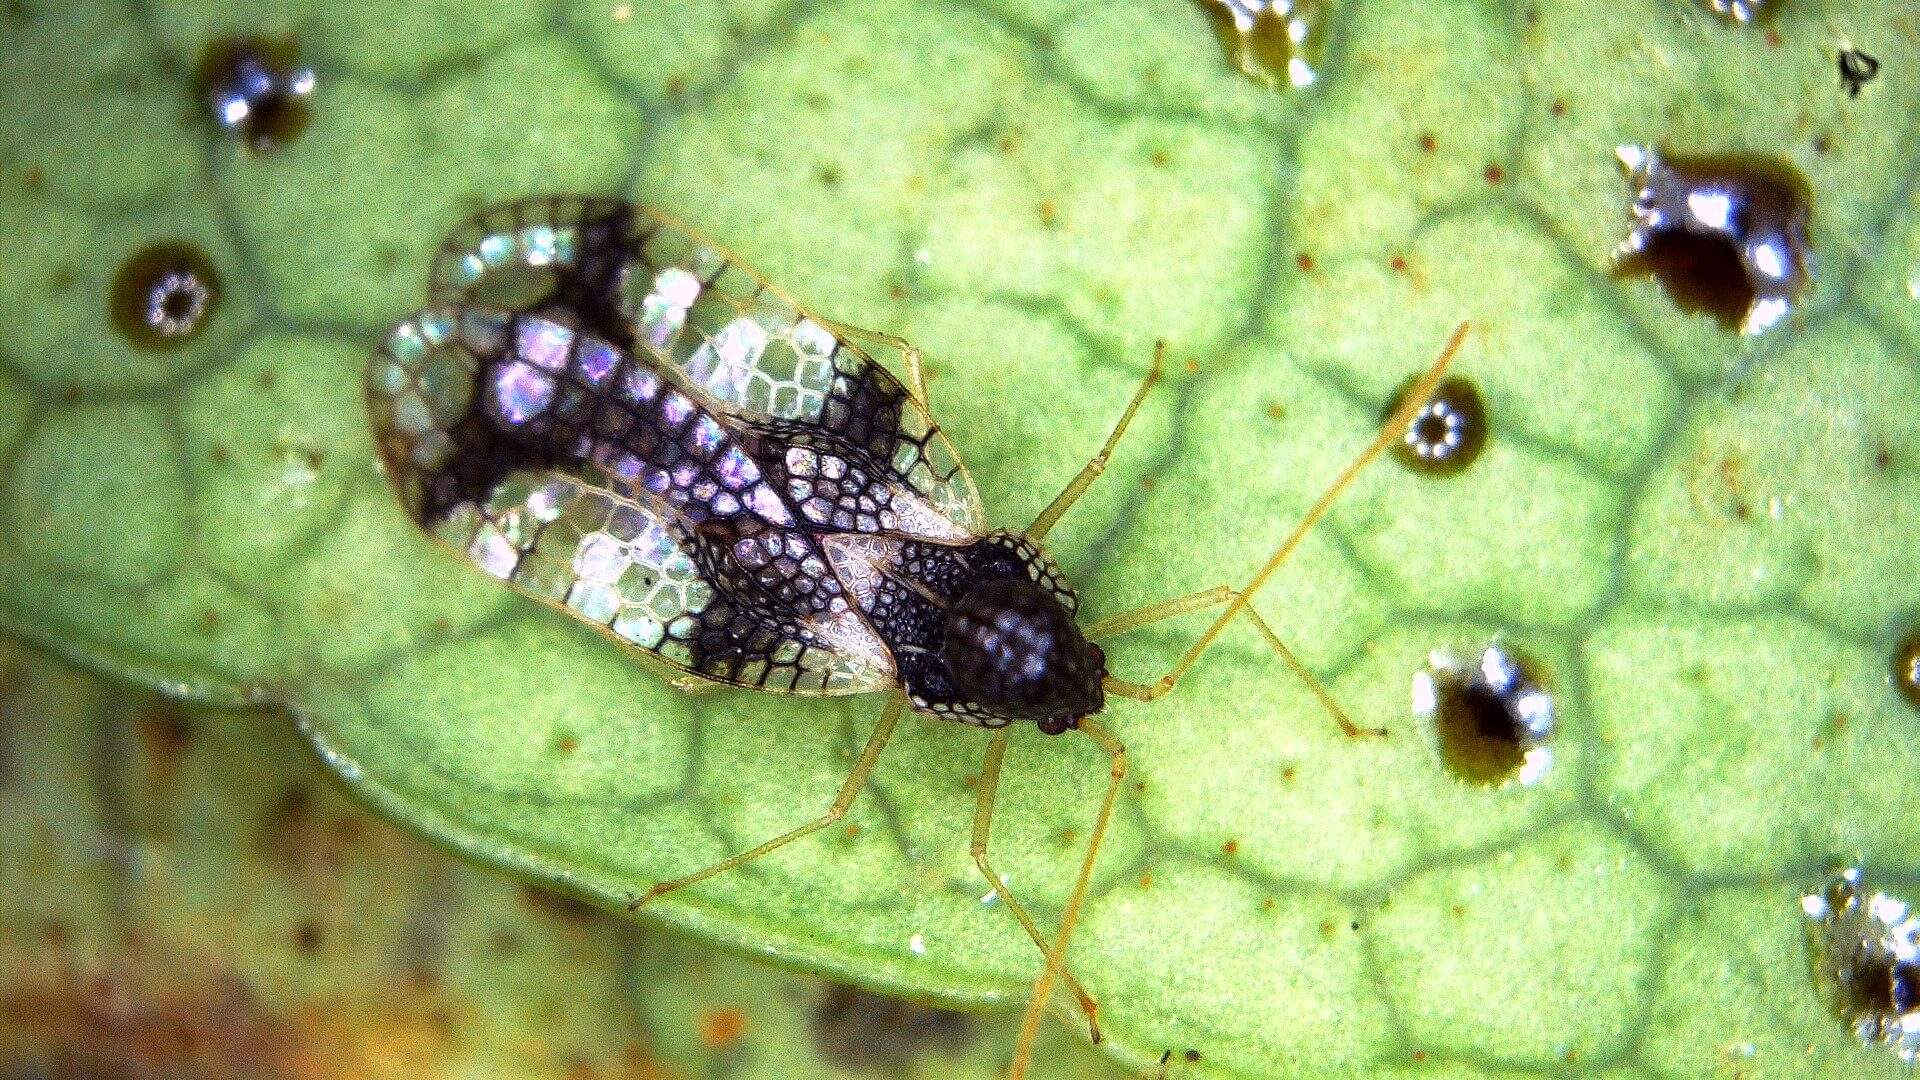
The lace bug on the right is only 2mm long.
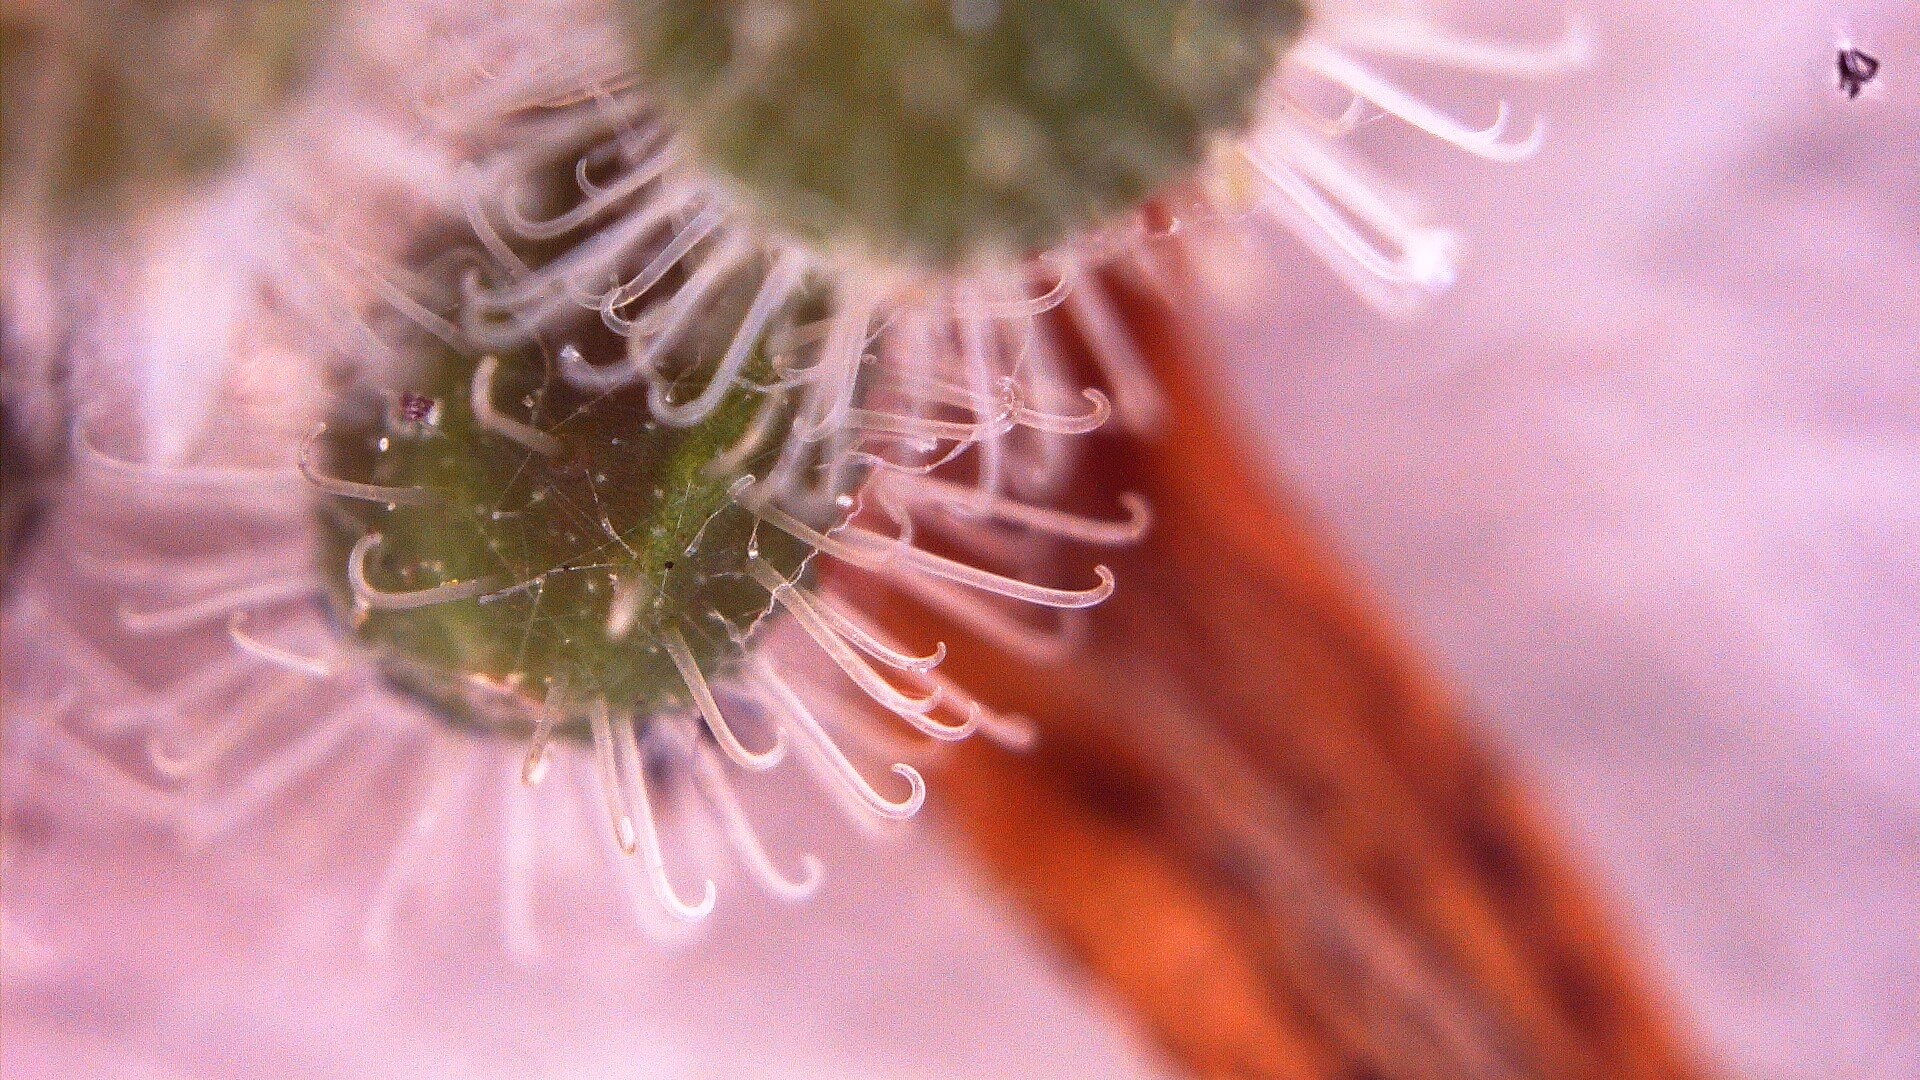
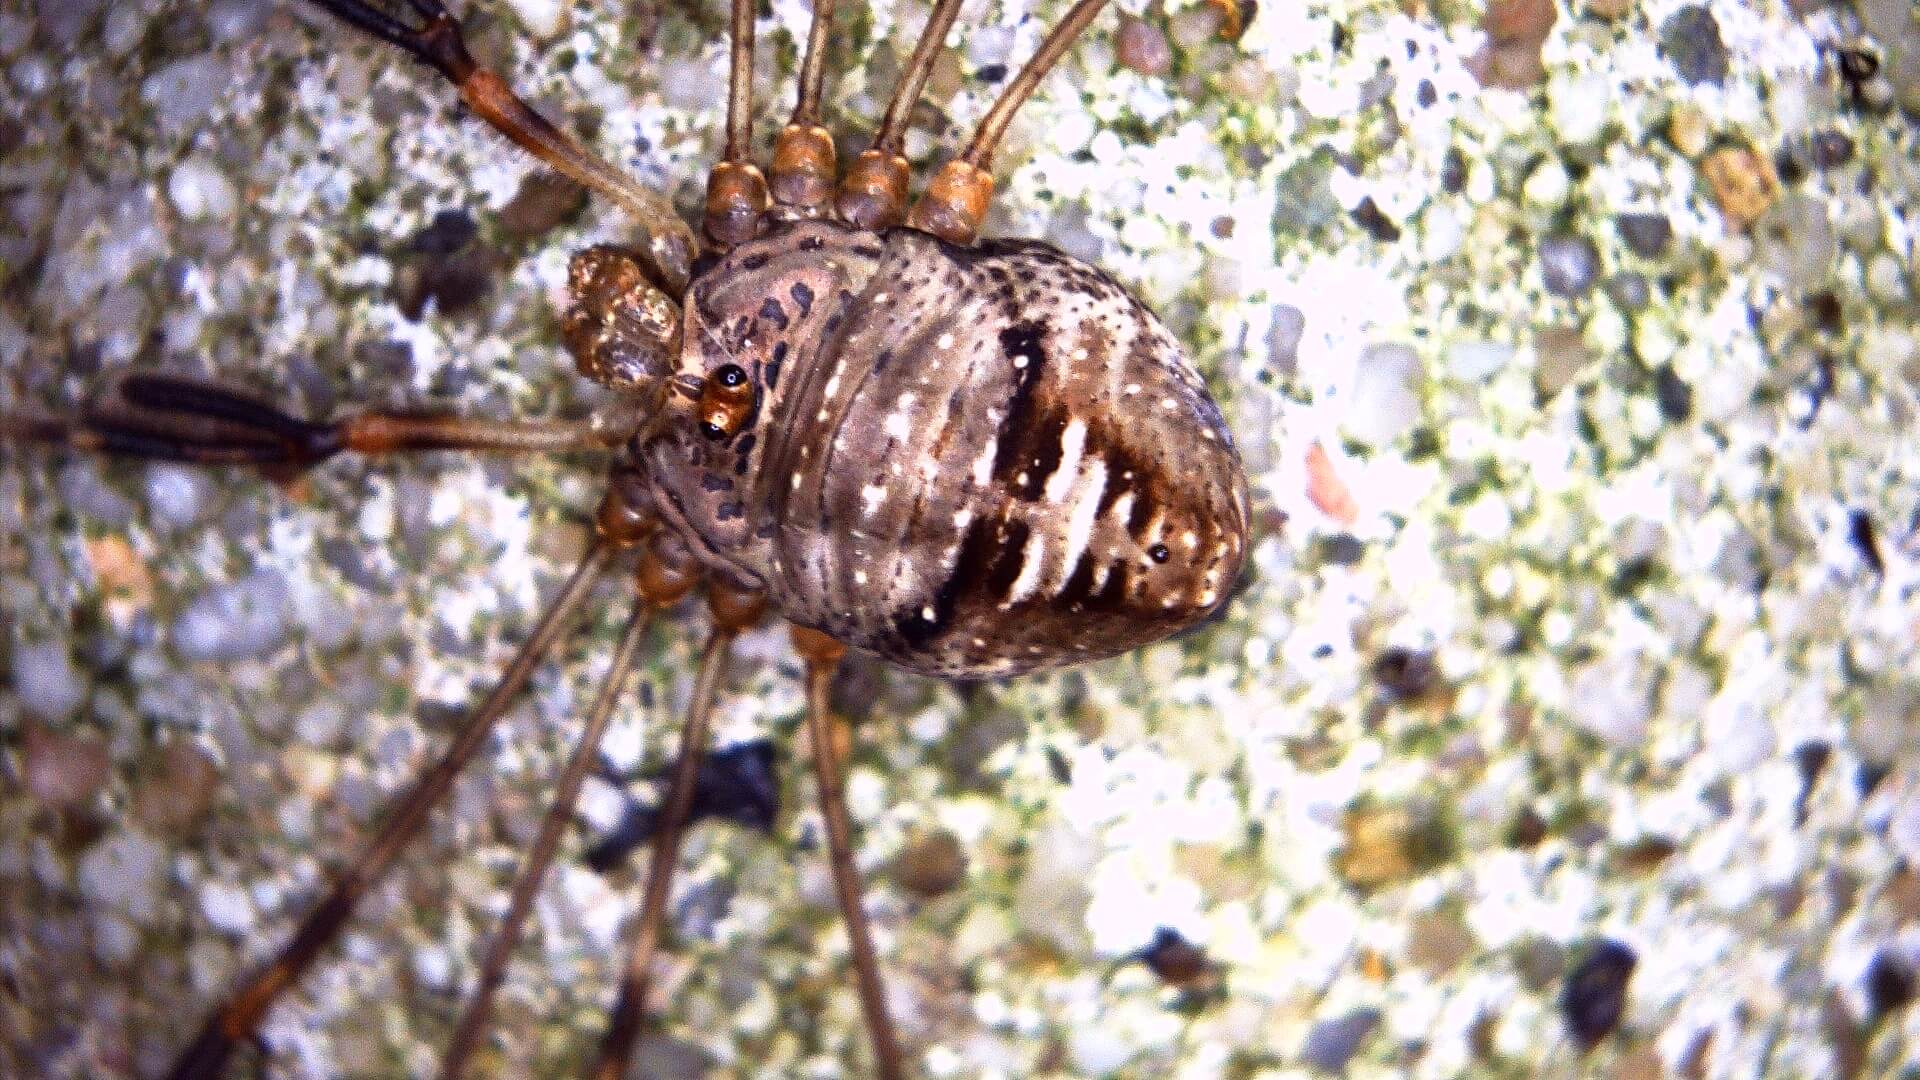
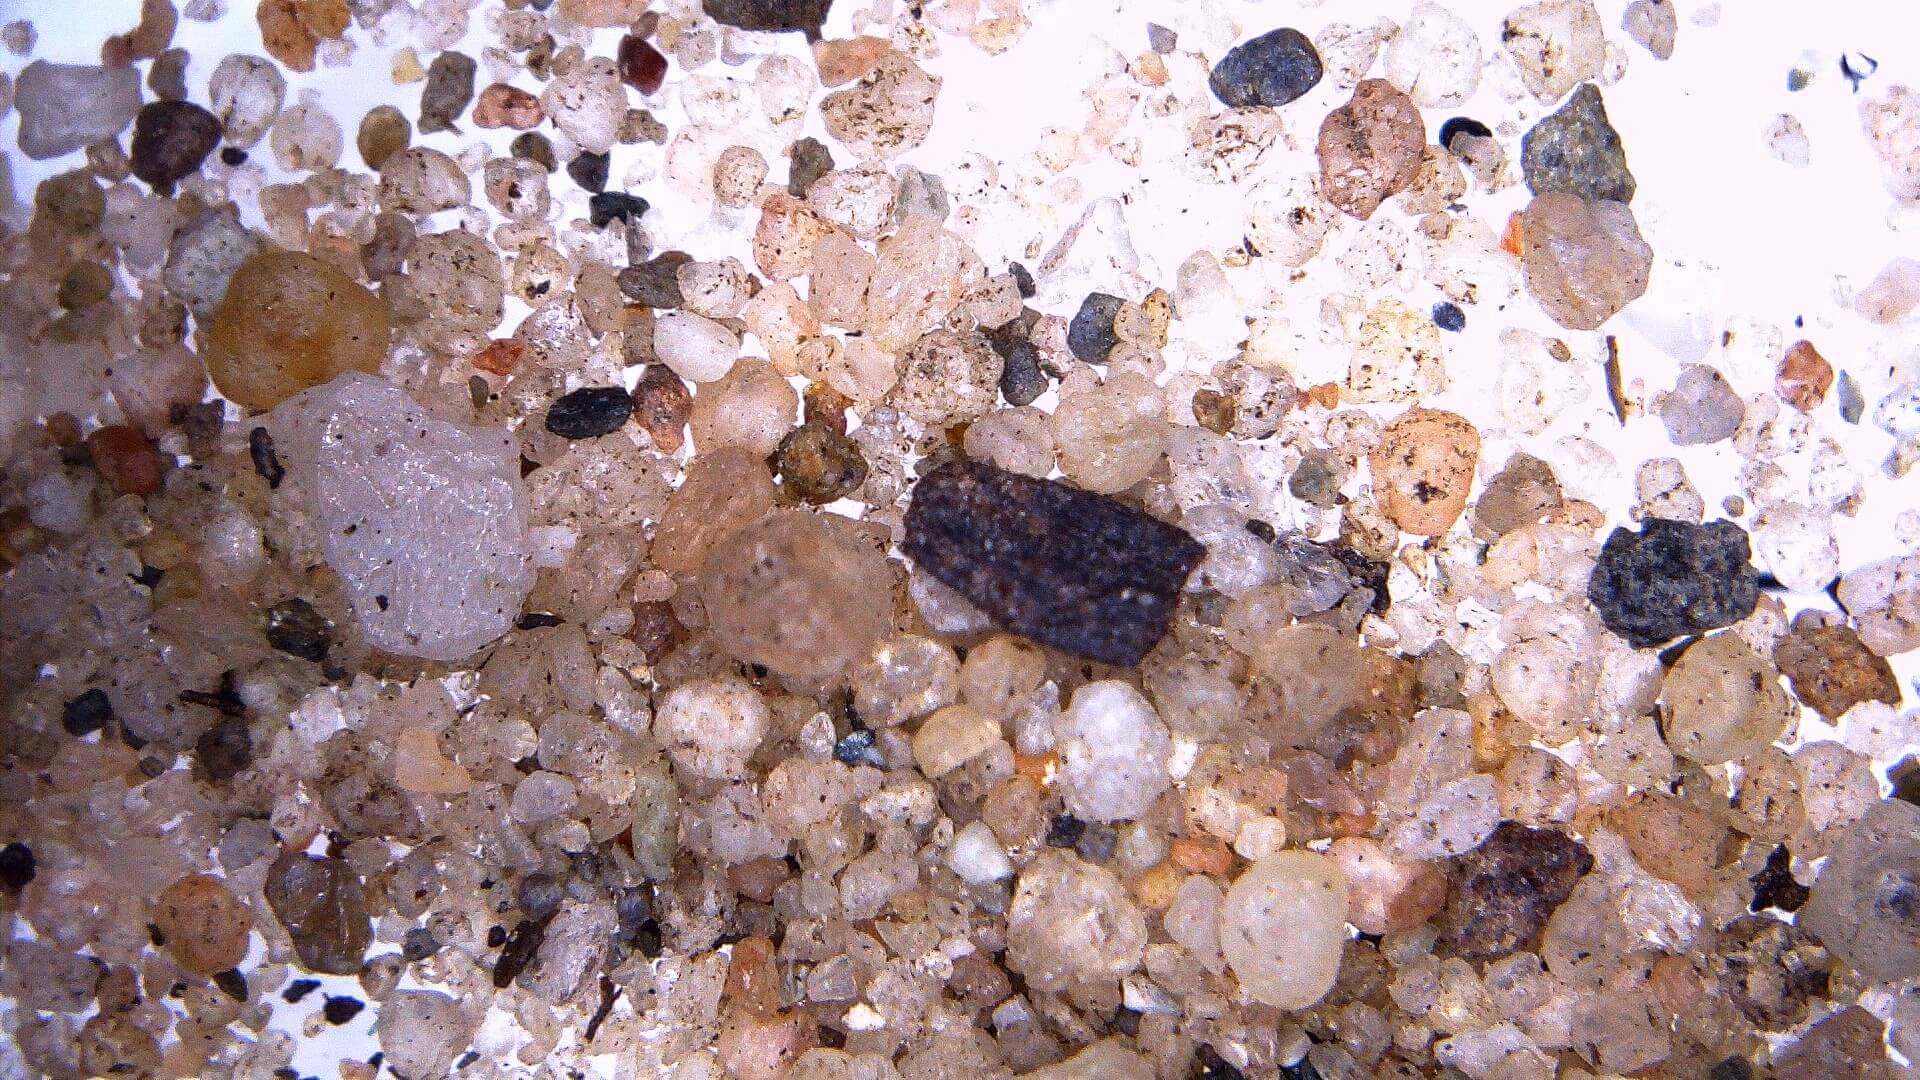
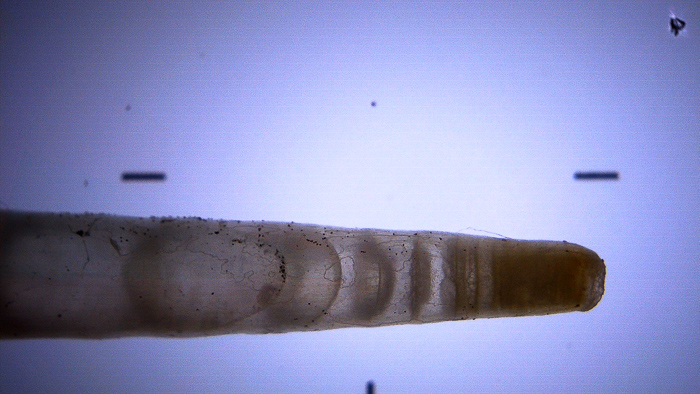
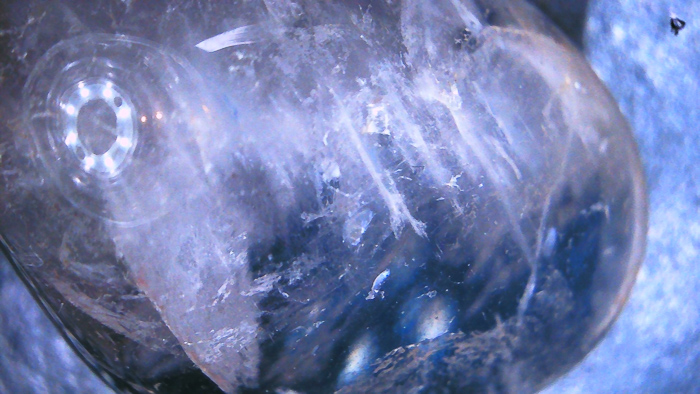
Left: quill tip, middle: pyrite, right: stone


Some images would need cropping or post-processing, when the LED lights reflect on the base for example.
On extremely shiny surfaces the LED lights reflect and can be seen clearly.
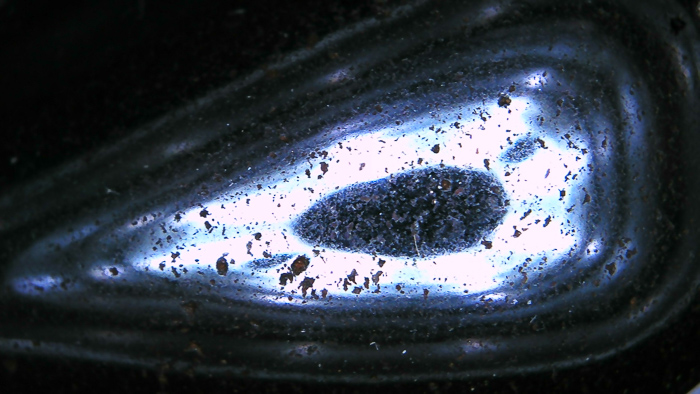
Adjusting the LED lights properly can make a huge difference on the final image.
The intensity should be turned down enough to prevent highlights from blowing out.
Beaver Point App and Software
To have even more control over the M2, there is an APP for Android, iOS and also as a Software for WINDOWS and MacOS, called Beaver point.
Download The Beaver Point App and Softwares for iOS, Android, WINDOWS and MacOS, here.
Discovering the tiny world with kids – and the DARWIN M2 Microscope
I mentioned before, that I see the DARWIN M2 shine in particular when having curious kids around.
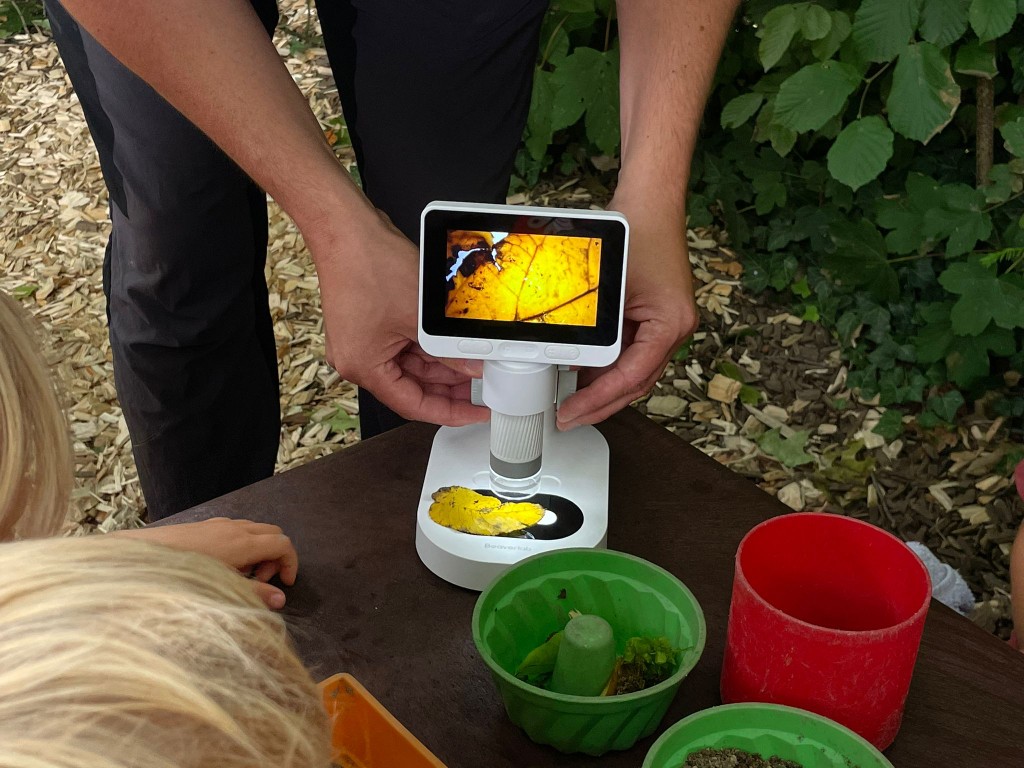
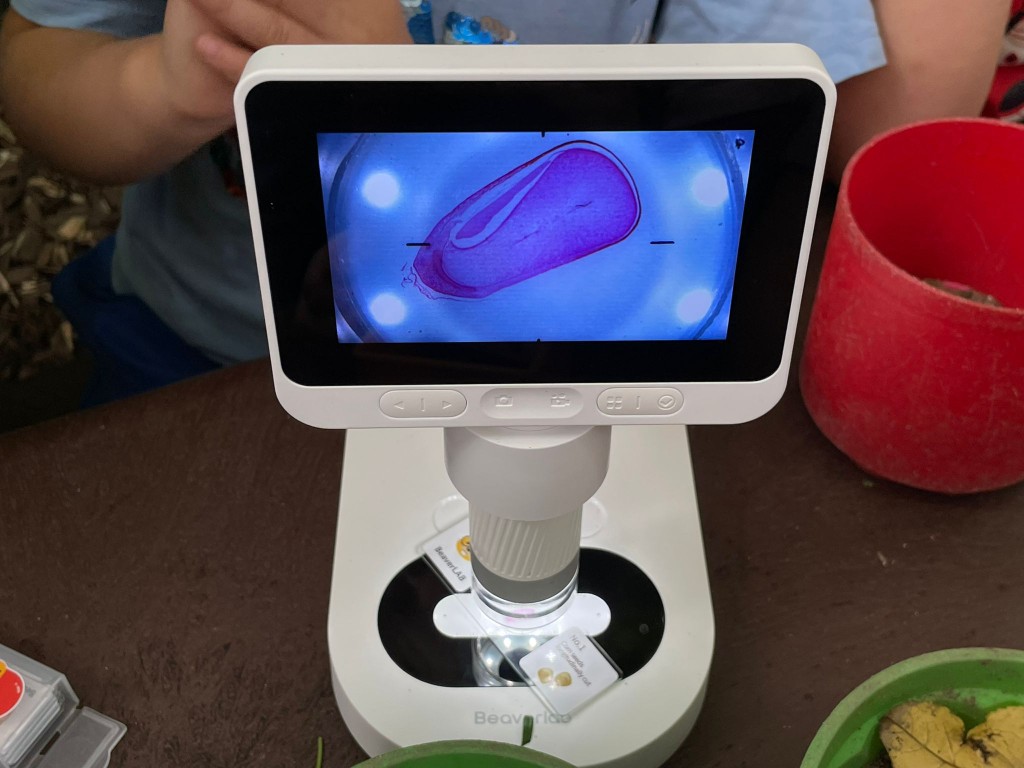
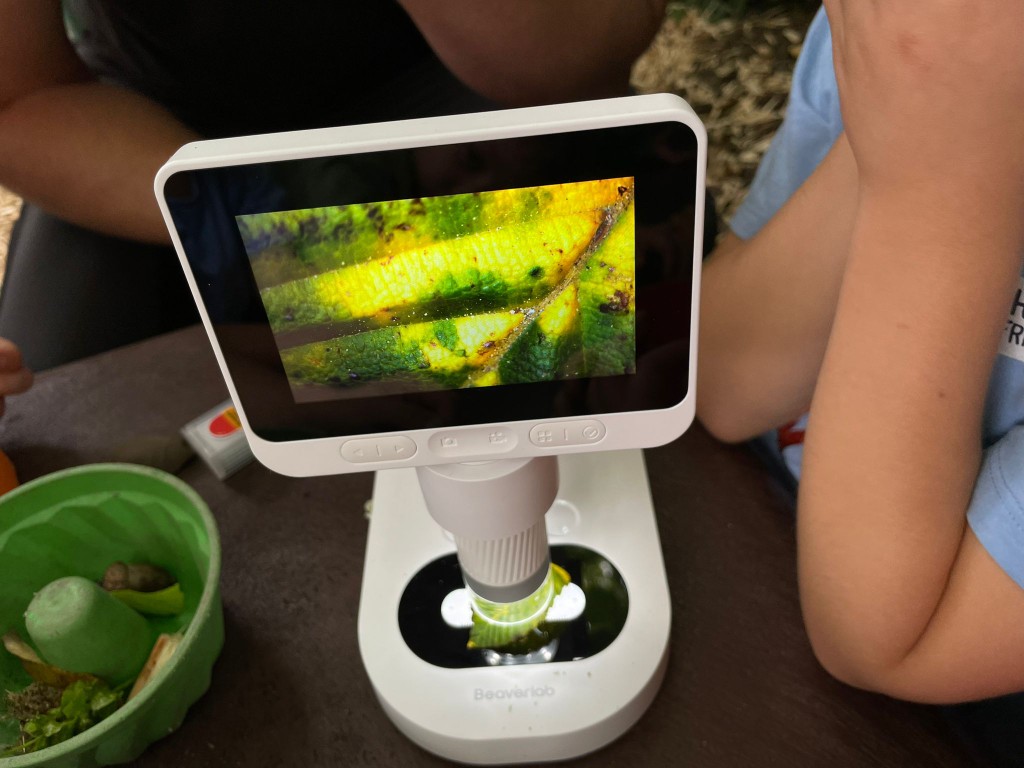
Actually, I have brought it to my daughter´s kindergarten, which is a very nature-centric outdoors group.
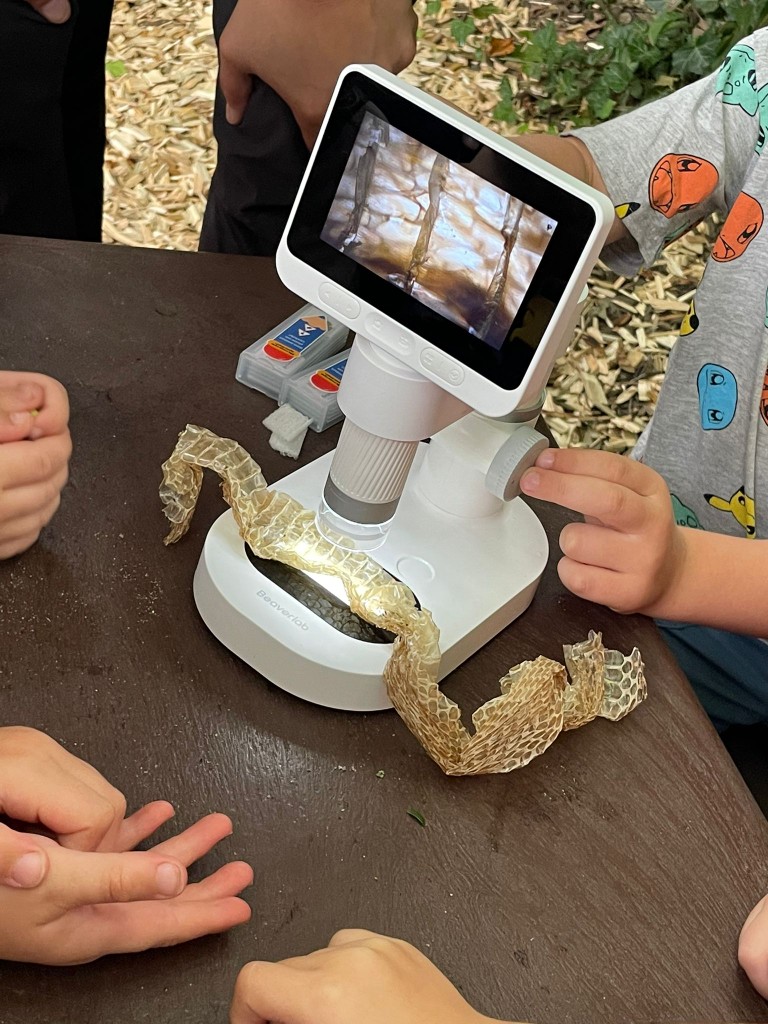
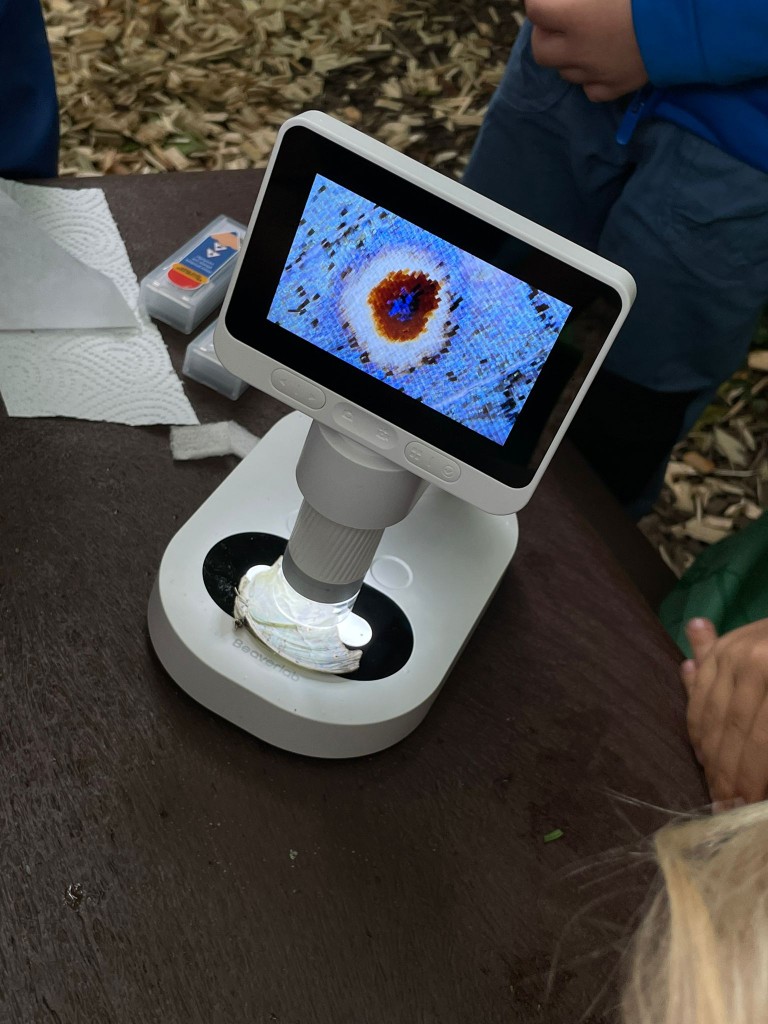
After letting the kids collect different objects, we met around a table and examined all the things they found.
They were really amazed and fascinated.
Daily objects, which they see everyday just got a new dimension through the M2 microscope.
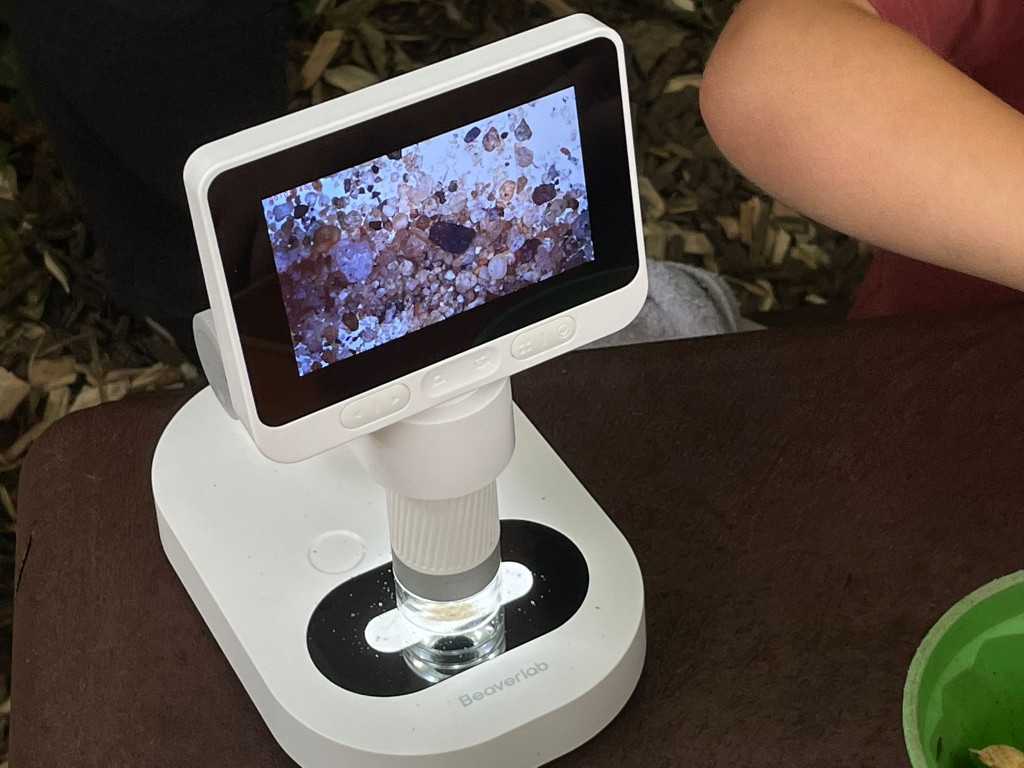
One thing they enjoyed to look at at high magnification was the sand from their sandbox.
Instead of the light brown or beige material they knew, they now saw the differently sized tiny crystals in various forms and colors.
We will definitely repeat that!
Tips for samples and collecting them
There is literally so much to discover.
Many things can be found right at your door step.
As the M2 gets so close, even “boring everyday” objects can be an interesting subject and have details that are hidden from our naked eye.
Here are some tips for things you could collect and then inspect with children.
- Sand
- Sugar (Crystals)
- Skeletonized or thin Leaves
- Insect Wings (you find dead flies, beetles or bees just everywhere, butterfly wings with their tiny scales are even better)
- Aphids (can easily be folund on roses)
- Minerals
- Coal
- Lichen
- Flower Petals
- Thin Fruit Slices
- Different Fluids (dirty water might contain eggs, larvae or other microorganisms)
Tip: get some glass object slides from amazon or another seller, to put your flat or liquid samples in between.
Conclusion
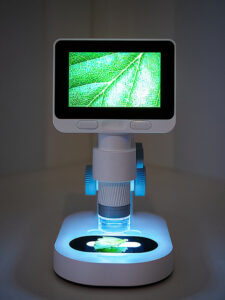
The DARWIN M2 has really brought out my inner child again!
I love this microscope and the mobile unit in particular.
A great benefit is, that both the base and tube unit have rechargeable batteries and do not need external power-suppy.
The main fun is actually USING the microscope.
While it CAN take photos and videos, for me, this is an extra and not my primary intention for it.
Microscopes for laboratory use cost at least double, professional models up to 10 times and more.
The DARWIN M2 microscope offers a lot at a moderate, if not even low price point.
If my unit would break after warranty I would instantly order another one for sure.
Buying the DARWIN M2 digital Microscope (10% OFF)
I buy a lot of pricey photographic equipment, but I have rarely seen a product that has such a fair price point for what it offers.
This thing really is fun!
If you have kids – they will love it – and you as well, most probably.
This is actually also the feedback I have gotten from literally everyone who has seen or used the DARWIN M2 from my friends and peers.
The Screen-Tube-Unit alone costs 75.90 USD,
the Standard Kit, which I have, costs 99.90 USD
and the complete DARWIN M2 All In One Kit costs 129.90 USD.
Simply enter the code during checkout.
Have fun exploring and discovering the tiny world!
Sign up for the newsletter mailing list & free ebook

Did you enjoy these tips and want to learn more or improve your macro photography skills?
Stay up to date with new blog posts, reviews and tutorial- and ebook-releases.
Sign up below to get notified when the free edition of my ebook
‘How to master spider & insect macro photography’ is ready for download.


Eric Roualet
Posted at 11:08h, 13 DecemberHi,
I read the review about the Darwin M2, and it was absolutely great! I live in Norway and catch moths during the summer. It would be fantastic to use this microscope to study them.
Best regards,
Éric
wildmacro-chris
Posted at 11:20h, 13 DecemberHey Éric, thanks for the feedback, glad the review was helpful and entertaining. If you plan on ordering one, feel free to use my link+code and grab the 10% off 😉 And let me know how you liked it and if it helped you with the moths – that´s super interesting. Best regards
Nemeia O
Posted at 17:00h, 02 JanuaryDid you have any trouble connecting the microscope to the app or computer software? I am haing trouble but I think its probably user error.
wildmacro-chris
Posted at 21:31h, 02 JanuaryWhat exactly is the problem with connecting, then i can check. Is there no connection coming up at all? Both App and PC Software not working for you?
Vit
Posted at 09:11h, 10 JanuaryHi! I have a beaver m2b microscope. I can’t display the image in real time via wifi in the Beaver point app on Android. All devices see the microscope’s network and connect to it only when the “Wi-Fi mode” menu is open. As soon as you exit this menu item, your smartphone stops seeing the network, even if it is already connected.
there is no picture in the application
Eric Roualet
Posted at 17:26h, 11 FebruaryHi,
I have the same problem for wifi connection from the microscope to i.Phone, the wifi does not hold longer. I have the same prob as VIT.
With MacOS, the application DangDangli is not recognized as safe app, even if the microscope connected is with USB, the application ask to connect!
wildmacro-chris
Posted at 17:56h, 11 FebruarySalut Eric, i cannot try to recreate the issue, as i only have android decives and no iOS/MacOS BUT i will test with my android app again tonight AND also message BeaverLab to get some feedback regarding the problem(s).