
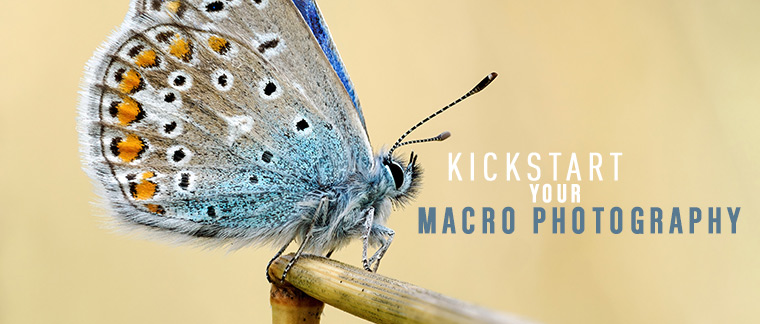
24 Mar How to kickstart your macro photography – The best tips
Macro photography is more than just photographing objects or animals up-close and with high magnification.
While it can still be considered a niche, there is an incredible richness to both techniques/approaches and the selection of subjects.
This also means, there is no single best approach, there is no limitation when it comes to style and also not that one perfect setup or workflow.
Quite the opposite, being only one specific field of photography, there is so much potential for individual approaches and creativity.
However, if you start out with macro photography, there are some techniques and tricks you can use to quickly boost the quality of your images.
Some of these are basic, some of them require a bit more of a technical understanding – what they all have in common is, that they can be applied easily and in return will make your images look better considerably.
Let´s take a look at the best tips to kickstart your macro photography.
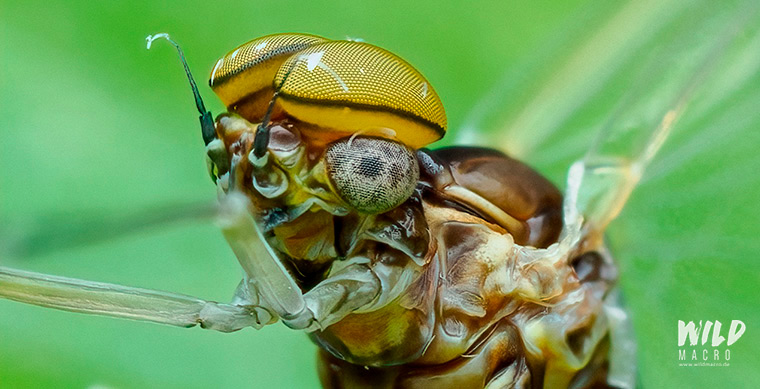
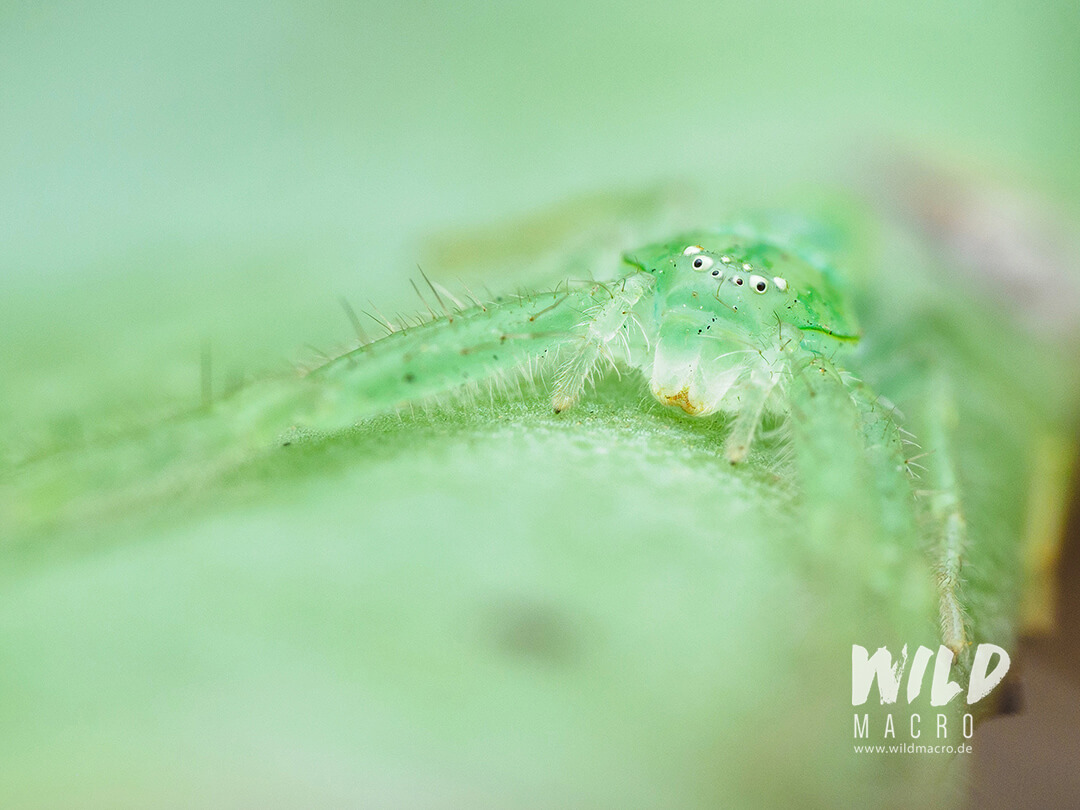
Get close to your subjects
Macro photography is perfect to discover and show the tiny details of nature, but also everyday objects.
To make those visible, it is crucial to get as close as possible and make the most of the high magnification that macro lenses have.
Making use of the short minimum focusing distance of macro lenses is a great start to get immersed into the tiny world.
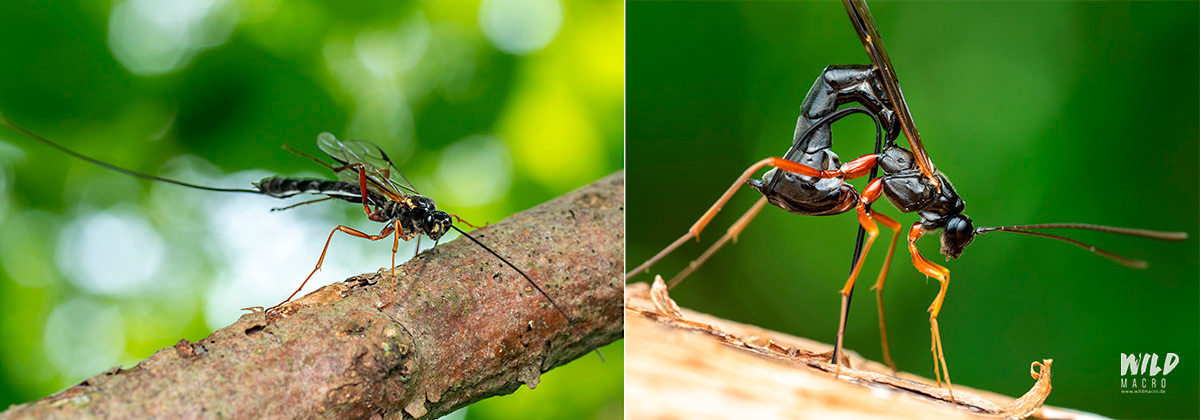
Show the habitat and don´t get stuck in a narrow view
Getting as close as possible and showing all the formerly hidden details and textures in all their glory at the highest magnification, can be very addictive.
So addictive actually, that it is easy to get stuck in this specifically narrow view.
While it is rewarding to discover more and literally collect details and species through macro photography, it can quickly become repetitive.
By stepping back and opting for a wider view that can also include the habitat, you can create a series of images at various focal lengths or magnifications.
You can show the subject in different sizes, from different angles, emphasize on various features and details, and also show bahavioural traits.

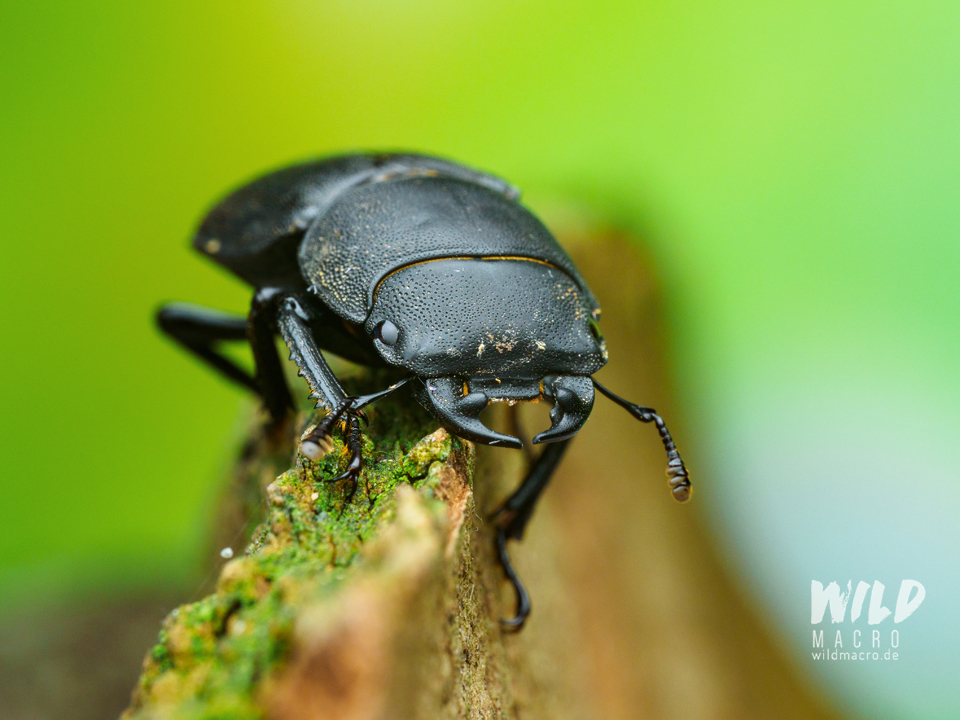
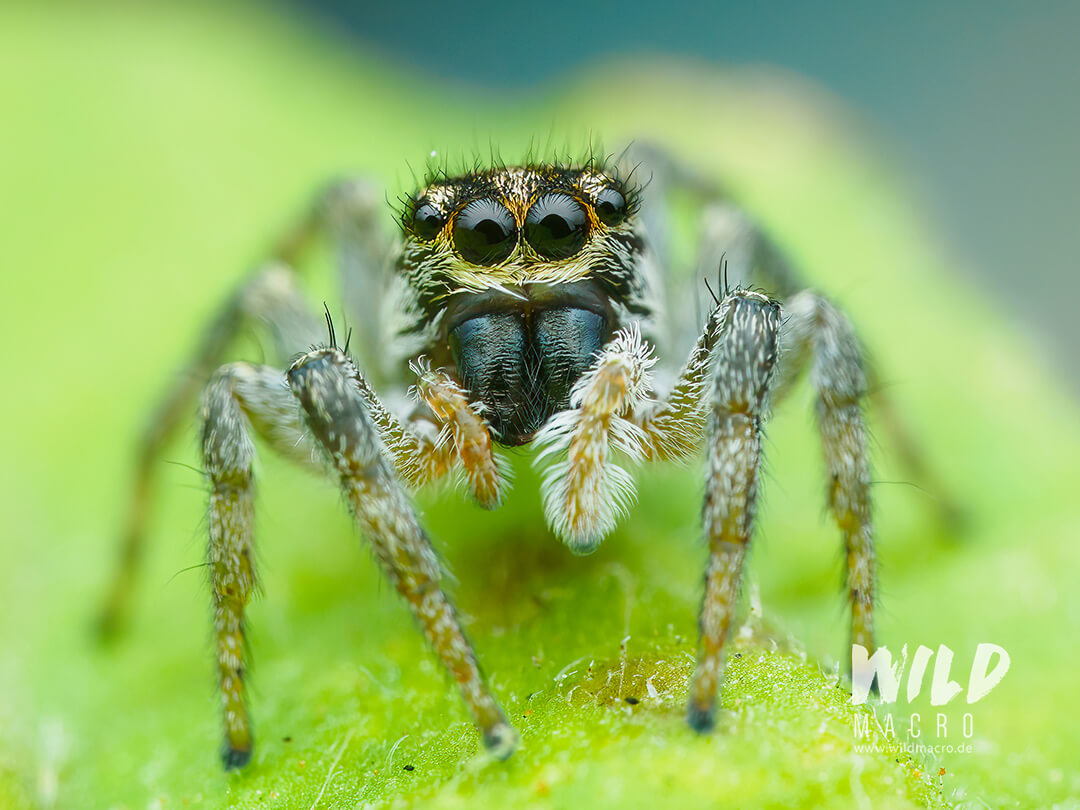
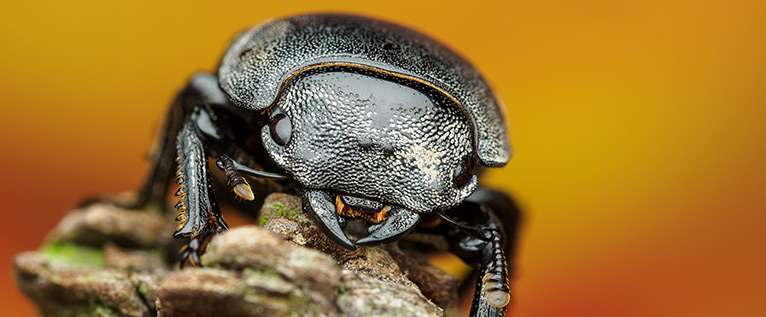
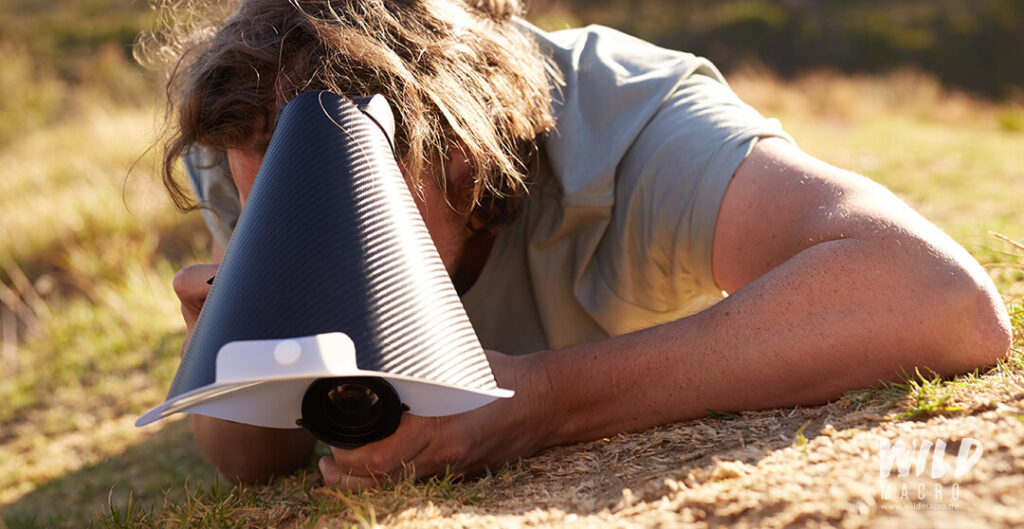
Get to eye level
Breaking away from our familiar poit-of-view and viewing patterns, instantly makes your photography more interesting and boosts creativity.
In macro photography, getting low means you unlock new perspectives and details, and also show your subject more directly.
By getting eye to eye with creatures like ants, spiders or frogs maybe, you can virtually take the viewers with you and open up an immersive perspective to them.
For macro portraits, getting to eye level with your subjects is also crucial to get a direct focus on the eyes.
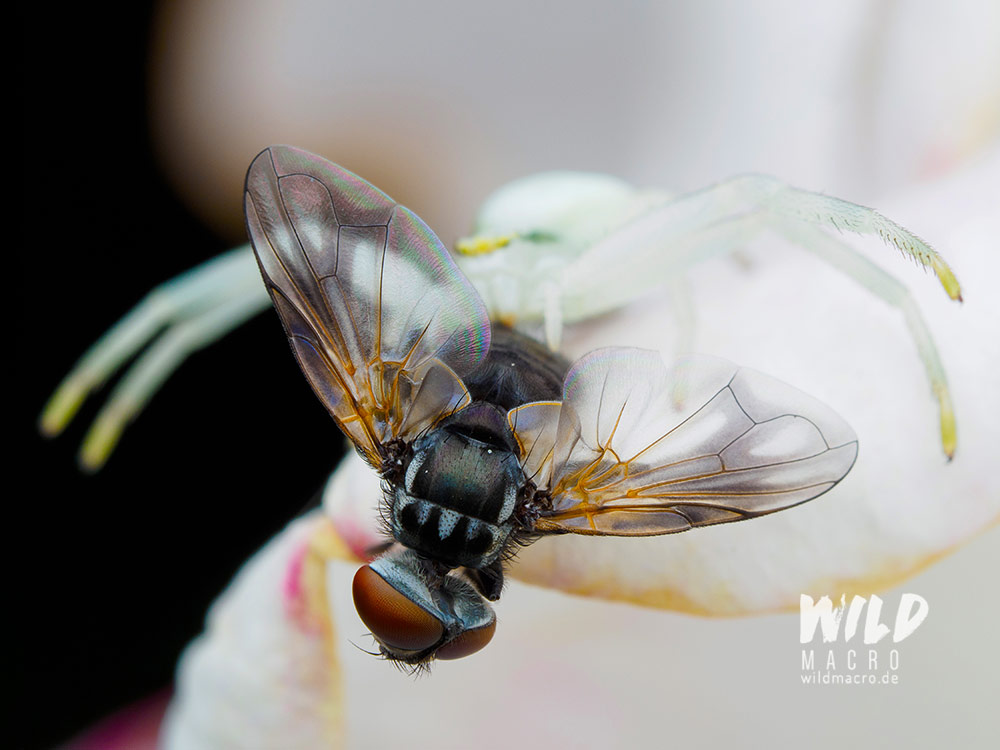
Balance in-focus and out-of-focus areas
Depending on your camera settings and on-location factors, you can play around with the balance between in-focus and out-of-focus areas.
Having a sharp, in-focus subject in the foreground and a creamy, out-of-focus background, will make your subject stand out.
Foreground-background-separation is a great tool to guide viewers and support the composition of your image.
In the same way that you can make your subject stand out, you can also incorporate and blend it into the scene or habitat.
Think of illustrating the effectiveness of a dead leaf mantises camouflage, for example: by photographing it directly in/on a pile of dried leaves: the mantis blends in and is harder to spot.
This makes reading the image more challenging, but at the same time, shows how effective this creature´s camouflage is.
Playing with in-focus and out-of-focus parts of the image is a great creative strategy and can either lead attention towards specific objects or hide them in the blur.
Use focus stacking if you need more depth of field
When magnification increases, the depth of field will get more shallow.
As a consequence, we can see more details since we have more magnification, but at the same time we also see less details, since we lack depth of field.
Focus stacking is a technique to combine both back together and creates images at high magnifications with enough depth of field to actually see enough at that level of detail.
By combining multiple images with shallow depth of field but a shifted focus point, focus stacking creates a composite image with deeper depth of field and more details.
The result will have more depth of field than a single shot with an identical aperture setting would have ever had.
Increase sensor-to-subject distance for more depth of field if you cannot focus stack
As focus stacking can be challenging with agile subjects and can also slow down your process, another trick to have more depth of field and hence a deeper in-focus layer with sharp details, is to move away from your subject more.
This will increase the depth of field in a single shot, but unfortunately reduce the magnification.
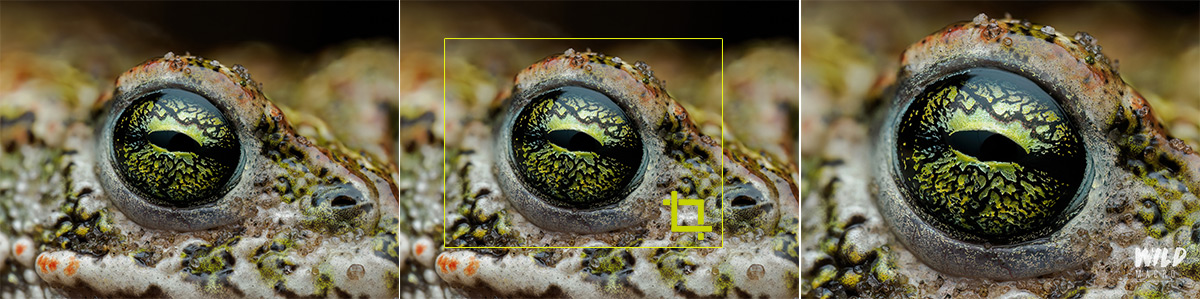
However, you can simulate a higher magnification by cropping into the image, getting back to the framing and composition you originally wanted to capture.
Compose your macro photos
You have found your subject, you managed to get a perfectly exposed shot with the desired mangification and depth of field: that´s great!
Mission accomplished!
Or maybe not quite?
A great macro photo is more than just capturing the subject.
Composing your shot adds another creative, visual layer to it and makes it stand out from today´s masses of flat looking images.
You can guide the viewers eye, you can make the image “readable” and emphasize on certain aspects and details.
You can create context and make your photo “talk” – in a visual way.
For some subjects a centralized composition (especially for frontal portraits) works bet, while for some an off-centered positioning of the image elements can make the image more interesting.


Get the best lighting – using a flash and macro diffuser
Nothing is more frustrating in macro photography, than having found and photographed an interesting specimen, just to realize that you can either have a good depth of field and magnification but lack light, or have enough light but lack depth of field.
Using a flash and a macro diffuser for your macro photography solves this dilemma and provides you with perfect lighting at any time in any place.
The flash-diffuser-combination gives you the creative freedom to effectively use a broad range of aperture, shutter speed and magnfiication variables to get your desired shot.
Photographing macro with a flash and macro diffuser also enables you to freeze movement and get tack sharp shots no matter if the subject moves or not.
Conclusion
Unlocking the full potential of a macro lens can be challenging.
New limiting factors like depth of field, magnification, movement and lighting can make or break a great image and require a different approach than classic people photography and even nature photography.
With a handful of tricks and techniques though, you can quickly improve your macro photography.
Keep in mind that these are subjective tips and tricks and there are always different approaches to get that shot you want.
Experimenting and trial and error can be fun and rewarding.
Choose an approach that fits your personal style and workflow.
If you want to learn more about macro photography technique, tips and tricks, as well as using a flash and diffuser, you might want to check out these blogposts as well:
Sign up for the newsletter mailing list & free ebook

Did you enjoy these tips and want to learn more or improve your macro photography skills?
Stay up to date with new blog posts, reviews and tutorial- and ebook-releases.
Sign up below to get notified when the free edition of my ebook
‘How to master spider & insect macro photography’ is ready for download.
No Comments