
22 Jul How to: Focus Stacking and Bracketing techniques for Macro Photography
What is Focus Bracketing and Focus Stacking?
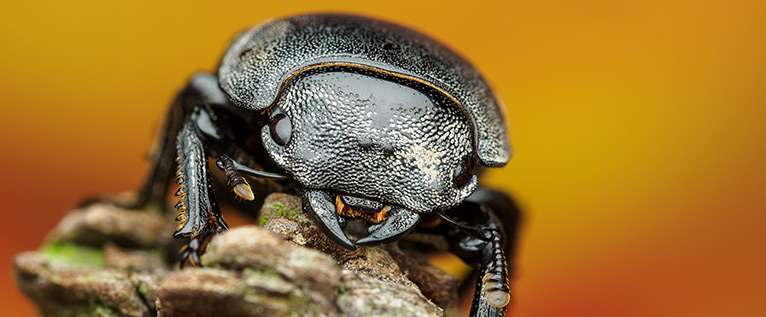
In macro photography, we have to deal with an extremely shallow depth of field as soon as the magnification gets higher than 1:1.
Even at 1:1 magnification the actual area of focus (or focus layer) is rather thin.
To increase this in-focus layer´s depth, we can use a technique called focus stacking.
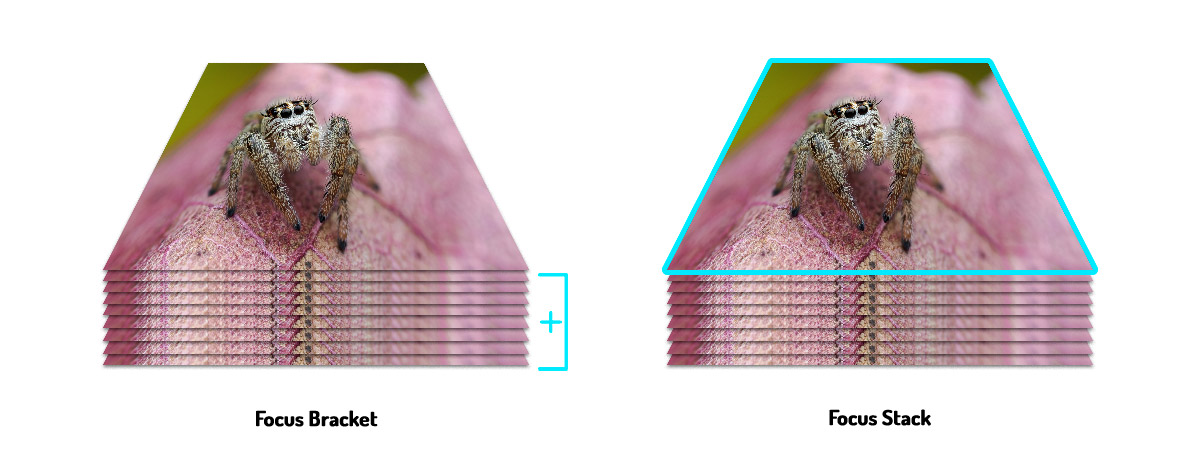
Focus stacking combines multiple images with shifted focal points or layers into a composite image with a deeper in-focus layer or depth of field.
This stack of single images, which will be combined into one image, is called a focus bracket.
The final, merged image is called the focus stack.
In the following article we will look at the different techniques to create such a focus bracket for a focus stack.
I will use the terms focus bracket and focus stack for the same process and actually mean the creation of the base material: the stack in its non-merged form.
To then create the final composite from this base stack or bracket, you will need to either use a software in post-production, like Helicon Focus, Zerene Stacker, Adobe Photoshop.
Some cameras can create this composite directly in-camera (like the OM SYSTEM cameras) but are limited regarding the max. number of shots and also require almost perfect alignment of the base material.
We will both talk about the techniques best used in the field with a handheld setup, as well as the stationary studio setting to create focus stacks of still subjects.
Both approaches have their benefits and shortcomings.
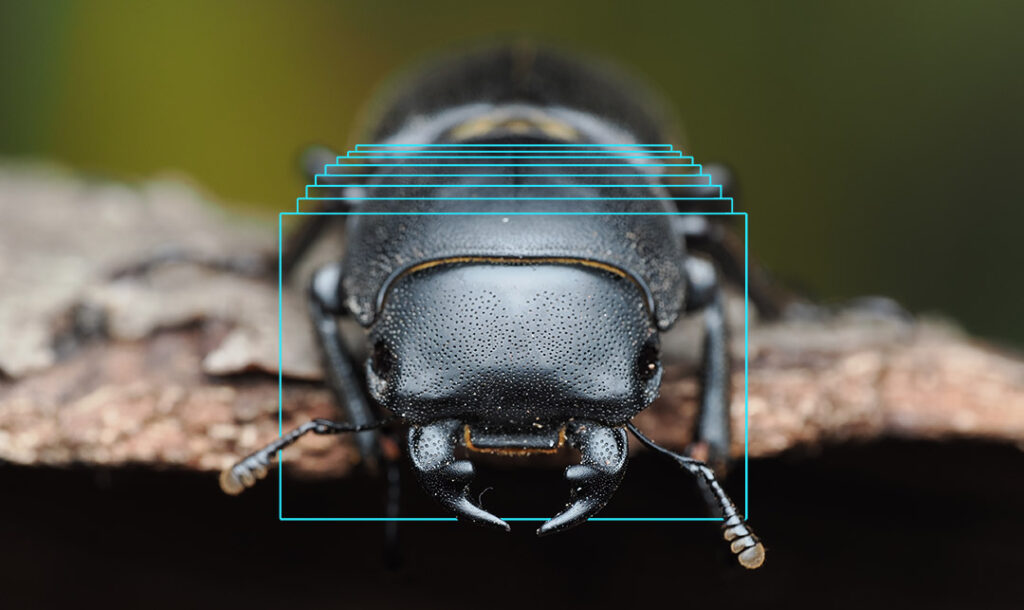
The process of creating the focus bracket can be visualized as a scanning of a 3D object layer by layer.
Imagine a layered Gunther von Hagens´ tissue specimen (plastination) or an MRT layered scan.
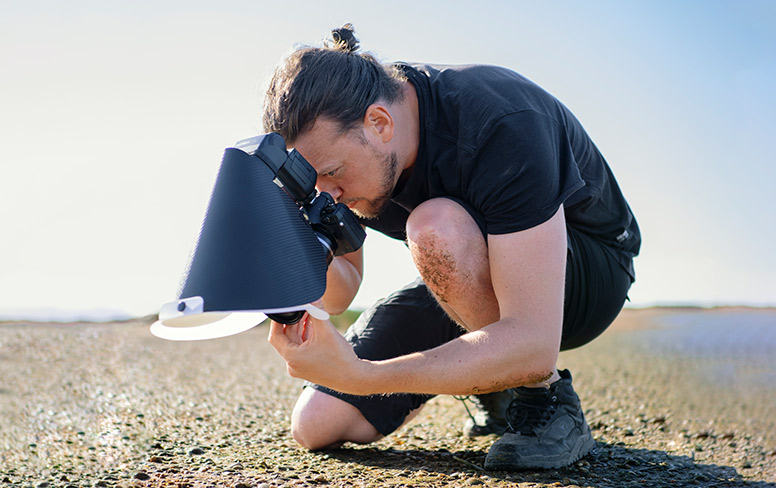
For best sharpness and lighting, and also as I am photographing in the field and need to be mobile, I always use a flash (with a macro diffuser) on-camera.
Manual focus stacking technique for handheld macro
This is the most basic technique, which works with every camera, no matter how old it is.
We basically “scan” the subject by taking multiple single photos.
Inbetween each shot, we slightly move the camera to shift the focus layer a bit – either towards us, or away from us.
Personally, I prefer to move the camera towards the subject.
This means, I start with the point closest to myself and then move the camera away from me.
I am literally scanning the subject and capturing a photo inbetween each move.
Most of the time, when I am going for an insect or spider portrait, this means I start with either the pedipalps or the eyes as the closest layer.
When unsure of how successful the scanning was, I sometimes take another run into the opposite direction.
Variations of this technique
To speed up the process of pressing the shutter, moving closer, pressing the shutter again, moving closer, pressing the shutter again, you could also use a sequential shooting mode.
This way, you would only press the shutter once and then, while the camera takes the series of photos, move the camera and hence scan the subject.
Depending on your camera settings, you can create an overlapping of the single shots to increase your chances of not missing any layer of focus.
However, this involves a high level of steadiness, a calm hand and control over your camera.
With a bit of practicing and experince, this approach is considerably faster than doing all the steps one after the other.
Pros:
- full control over the process
- mobile and flexible for field work
- sequential shooting can be the better choice for moving insects, compared to the fully automated handheld technique below
Cons:
- slow
- increased chance of missing layers
- overlapping can be guessing-work
- very sensitive to shaking, movement and vibrations
The semi-manual technique actually comes pretty close to the following automated technique.
Automated focus stacking technique for handheld macro
The automated variant of the technique described above, requires a camera with a computational photography feature such as in-camera focus bracketing or focus stacking.
My current camera, the OM SYSTEM OM-1 Mark II (and actually all modern OM cameras), has both features on board.
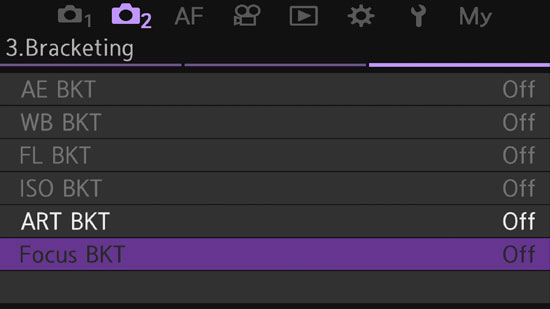
So, how does this automatic feature work?
By pressing the shutter, the camera starts taking a predefined number of shots, to create the focus bracket.
Aside from the number of shots, you can pre-select the amount of overlapping between the shots and also set a pause for the flash to re-cycle (if you use one, which I´d recommend).
The OM-1 II can take up to 999 photos in focus bracketing mode and up to 15 photos in focus stacking mode, where it also creates the final composite directly in-camera.
While we move the camera (or sensor) closer towards the subject with the manual technique, in the automated version, the sensor does this for us by shifting the focal point.
This happens extremely fast, which reduces the risk of shaking hands or having the subject move.
Instead of moving towards the subject, to scan it, this time it is important to hold as still as possible and let the camera (sensor) do all the work for us.
Pros:
- very fast
- fixed, predefined steps and overlapping (if held steady)
- mobile and flexible for field work
Cons:
- less reliable than stationary setups
- requires a steady grip, using a support is recommended
- increased chance of missing layers if not held completely still
- when subjects move and you want to follow mid-process, it can be more complicated compared to the aforementioned manual sequential shooting technique
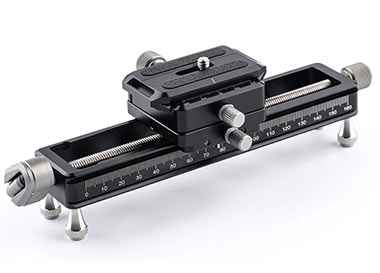
Stationary manual focus stacking technique for macro
As long as manual control is involved, the precision of the seperate steps is always subject to a certain degree of deviation.
Which means, maintaining correct step sizes between the single shots can be difficult.
However, a good manual focusing rail should be fine and give enough control over the process to get near perfect results.
The more stationary a setup is, the more reliable the control over the increments.
The more manual and precise control is involved, the longer the process usually takes.
With the camera mounted on the focusing rail, between each shot, the rail is moved one step forward with the manual knob.
It is important to maintain the same distance between each step.
Using a cable shutter release or radio trigger should be used to further reduce any vibrations.
Pros:
- full control over the process
- reduced vibrations and unwanted movements
Cons:
- overlapping has to be measured manually
- slow
Stationary automated focus stacking technique for macro
If you do not need a portable and handheld setup, then a stationary and automated focus stacking setup will give you the best results without any doubt.
While for photographing living and moving animals in the wild it is most likely impossible to use such a static setup, it is the best choice when it comes to preserved specimens, or still subjects in a studio environment.
Often the automatec focusing rails come with a dedicated software to control the process.
The software allows to set pauses between each single shot, to reduce vibrations.
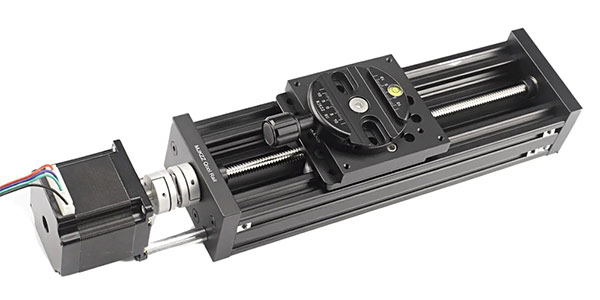
This also helps the flash to recycle, as for studio macro setups a flash is used most times.
After connecting the software-controlled focusing rail to the camera, the rail will then move the camera by predefined increments automatically, creating a focus bracket with the best results possible.
It IS possible to use static setups in the field as well, even an automated focusing rail. However, it requires considerably more efforts setting it up and also makes it prone to external environmental factors.
Pros:
- full control over the process
- almost guarantees to not miss layers
- total elimination of vibrations possible
Cons:
- overlapping has to be measured manuallyand/or set in the software if possible
- relatively slow, if pauses inbetween shots are used for reduction of virbations
Other focus bracketing and stacking techniques
While the combination of multiple photos into one is the most commonly used focus stacking technique, there are also some cameras, that create focus stacks from video.
The base material (the actual stack) is taken from high definition videos and extracted as still images, which then again serve as an image source for the final composite image.
In my opinion, the biggest downside to this technique is, that using a flash will not work the same as for the other techniques.
You will lose the ability to freeze motion.
Tips and Tricks for better Focus Stacks and Focus Brackets
Focus Stacking Tip 1:
Get the subject parallel to your sensor and try to photograph a relatively flat surface instead of at an angle.
By doing that, you will need less depth-of-field and hence less shots.
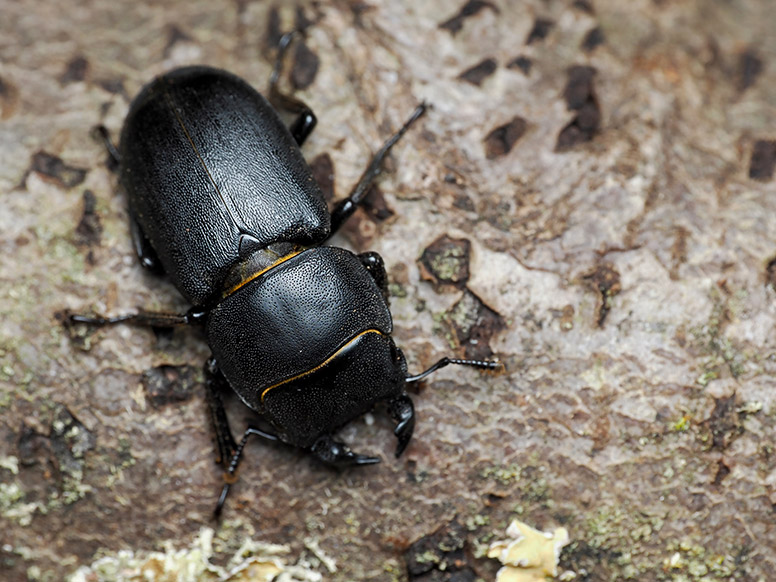
Obviously, this does only work for certain scenes and subjects, like top-down perspectives for example to capture an insects textures.
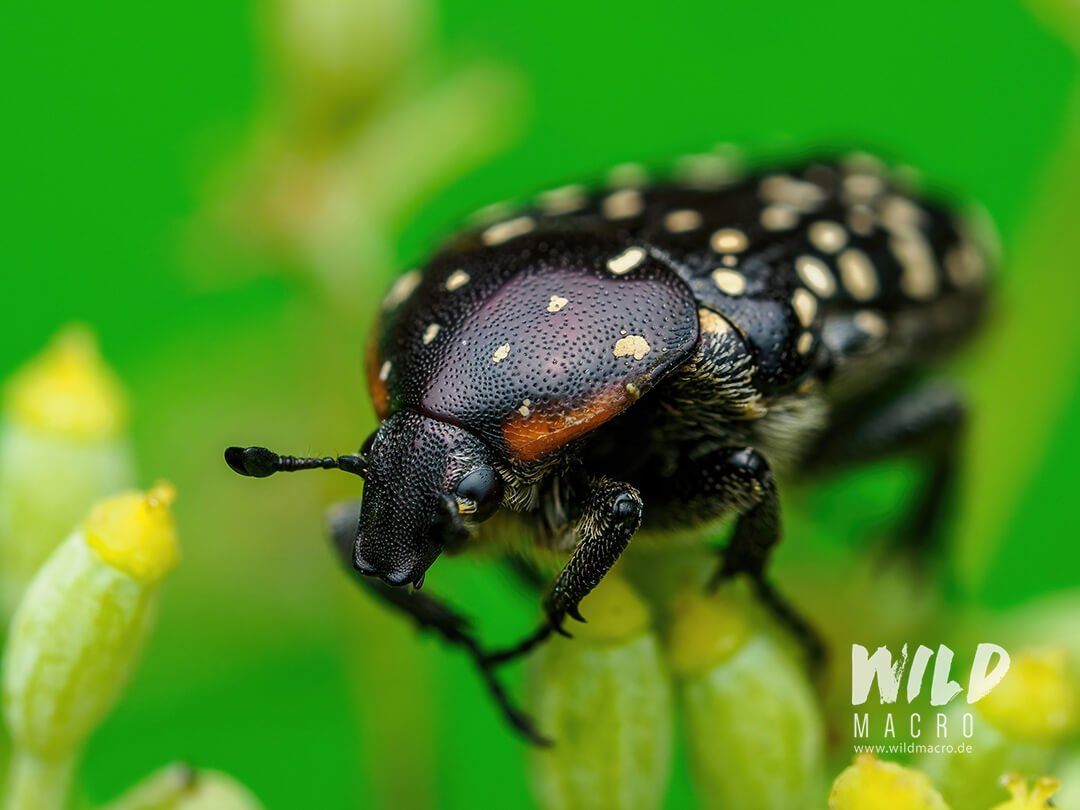
For a camera-facing beetle for example, you unfortunately have to go all the way to get its head in complete focus.
Focus Stacking Tip 2:
For handheld focus stacking, try to get support for the camera.
Sometimes even the slightest touching point with the ground, surroundings or even the surface which your subjects sits on, will help to get more stability.

Focus Stacking Tip 3:
Get more distance between the camera/sensor and your subject to reduce the magnification but increase the depth-of-field per single shot at the same time.
This will enable you to cover a specific in-foicus depth with less shots.
During post-processing you can slightly crop in again, to get a look similar to if you had taken the photos at a higher magnification.
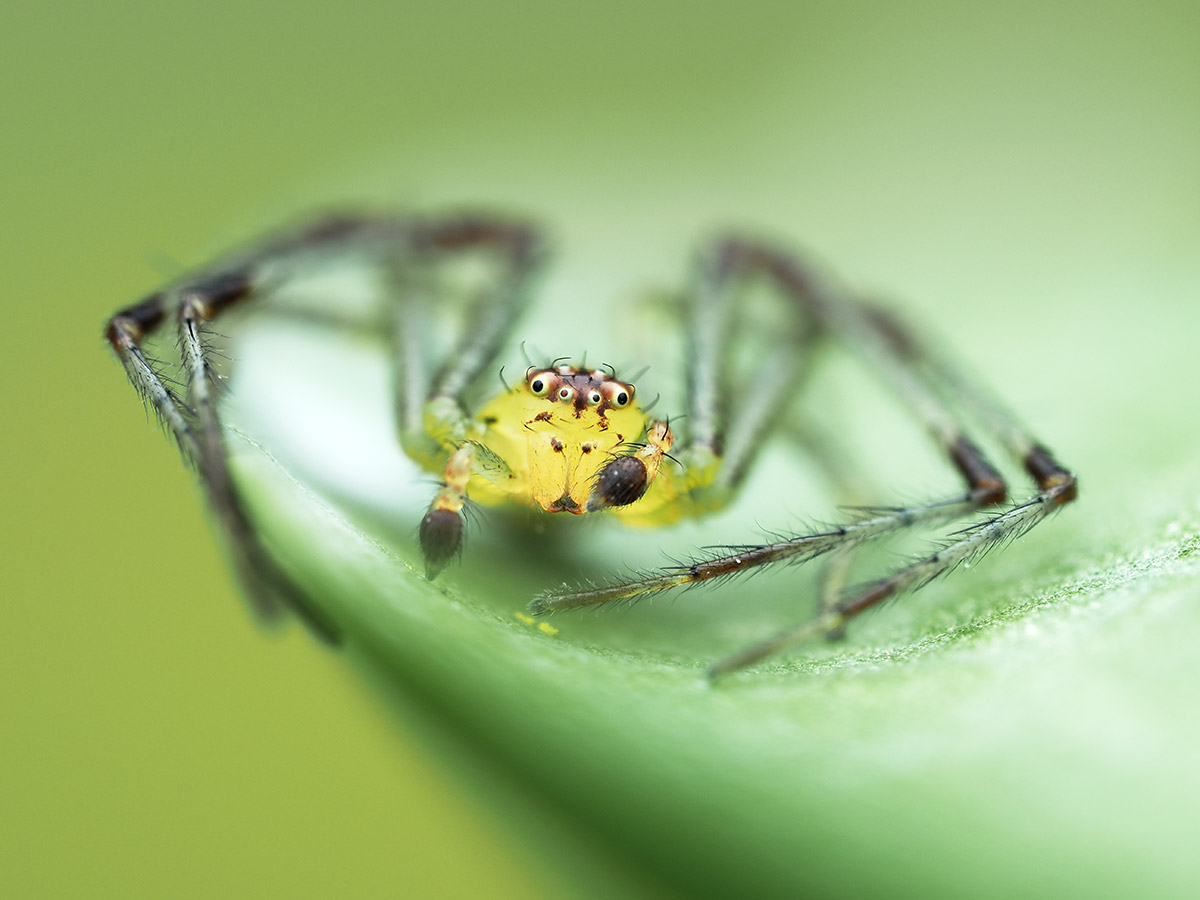
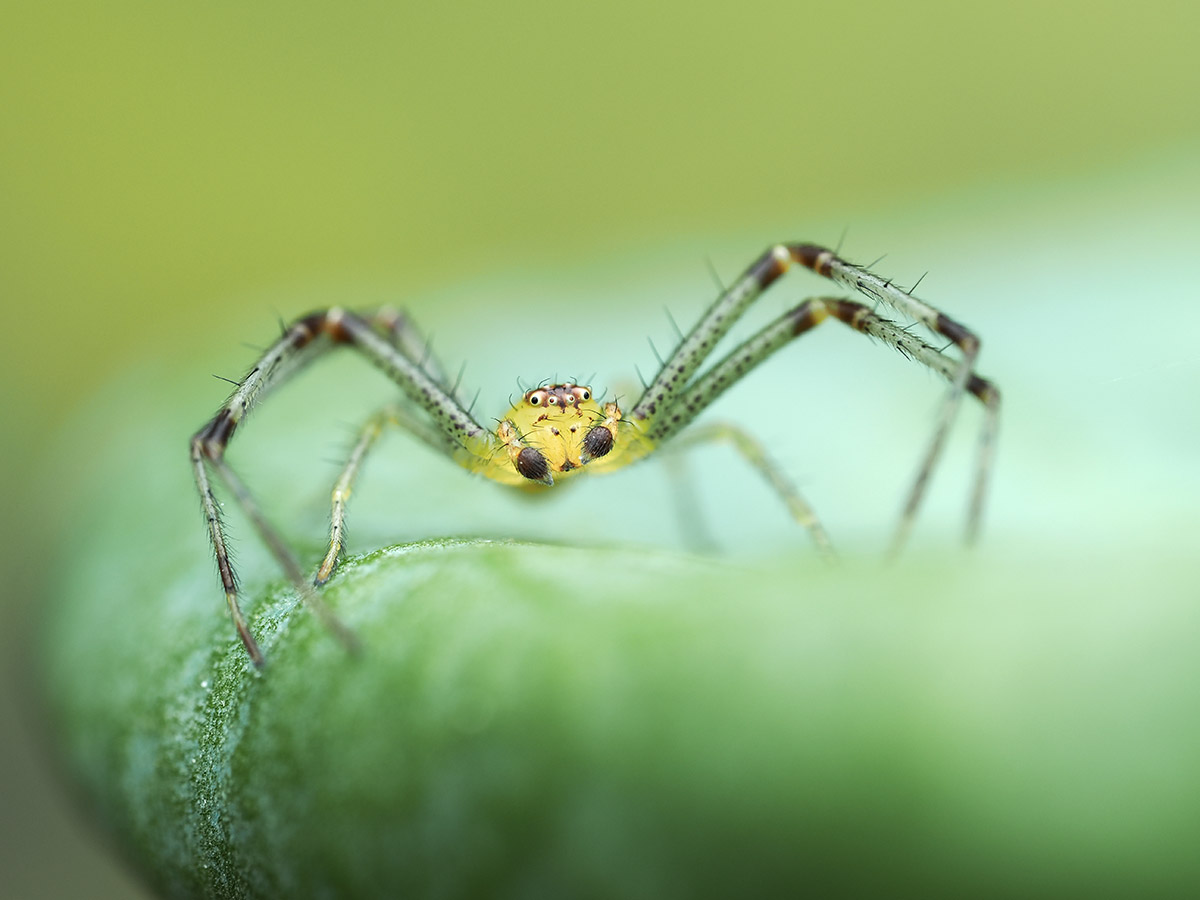
Take a look at the examples below (click the images to enlarge):
- Image 1 is an uncropped single frame with relatively shallow depth-of-field at f8 with the 90mm.
- Image 2 is an uncropped single frame with deeper depth-of-field at f8 as a result from more distance between lens/sensor and subject and hence lower magnification.
- Image 3 is a crop from image 2 making it appear to be taken at a similar magnification to image 1 but has now deeper depth-of-field.

Subjects: another great subject for focus stacking, when it´s not insects or spiders, is flowers – also, they rarely run away ;).
Conclusion
Focus stacking is a very effective technique to increase depth of field (DOF) and hence the sharp area visible in your photos.
Some situations even require you to create a focus stacks, especially at extremely high magnifications, where the DOF is paperthin.
Choosing a wider aperture to blur the background, may also require you to create a focus stack to get your subject in focus.
However, it means additional time has to be spent to create the focus stack (during the actual photographic process and in post-production).
To me, the automated handheld technique is combines the best of two worlds: it is super fast and also relatively reliable if you have a steady hand ormanage to find support for your hand to create a pseudo-static setup.
Sign up for the newsletter mailing list & free ebook

Did you enjoy these tips and want to learn more or improve your macro photography skills?
Stay up to date with new blog posts, reviews and tutorial- and ebook-releases.
Sign up below to get notified when the free edition of my ebook
‘How to master spider & insect macro photography’ is ready for download.
No Comments