
01 Apr Auto-Focus or Manual Focus: What is better for macro Photography?
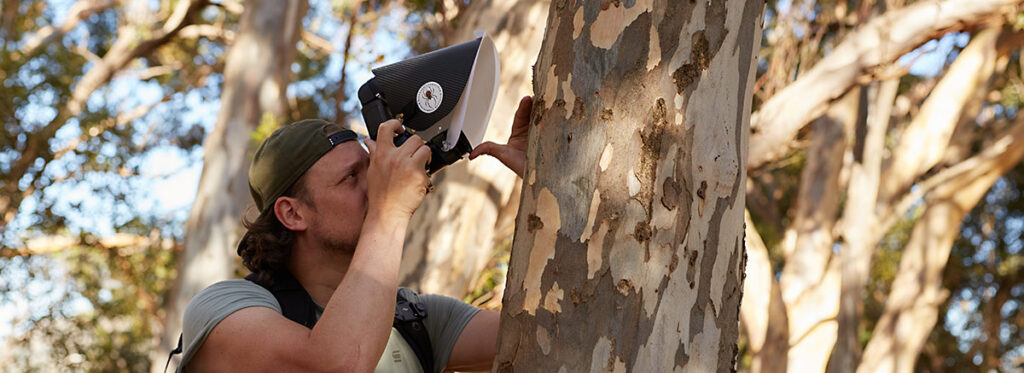
Wildlife macro photography brings you up-close with fascinating inhabitants of nature.
Reaching magnifications beyond the classic 1:1 uncovers details and textures that are usually invisible to the naked eye.
However, as we are photographing agile, and often very tiny creatures, it is crucial to nail perfect focus on them.
Different photographic scenarios require different methods to focus on our subjects.
Let´s take a look at when and how to decide between using autofocus (AF) and manual focus (MF).
Where autofocus is a good choice
The biggest benefit of autofocus is its speed – given the body and lens have a certain level of quality.
Modern focusing algorithms can recognize and lock on targets quickly – and keep the focus – even on moving targets.
In challenging scenarios with flying birds in the distance, for example, elaborated AF-systems can recognize the bird, focus on it and even narrow the focus down to have it locked on the eye.
With continous AF the camera can even follow subjects while keeping it in focus – even when the distance or directions change.
Focusing with the same speed manually, is almost impossible.
Also, some computational features, like focus stacking and focus bracketing, require access to the camera´s autofocus to shift the focus point throughout the sequence.
Negative aspects of autofocus
The biggest downside of autofocus is it being an automated system that is taking an action and (creative) decision away from you.
It is the autofocus logic and algorithm that decides where the focus point is ultimately set onto your subject.
Depending on the size of the focus area, there is a lot of freedom in doing so and you might end up having a point in focus that is very different from what you initially wanted.
The bigger your subject, the easier it is for the AF to lock on.
In poorly lit scenarios however, the AF sometimes has trouble to lock on a target, which results in so called “focus hunting” or “pumping”.
The AF drives back and forth but does not lock on, thus making the focusing process take significally longer.
In such a scenario, manual focus (with assistant options, like focus peaking, enabled) can lead to a faster lock-on.
At high magnifications in macro photography, the field of view is often very narrow and subjects can quickly move closer to the camera or away from it, causing the AF to pump and being too slow to lock the focus again.
In the end it comes down to find the best compromise between focusing speed and reliable focus.
Tip: you can try to limit the focusing range of the AF via the AF-limiter function.
It helps to program a dedicated button with the AF-limiter.
Where manual focus is a good choice

Manual focus is a good choice, whenever you want full control over the focusing.
If subject and scenario allow for it, MF lets you put the focus right where you want it.
You have full creative control over the focusing.
MF allows you to precisely choose a focus that supports a specific composition or creative idea.
With a small AF target area this can also be achieved with AF, but personally, I want to make sure focus is exactly where I want it, as I have learned there is often no second chance to get the shot I want.
Whenever AF reaches its limitations, MF can still work but sometimes needs additional features enabled, to assist in low light situations, for example.
Info: this blogpost focuses on the photography of living, agile creatures at macro magnifications and reflects on my personal experience.
There are, as always, several roads that lead to rome, and experimenting and finding your own workflow and appraoch is vital to get the best results as possible.
It may very well be, that your experience has led to findings that are the complete opposite, or generally different, from the ones I share here.
Also, in other than these very specific scenarios, the decision between autofocus and manual focus can be very different.
Why is macro photography different from other fields of photography regarding choosing between autofocus and manual focus?
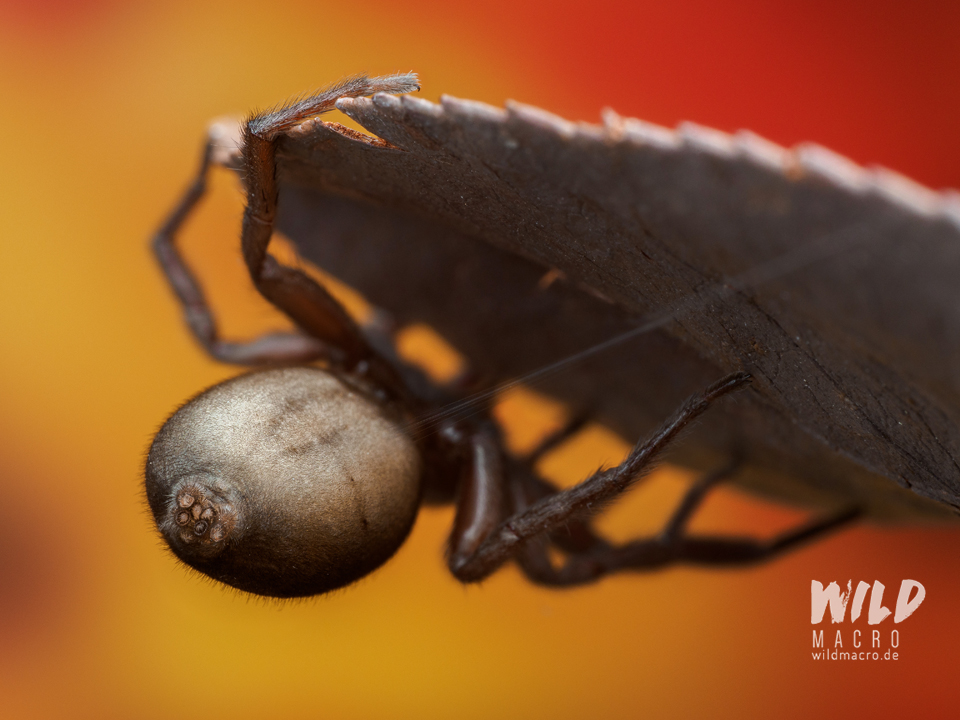
In macro photography we often have to deal with paper thin depth of field.
The layer that is in-focus is so thin, that misfocus will happen quicker than it would in landscape photography, for example.
Even the slightest changes in angle or distance would move focus to a totally different part or detail of the subject/image.
Additionally we often have to deal with poor lighting conditions, where the AF is struggeling to find focus.
A focusing light (like the one built into the Godox V860 III flash) can help a lot, here – inparticular if you are photographing macro in the night.
In my experience, the lenses I usally use, M.Zuiko 90mm and M.Zuiko 60mm can autofocus even at their highest magnification setting, given there is enough light.
The M.Zuiko 90mm can even autofocus at 2:1 magnfication (frame equivalent to 4:1 on a full frame) but it is not as reliable as I´d wish.
It still offers an incredible AF hit rate though, especially in comparison to other standard macro lenses.
With moving subjects it can indeed be a good choice to use AF, even C-AF to track an insect, like an ant, which is constantly on the run.
The closer you get, the more likely it is to lose the subject when it runs out of the magnified frame.
While the AF may be good at keeping the focus on the ant, that does not necessarily mean it will be on the exact detail you want to have in focus.
It may lock on the antennae or a leg, which might be in focus only partially, but it is a gamble to hope it will focus on the eye for example.
This all depends on the distance to the subject and how much of it is in the frame – and also the size and form of the selected focus target area.
With manual focus you can shift the camera back and forth and hence “scan” the subject and press the shutter as soon as focus hits the point/detail/area that you want to have in focus.
From my personal experience this can considerably improve your hit ratio, especially at very high magnifications.
The focus peaking setting helps a lot, as it colours the area that is in focus.
Misfocus is totally common in macro photography. With living, moving specimens even more so. The more variables like handholding the camera, wind, shooting at high magnifications, and so on, the higher the chances of missing the focus are.
With experience and anticipation you can signifcantly improve your hit rate, though.
Practice is key.
Examples:
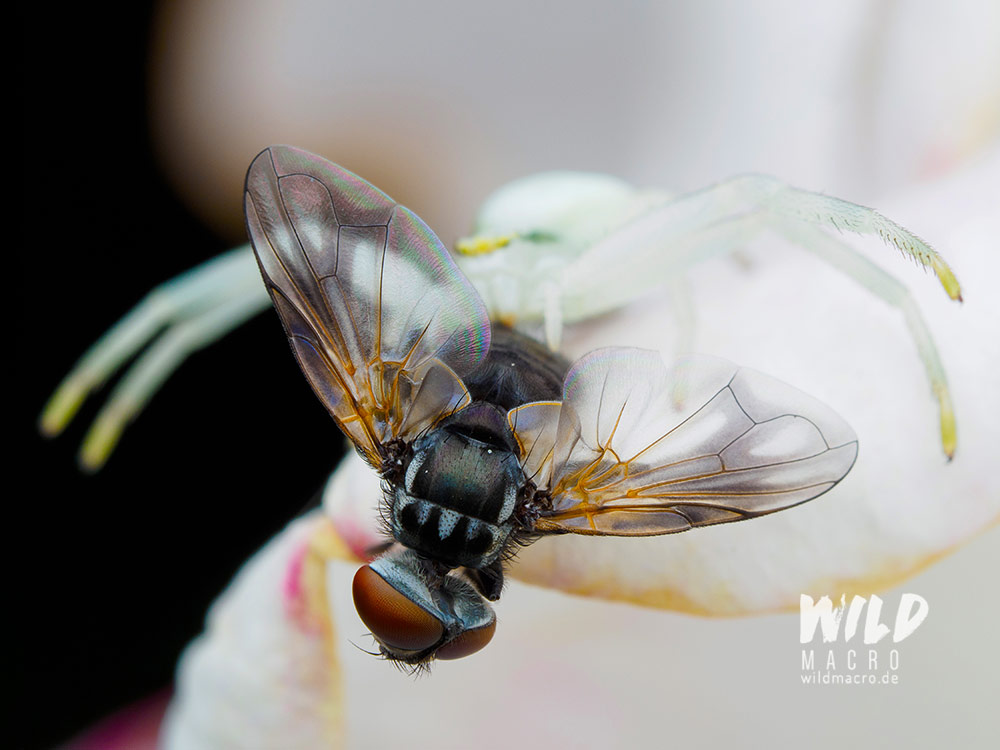
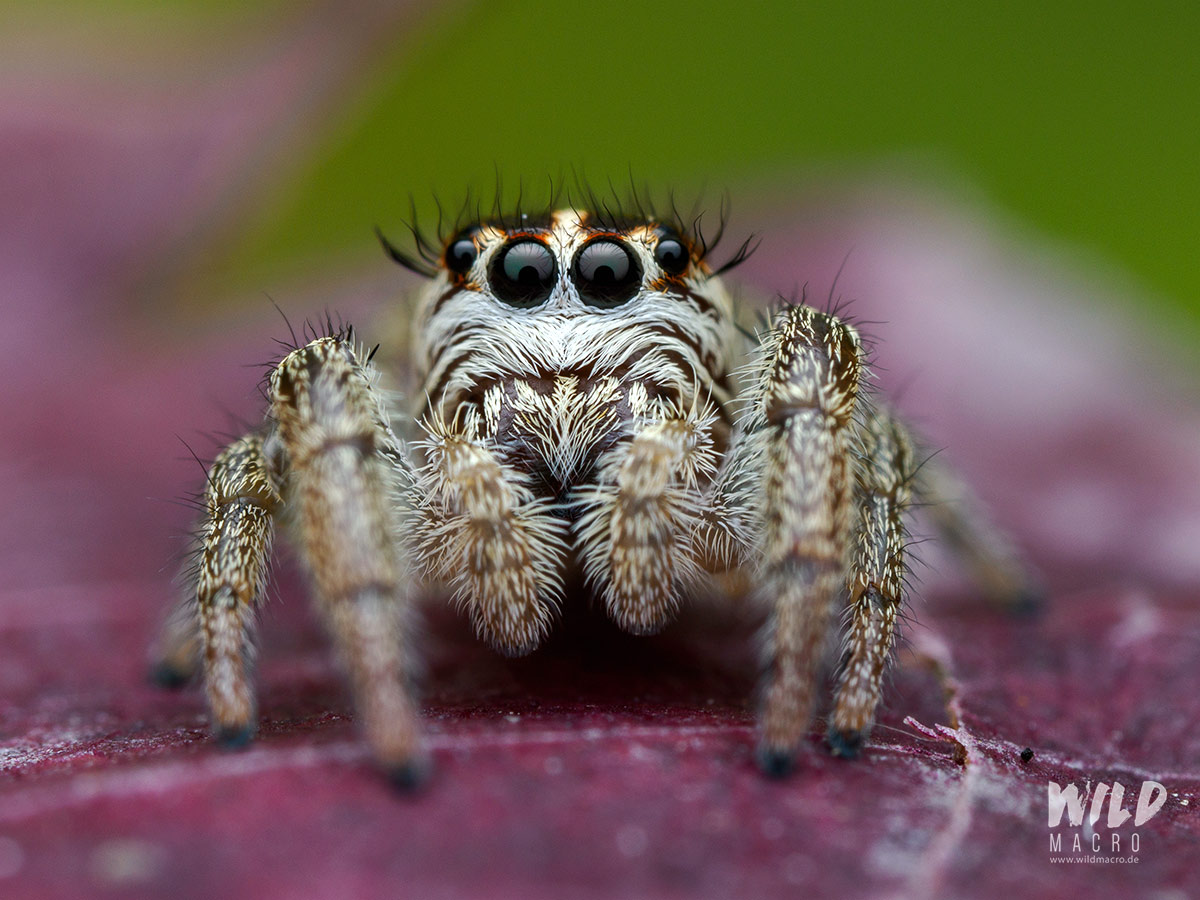
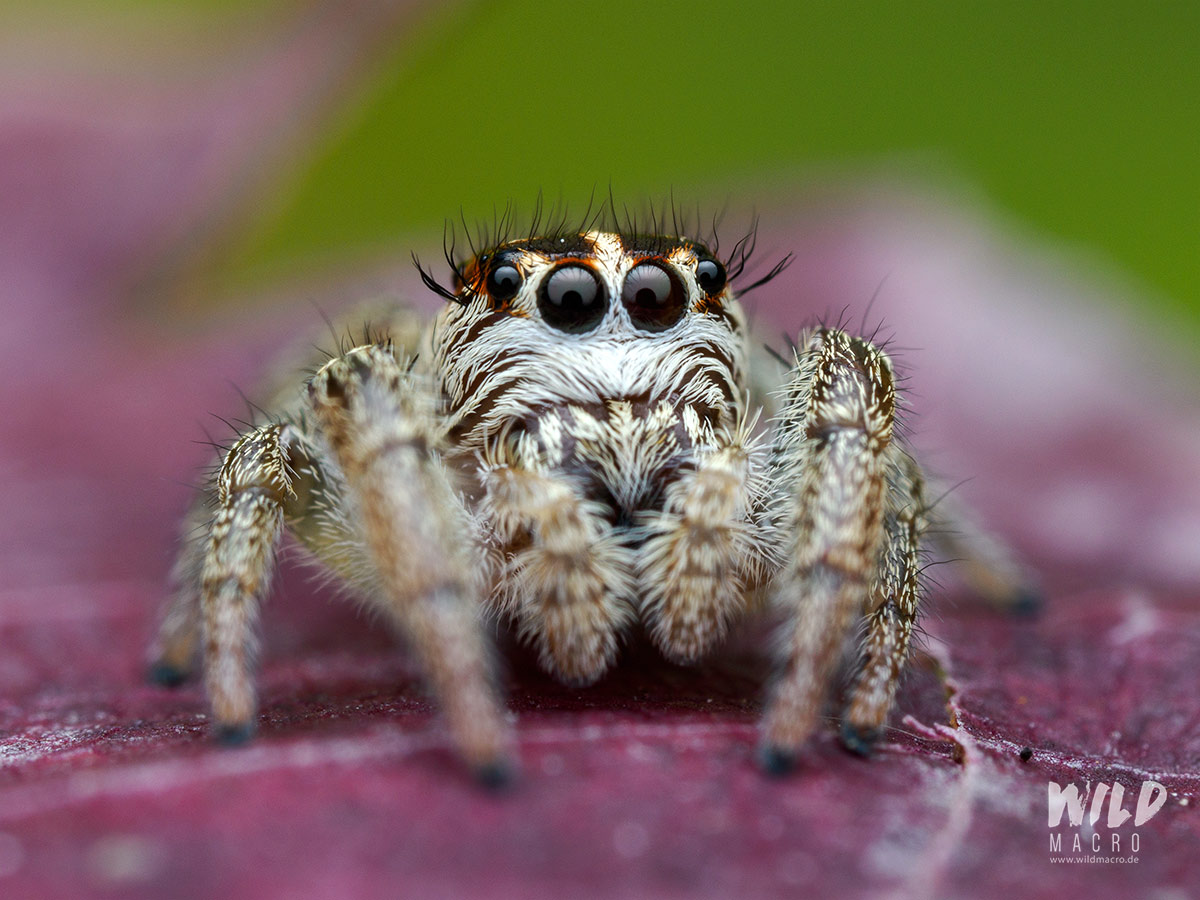
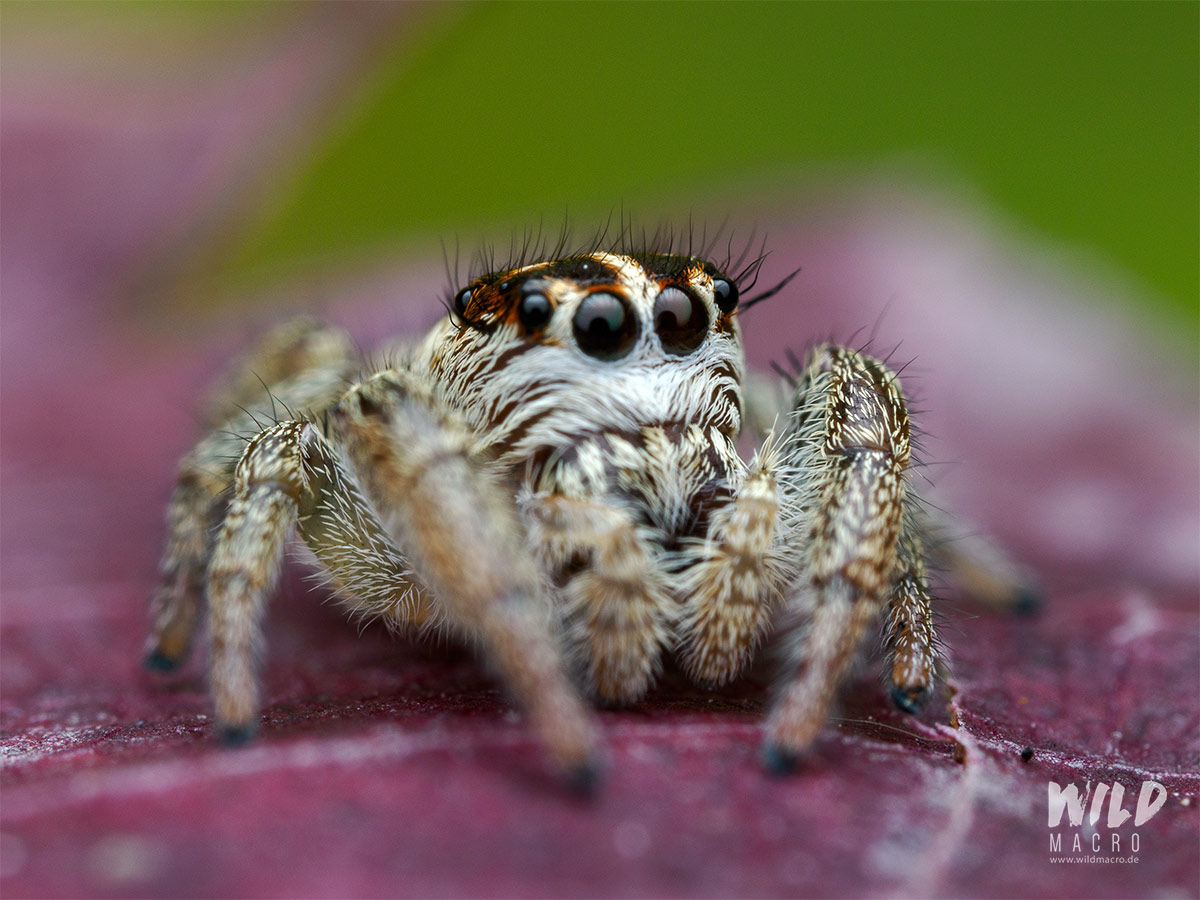
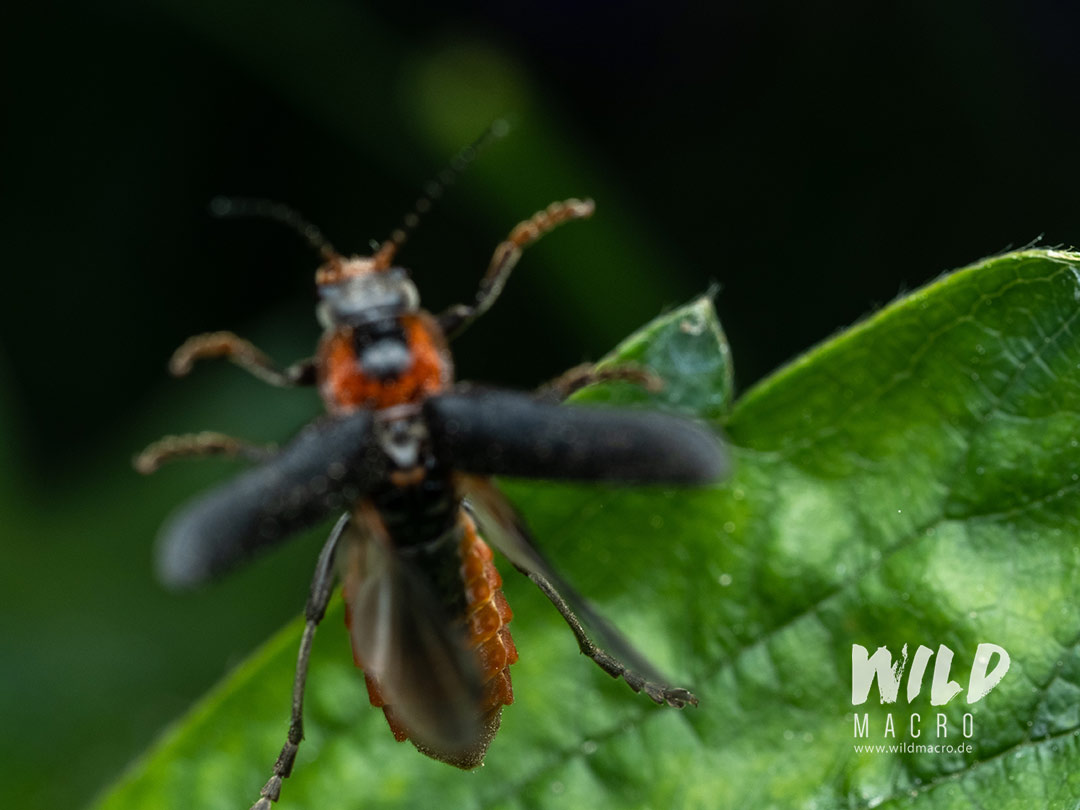
Even for fully frontal shots, where we basically look at a flat plane, tiny details and differences in depth can lead to the AF select a focus point, which you would not want – especially at high magnifications – and as soon as movement is involved.
With enough time and patience, the AF may find the desired focus spot eventually – both factors of the equation that rarely play in our favor.
Click on the images below to enlarge and see how a subtle turn removes the focus from the jumping spider´s eyes.
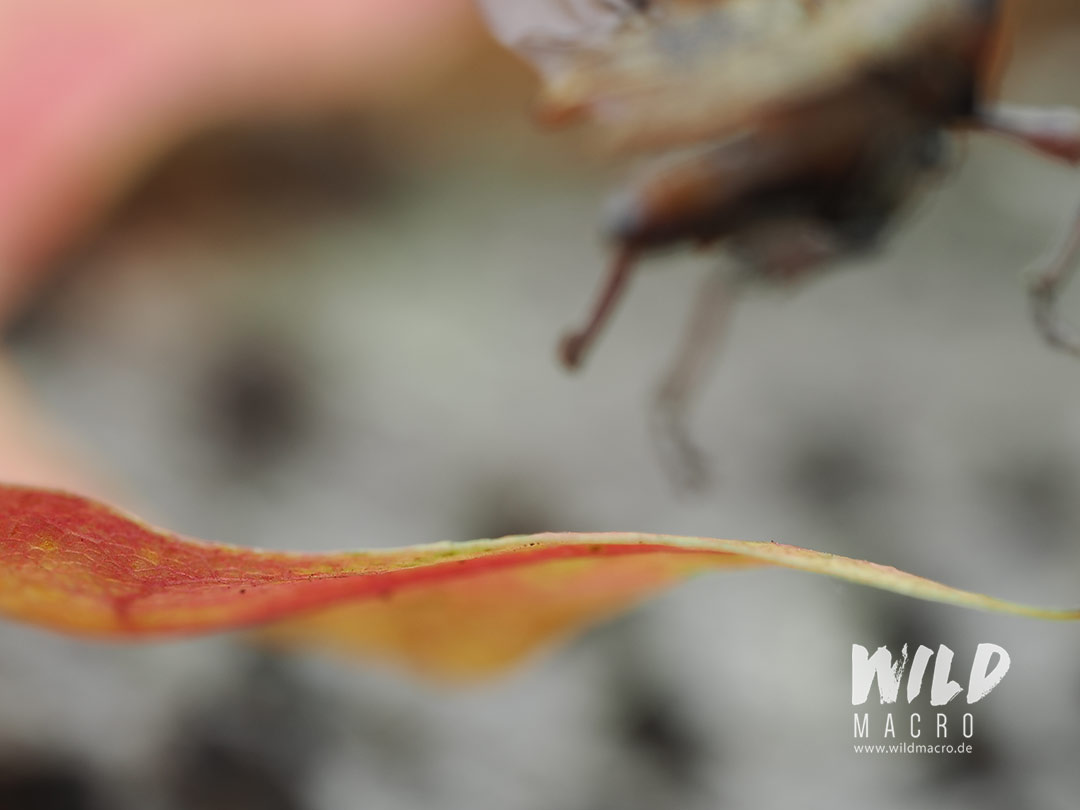
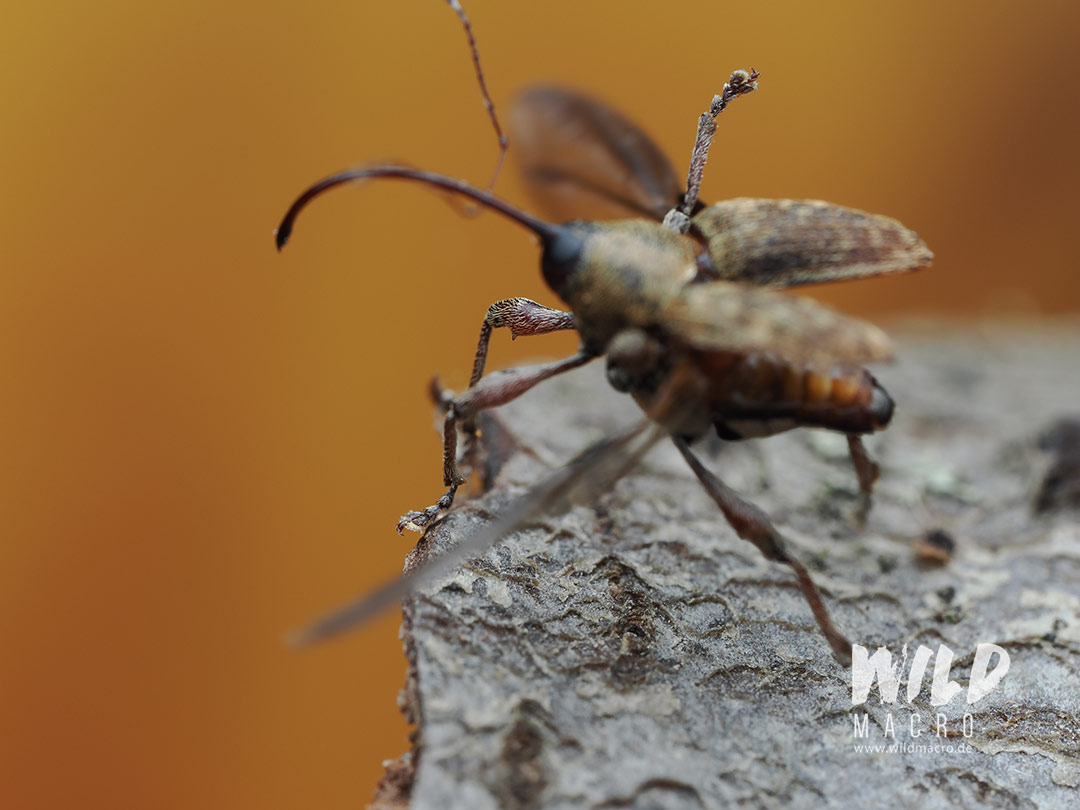
These are probably the scenes that are the most difficult to photograph from my experience: at a magnification way above 1:1, an insect is moving, turning and then, for example, suddently takes off.
Predicting the direction of the take-off is a gamble often and as soon as the distance to the subject is changed, the paperthin layer of focus is off the subject.
Even the best autofocus will fail to refocus on the insect again for a sharp, in-focus shot.
With manual focus, I feel I have a bit more control to catch that moment, but it involves a lot of experience regarding the particular species´ behaviour and movement.
As can be seen below, I miss a lot of these specific shots even with manual focus.
This summer I will experiment extensively with C-AF on the M.Zuiko 90mm and 60mm to see if it can improve my hit rate for take-off shots considerably.
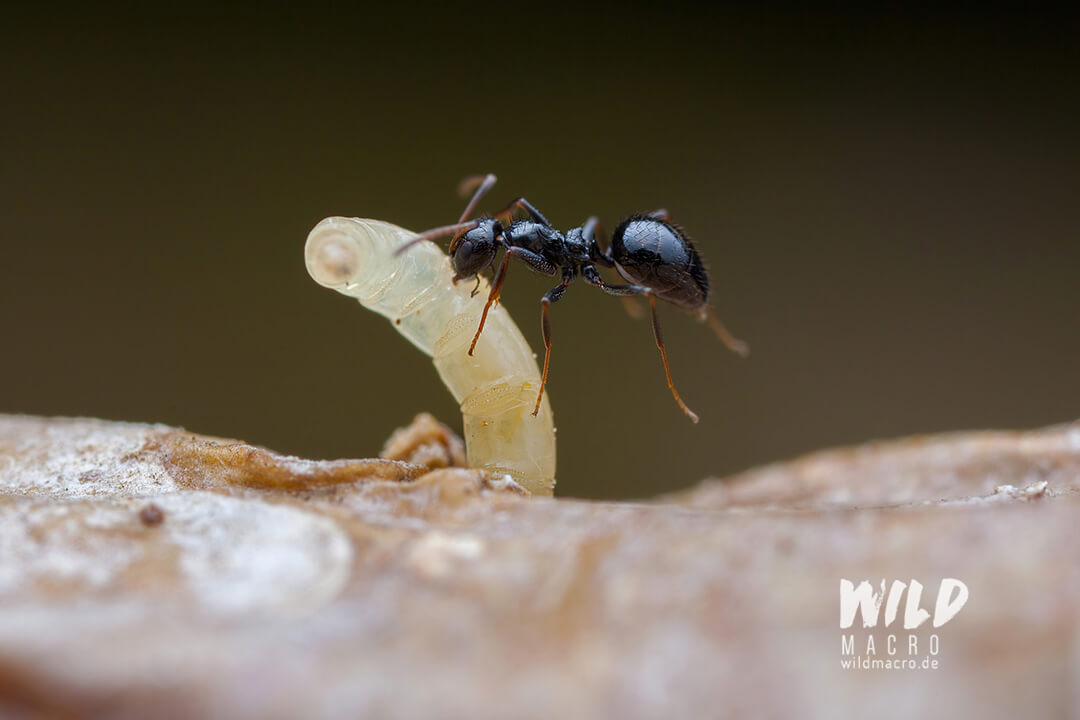
This scene of an ant, biting and holding on to a larva, was also a nightmare to photograph at this magnification.
The larva was erratically moving without pause, trying to get rid of the ant and the plane of focus was constantly changing in a blink of an eye – impossible for the AF (and also for me focusing manually).
I used sequential shooting in MF and just fired away, trying to keep the MF on the target as precisely as I could.
Looking back at this moment, I wonder if using C-AF with AF-limiter might have resulted in more in-focus images.
Crowded scenes, like these ants rushing to carry their brood to safety, are a challenge to the AF.
Its algorithm will try to focus based on contrast, distance, texture – this does not always lead to the same result that you had in mind from a creative perspective.
Here, I used a fixed manual focus and slightly adjusted it by moving the camera back or forth to shift the thin layer of focus across the different ants.

In a studio scenario, where we have a fixed camera setup and also a fixed specimen/subject with fixed lighting, manual focus will give you a lot more control and also guarantee that all images of a sequence are perfectly the same.
Creating a focus stack, using a focusing rail (no matter if manual or automated) for example, also requires to use manual focusing.
Here you need precise control for precise step measuring.
Variables that could negatively impact successful focusing, like unexpected movement, wind or excessive vibrations, can be eliminated almost completely in a controlled studio scenario.
Conclusion
Is it better to use manual focus or auto-focus for macro photography?
The answer is an easy one: use what fits your own personal workflow best!
Both focusing methods have their benefits and drawbacks.
There are also different scenarios, that might require different focusing methods.
Choosing the one that does the job best, is what is most important.
Knowing about the factors, that can support or hinder one of the methods will significantly improve the effectiveness of your focusing.
Tip: a good compromise, taking the best from both worlds, can be to first use AF to narrow down the focus and then switch to MF to finetune it.
Sign up for the newsletter mailing list & free ebook

Did you enjoy these tips and want to learn more or improve your macro photography skills?
Stay up to date with new blog posts, reviews and tutorial- and ebook-releases.
Sign up below to get notified when the free edition of my ebook
‘How to master spider & insect macro photography’ is ready for download.
Michelle G
Posted at 21:36h, 14 MayHi,
I really enjoy these posts and always learn from them. You have the most balanced approach of anyone I’ve come across.
For me, the main setting for capturing insects in flight is shutter speed. Fast speeds, similar to bird photography. The challenge is the light and higher ISO generally needed as you can’t use flash with these faster shutter speeds.
( in my case above 1/320) with most cameras. Sometimes I get lucky, but it’s always hit or miss.
wildmacro-chris
Posted at 12:27h, 15 MayHey Michelle, thanks for the kind feedback, I appreciate it a lot. I understand, that with insects in flight, my standard approach and settings with flash might not work as well due to the increased distance between sensor and subject.
However, generally speaking and from a technical standpoint you COULD work with flash as it will simulate/top/overrule the shutter speed of the camera, so you could use 1/60 even and still capture a sharp image mid-flight if the flash hits the insect. The downside, due to the distance though, is that you will most likely get a dark/black background. You could counter this with a slow shutter speed and increased ISO to get the colors/exposure from the background in and then illuminate the flying insect via the flash. Such a mixed lighting approach might work. I´ve done this before, but not with fast, flying insects, so that´d be worth a try to see if it might fit your personal style.
Check out this cool Video (start at 3:00min) from a fellow macrophotographer from Thailand for a fun approach to increase hit rate on flying insects via a distance-measuring stick.
Michelle G
Posted at 18:41h, 15 MayThank you! I really appreciate the feedback. You’re right about distance to the insect. Most of the time I’m further back because they’re “flighty” and so quick. I’ll keep trying your suggestions!
Michelle G
Posted at 18:42h, 15 MayBTW: can you post the video link? Thanks